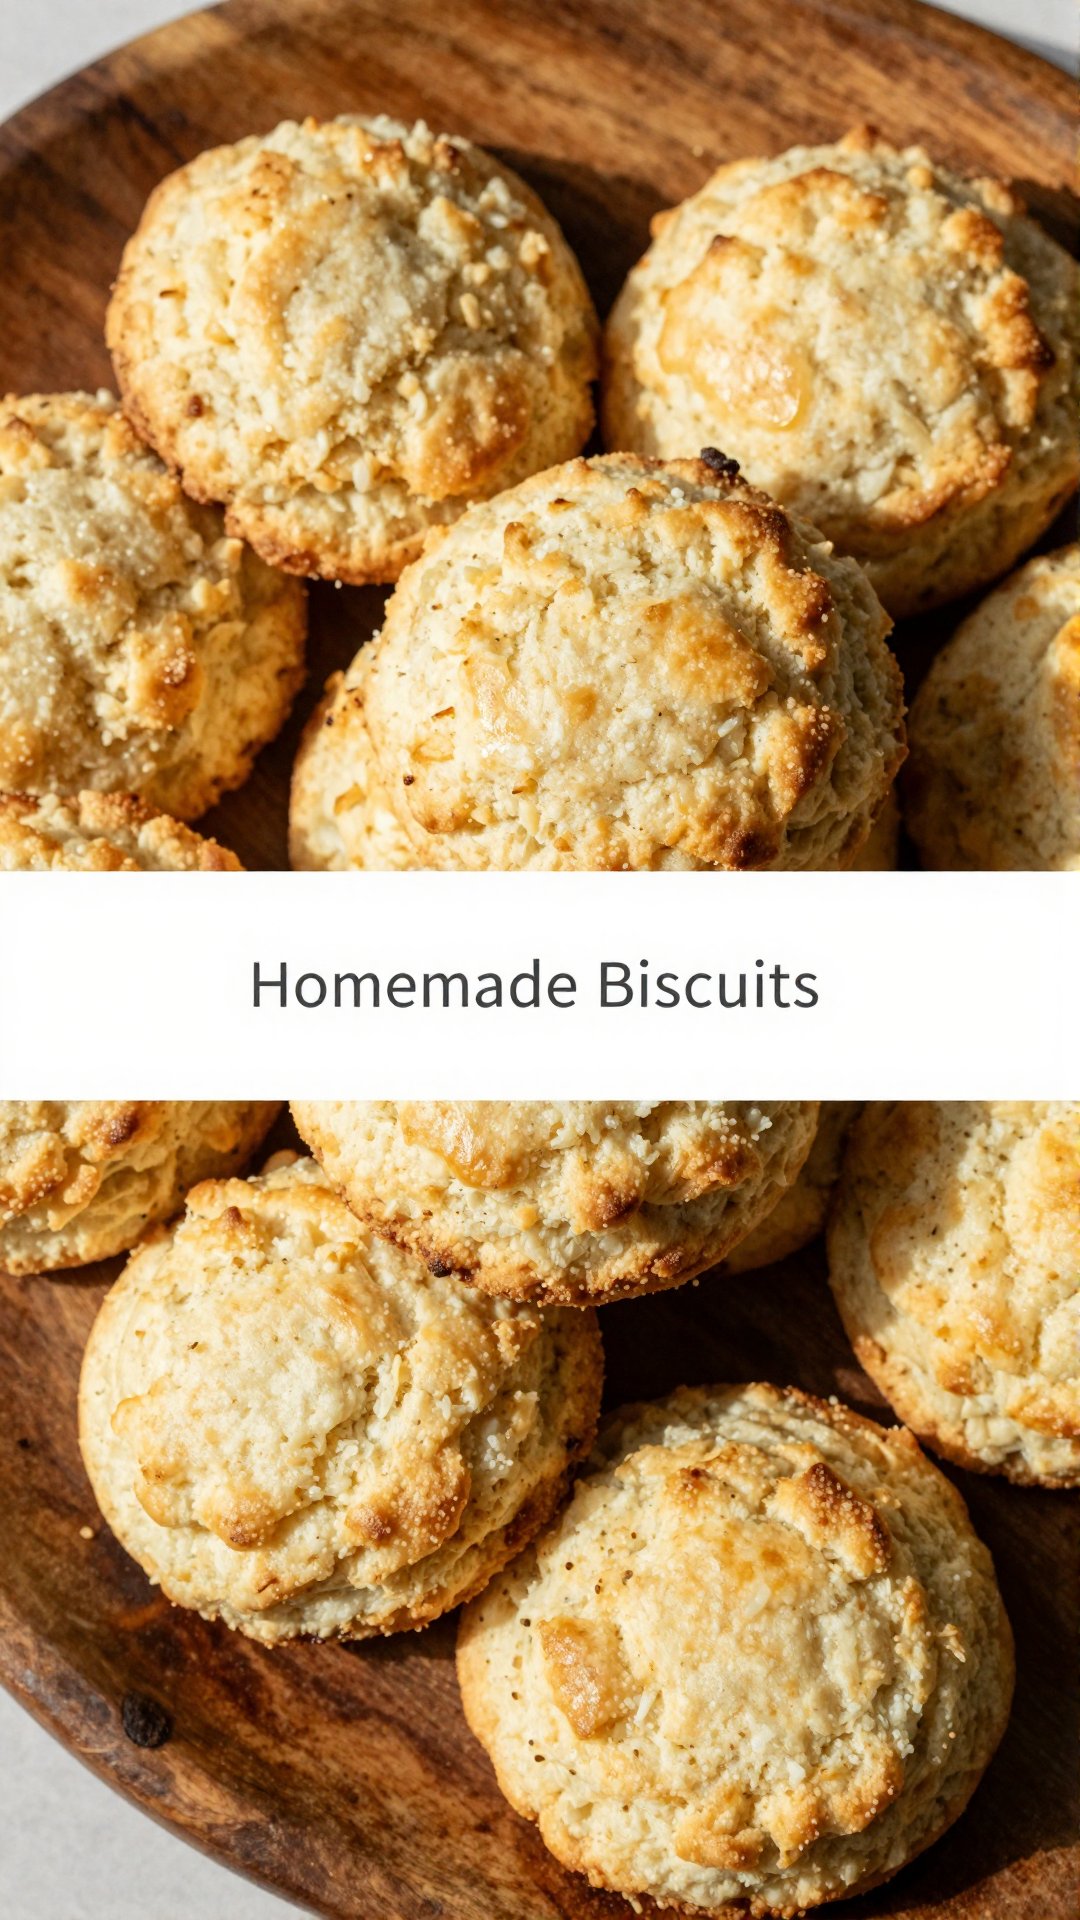
Hey y’all! Emily here, from Emily’s Must-Try Kitchen. Today, we’re diving headfirst into a recipe that’s close to my heart – and probably soon to be close to yours too: Easy 4 Ingredient Homemade Biscuits. These aren’t just any biscuits; they’re a taste of Southern comfort, simplified for your busy life. I grew up in Charleston, South Carolina, where biscuits were practically a food group. I’ve spent years perfecting *the best* biscuit recipe, and *i finally* landed on this one. Let *me tell* you, it’s a game-changer.
Forget complicated methods and endless ingredients. This recipe is all about simplicity without sacrificing flavor. We’re talking fluffy, buttery, melt-in-your-mouth goodness, all achieved with just four humble ingredients. Whether you’re a seasoned baker or just starting out, *i’ve* got you covered. So, grab your apron, and let’s get baking!
Why You’ll Love This Recipe
What makes these biscuits so special? Well, besides the fact that they require only four ingredients (yes, you read that right!), they’re incredibly versatile and satisfying. Here’s why you’ll fall in love with them:
- Quick & Easy: Ready in under 30 minutes, from start to finish. Perfect for busy mornings or last-minute dinner additions.
- Minimal Ingredients: Only four ingredients needed! *It’s* hard to believe something so delicious could be so simple.
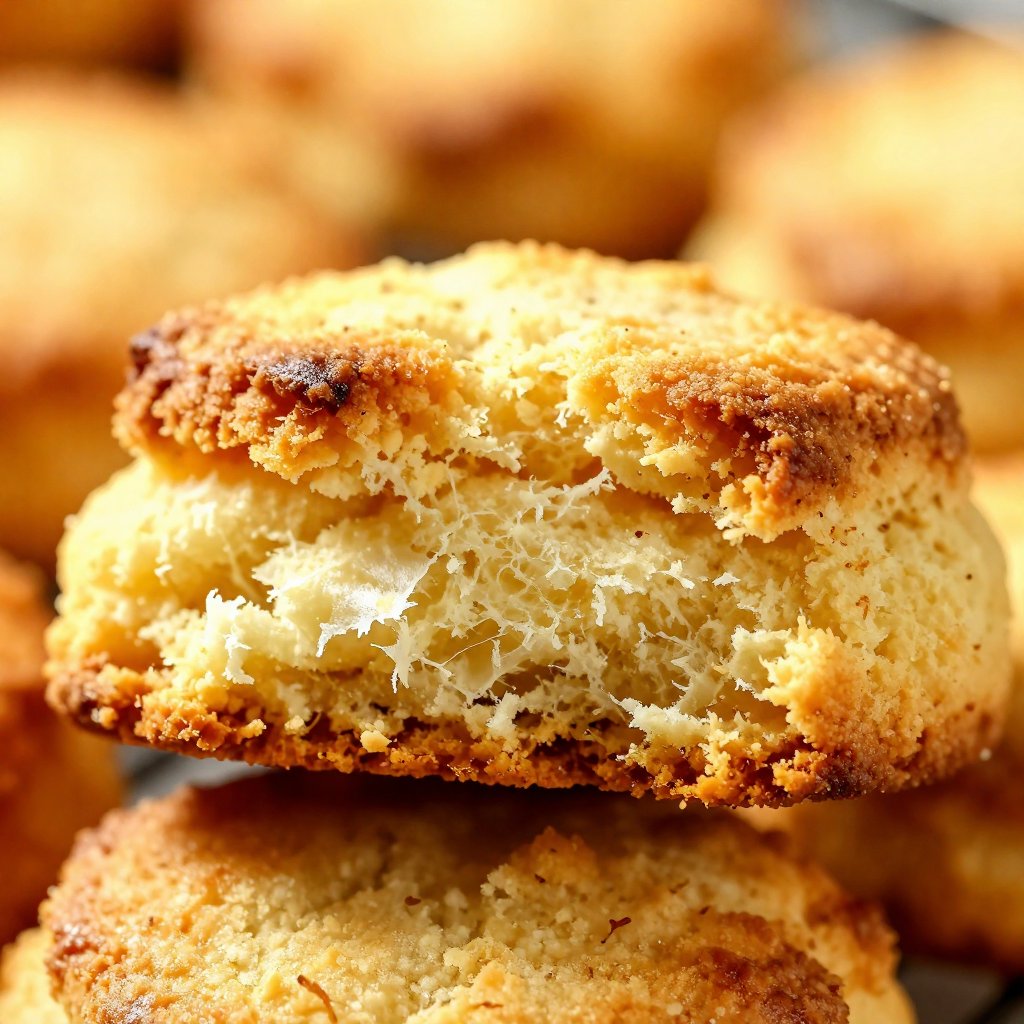
- Fluffy & Buttery: These biscuits are light, airy, and packed with buttery flavor. *Biscuits turn* out perfect every time.
- Versatile: Serve them with butter and jam, alongside your favorite savory dishes, or use them to make delicious breakfast sandwiches.
- Beginner-Friendly: Even if you’ve never baked before, you can nail this recipe. *I* promise!
I’ve always believed that the best recipes are the ones that bring people together. And these biscuits? They’re a guaranteed crowd-pleaser. I can’t wait to hear what you think!
4 Ingredient Homemade Biscuits
Here’s what you’ll need to whip up a batch of these amazing biscuits:
Ingredients:
- 4 tablespoons stick butter
- 2 cups self-rising flour plus additional for surfaces
- 1 tablespoon sugar
- 1 cup milk
How *to Make* These Biscuits: Step-by-Step Instructions
Alright, let’s get down to business. Follow these simple steps, and you’ll be enjoying warm, fluffy biscuits in no time!
- Preheat & Prep: Preheat your oven to 425 degrees Fahrenheit. While the oven is heating up, slice 4 individual tablespoons of butter according to package markings. Cut each slice into 4 smaller pieces and place them back in the fridge to keep them cold. This is key for flaky biscuits!
- Combine Dry Ingredients: In a medium bowl, whisk together 2 cups of self-rising flour and 1 tablespoon of sugar until well combined. This ensures even distribution of the sugar and helps create a tender crumb.
- Cut in the Butter: Using a pastry cutter or a fork, cut the cold butter into the flour mixture. The goal is to create a mixture that looks grainy or like bread crumbs. Don’t overmix! Lumps of butter are your friends – they’ll melt in the oven and create those lovely layers.
- *Add Milk* and Mix: Pour in 1 cup of milk and mix until the dough just pulls away from the bowl. Be careful not to overmix; a few streaks of flour are okay. The dough should be slightly sticky. If it seems too dry, *add milk* by 1 tablespoon at a time until it reaches the right consistency.
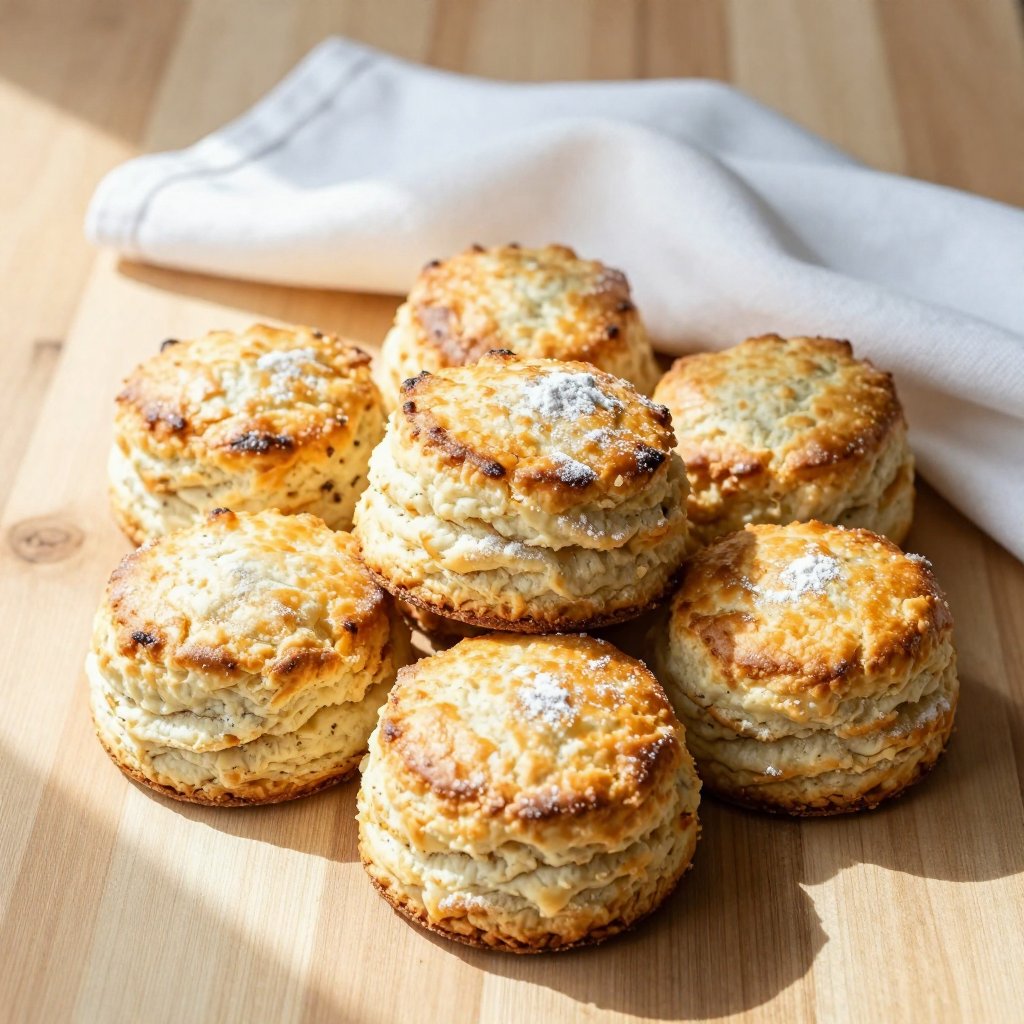
- Fold and Cut: Lightly flour your work surface, your hands, and your biscuit cutter. Turn the dough out onto the floured surface and gently fold it 4 to 6 times, pressing down each time with your hands to about 3/4 inch thickness. This creates those beautiful layers in your biscuits. Cut into circles using a biscuit cutter. If you don’t have a biscuit cutter, you can use a knife or even a drinking glass.
- Bake: Place the biscuits on a sheet pan (no need to grease it!) and bake for 14 to 16 minutes, or until they are lightly browned. Keep an eye on them; ovens vary, so they might need a little more or less time.
- Enjoy!: Once they’re golden brown, take them out of the oven and let them cool slightly before serving. These biscuits are best enjoyed warm!
Pro Tips for Perfect Biscuits
*I* want *to get* you set up for success. Here are a few extra tips to ensure your biscuits turn out perfectly every time:
- Cold Butter is Key: Seriously, don’t skip this step! Cold butter creates steam in the oven, which helps the biscuits rise and become flaky.
- Don’t Overmix: Overmixing develops the gluten in the flour, resulting in tough biscuits. Mix just until the dough comes together.
- Handle with Care: Be gentle when folding and cutting the dough. Rough handling can deflate the biscuits and make them dense.
- Hot Oven: A hot oven is essential for creating that golden-brown crust and fluffy interior.
- Self-Rising Flour: Make sure you’re using self-rising flour, not all-purpose flour. Self-rising flour contains baking powder and salt, which are crucial for the biscuits to rise properly.
Common Mistakes to Avoid
We all make mistakes, especially when we’re learning. Here are a few common pitfalls to watch out for when making these biscuits:
- Using Warm Butter: This is a big no-no! Warm butter will melt into the flour, resulting in flat, greasy biscuits.
- Overmixing the Dough: As mentioned earlier, overmixing leads to tough biscuits. Be gentle!
- Not Using Enough Flour on Your Surface: If the dough sticks to your work surface, it will be difficult to handle and shape. Don’t be afraid to use plenty of flour.
- Opening the Oven Too Soon: Resist the urge to peek! Opening the oven door can cause the temperature to drop, which can prevent the biscuits from rising properly.
Variations & Add-Ins
Want to mix things up a bit? Here are a few fun variations and add-ins to try:
- Cheese Biscuits: *Add* 1/2 cup of shredded cheddar cheese to the flour mixture for cheesy goodness.
- Herb Biscuits: Stir in 1 tablespoon of chopped fresh herbs, such as rosemary, thyme, or chives, for a savory twist.
- Sweet Biscuits: *Add* a drizzle of honey or maple syrup to the dough for a touch of sweetness.
- Garlic Biscuits: Mix in 1 teaspoon of garlic powder for a savory, garlicky flavor.
- Jalapeño Cheddar Biscuits: *Add* 1/4 cup of diced jalapeños and 1/2 cup of shredded cheddar cheese for a spicy kick.
How to Store Homemade Biscuits
These biscuits are best enjoyed fresh, but if you have leftovers, here’s how to store them:
- Room Temperature: Store cooled biscuits in an airtight container at room temperature for up to 2 days.
- Refrigerator: For longer storage, store biscuits in an airtight container in the refrigerator for up to 5 days. Reheat before serving.
- Freezer: To freeze biscuits, wrap them individually in plastic wrap and then place them in a freezer-safe bag or container. They can be frozen for up to 2 months. Thaw completely before reheating.
Frequently Asked Questions (FAQ)
Got questions? I’ve got answers! Here are some of the most common questions I get about this *recipe i*:
- Can I use all-purpose flour instead of self-rising flour? No, you’ll need self-rising flour for this recipe. Self-rising flour contains baking powder and salt, which are essential for the biscuits to rise properly. If you only have all-purpose flour, you can make your own self-rising flour by combining 1 cup of all-purpose flour with 1 1/2 teaspoons of baking powder and 1/4 teaspoon of salt.
- Can I use margarine instead of butter? While butter is highly recommended for the best flavor and texture, you can use margarine as a substitute. Keep in mind that the biscuits may not be as rich or flavorful.
- Can I use almond milk or another non-dairy milk? Yes, you can use almond milk or any other non-dairy milk as a substitute for cow’s milk. The biscuits may be slightly less tender, but they will still be delicious.
- Why are my biscuits flat? Flat biscuits can be caused by several factors, including using warm butter, overmixing the dough, or not using enough baking powder. Make sure to follow the recipe carefully and avoid these common mistakes.
- How do I reheat biscuits? You can reheat biscuits in the oven, microwave, or toaster oven. For best results, reheat them in the oven at 350 degrees Fahrenheit for 5-10 minutes, or until warmed through.
Serving Suggestions
These biscuits are delicious on their own, but they’re even better when paired with the right accompaniments. Here are a few serving suggestions:
- Butter and Jam: A classic combination that never disappoints.
- Honey or Maple Syrup: Drizzle with honey or maple syrup for a touch of sweetness.
- Breakfast Sandwiches: Use the biscuits to make delicious breakfast sandwiches with eggs, bacon, and cheese.
- Gravy: Serve with sausage gravy or mushroom gravy for a hearty and comforting meal.
- Alongside Soup or Chili: These biscuits are the perfect accompaniment to your favorite soup or chili.
*Tell you*, these *homemade biscuits* are more than just a *recipe*; they’re an invitation to gather around the table, share a meal, and create memories. Whether *you’re looking for* a quick breakfast, a comforting side dish, or a simple baking project, this *recipe I* hope becomes a staple in your kitchen. Thank you for joining me in Emily’s Must-Try Kitchen. Now, let’s get baking!
4 Ingredient Homemade Biscuits
Ingredients
Ingredients
- 4 tablespoons stick butter (cold)
- 2 cups self-rising flour (plus additional for surfaces)
- 1 tablespoon sugar
- 1 cup milk
Instructions
- Preheat oven to 425 degrees.
- Slice butter into tablespoons and then into smaller pieces. Place back in fridge.
- Mix flour and sugar in a bowl.
- Cut butter into flour mixture until grainy.
- Add milk and mix until dough pulls away from the bowl.
- Flour surface, hands, and cutter.
- Place dough on surface and fold 4-6 times to 3/4 inch thickness.
- Cut into circles.
- Bake for 14-16 minutes until lightly browned.
- Eat and enjoy!
Notes
Nutrition