This post contains affiliate links. As an Amazon Associate, I earn from qualifying purchases. This comes at no extra cost to you.
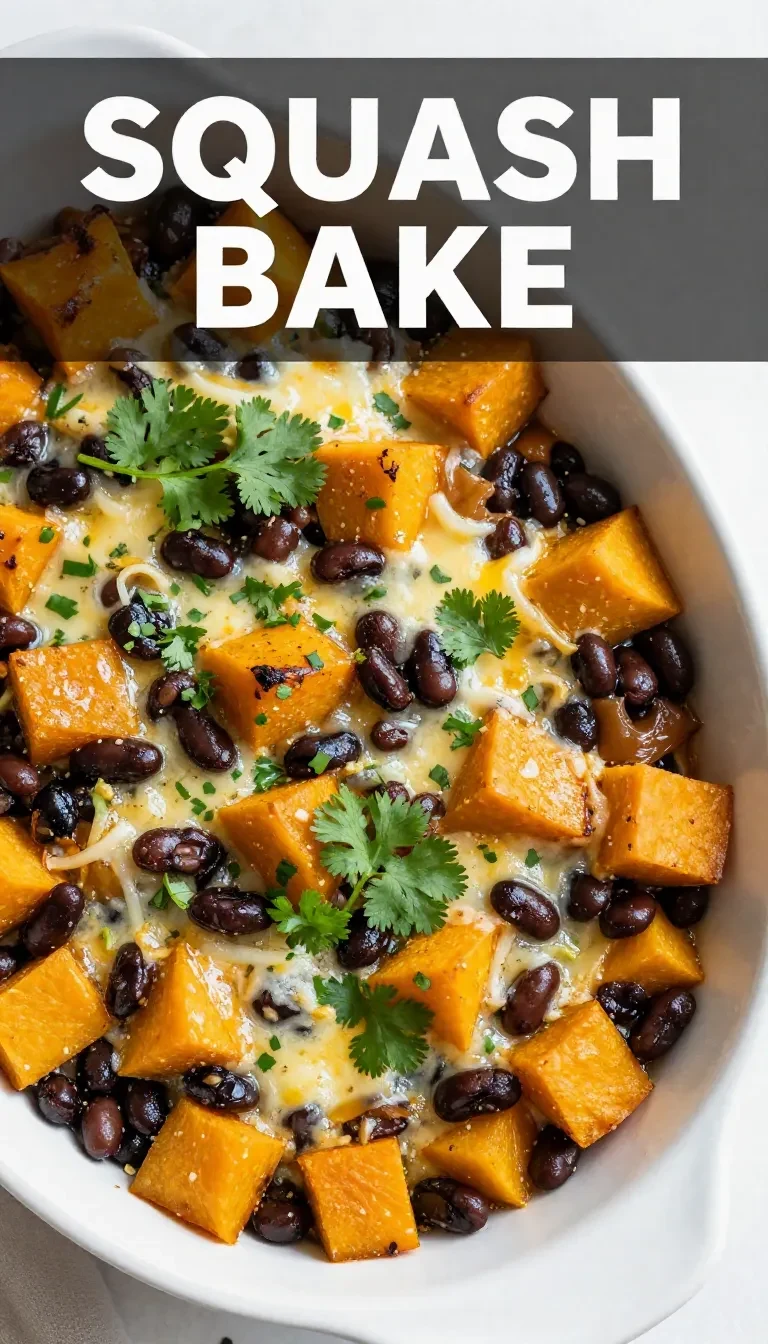
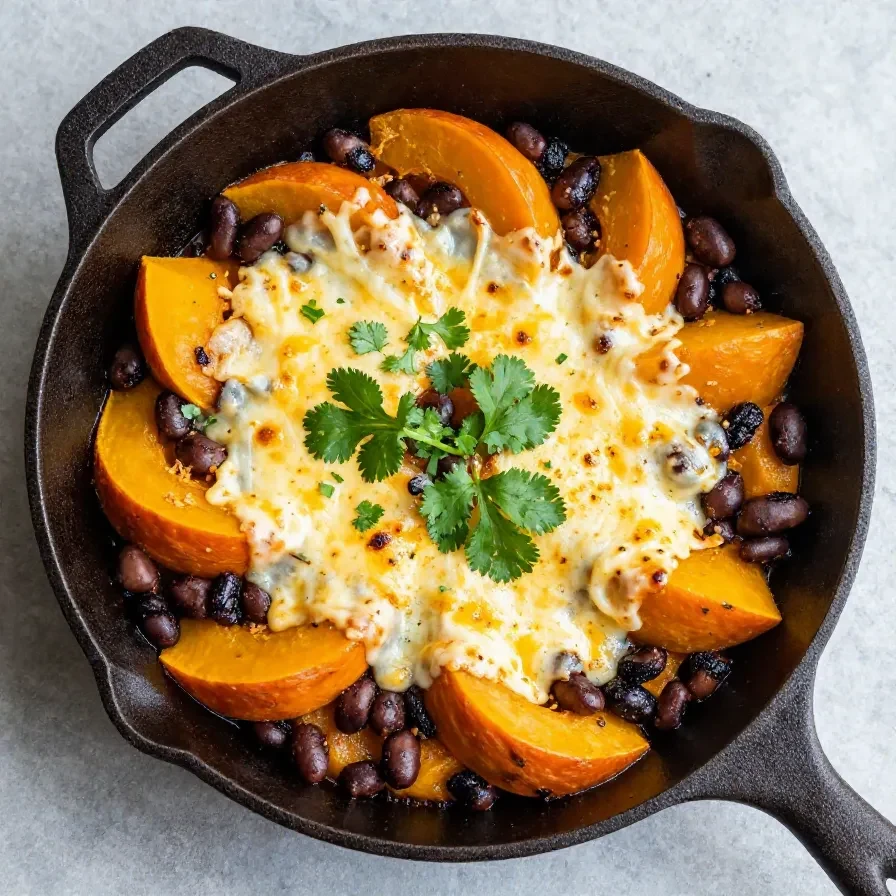
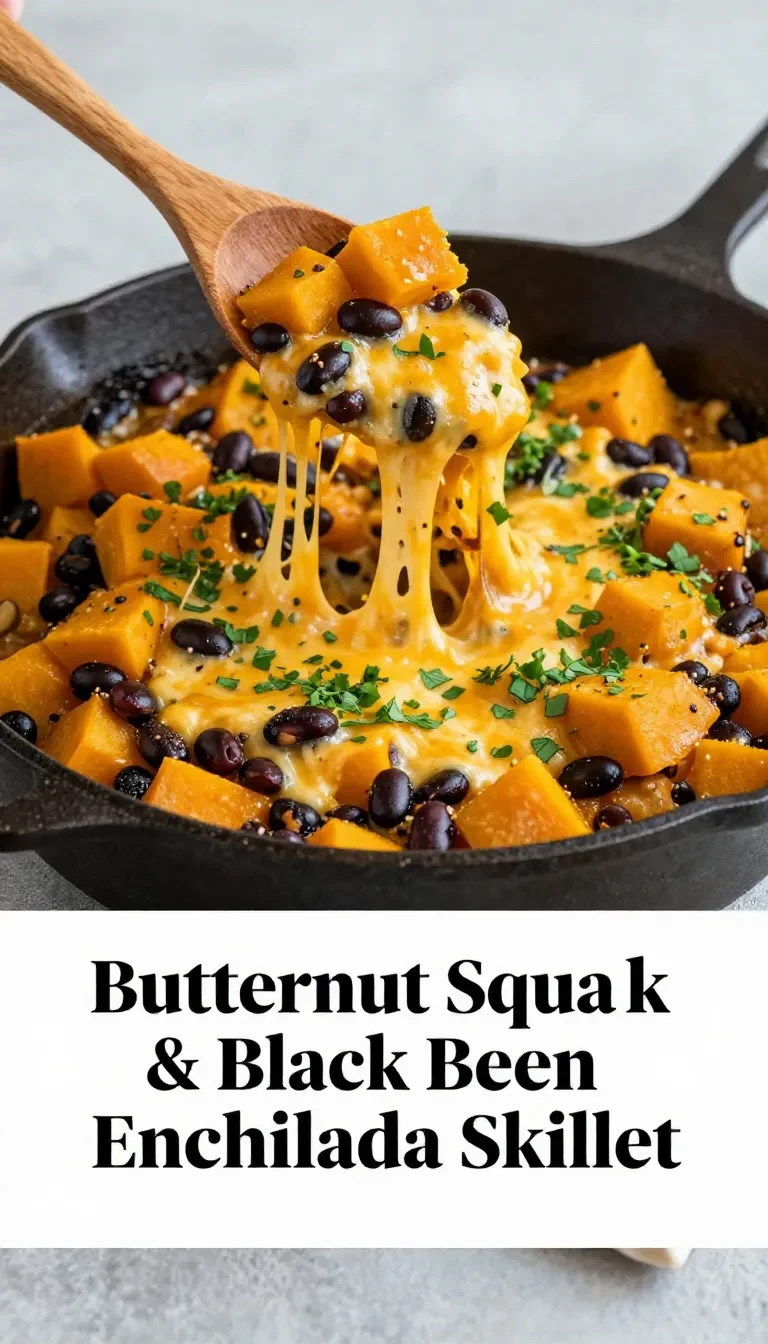
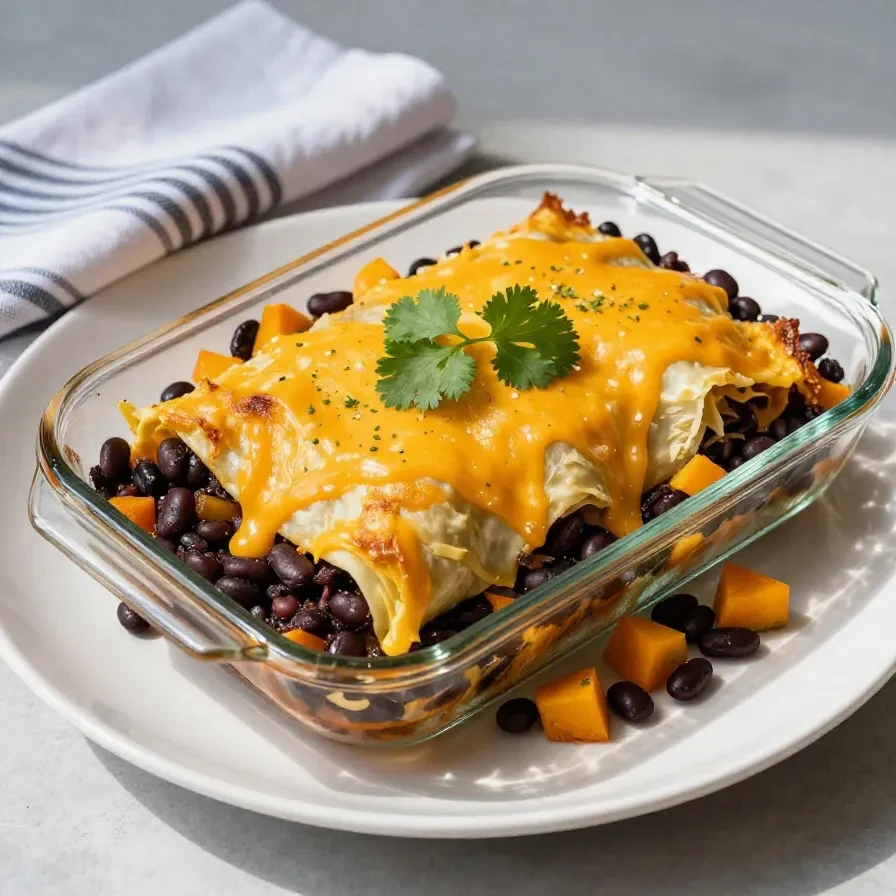
Roasted butternut squash enchiladas is a vegetarian dish made with tender butternut squash, black beans, corn, and spices, all wrapped in corn tortillas and smothered with enchilada sauce and cheese. This hearty recipe takes just 40 minutes of cook time and serves 4-6. Perfect for fall dinners, the caramelized edges of the squash deliver a subtle sweetness while the black beans add satisfying depth.
The first time I made butternut squash black bean enchiladas, it reminded me of cooking with my mom in Charleston—layering flavors and letting the spices shine. This meal is a true celebration of savory, spiced goodness.
Table of Contents
- Why make this recipe?
- What ingredients do you need for Butternut Squash Black Bean Enchiladas?
- How do you make Butternut Squash Black Bean Enchiladas step by step?
- Frequently Asked Questions About Butternut Squash Black Bean Enchiladas
- What pairs well with this dish?
- Expert Tips for Perfect Enchiladas
Why make this recipe?
Butternut squash black bean enchiladas are a hearty, flavorful meal that’s perfect for any occasion. They are packed with nutrients, boldly spiced, and easy to make in under an hour.
- Perfect for vegetarians: These enchiladas are meat-free but packed with protein and flavor, thanks to the black beans and cheese.
- Meal prep friendly: You can make this dish ahead and simply reheat leftovers for tasty meals throughout the week.
- Budget-friendly: All ingredients are affordable and easy to find, making it an accessible option for everyone.
- Versatile taste: The sweetness of roasted squash pairs beautifully with the smoky spices, making every bite satisfying.
What ingredients do you need for Butternut Squash Black Bean Enchiladas?
This dish uses simple, wholesome ingredients that you likely already have on hand. Here’s the full list:
- 2 cups butternut squash, peeled and diced
- 1 tablespoon olive oil
- 1 teaspoon cumin
- 1 teaspoon chili powder
- 1/2 teaspoon garlic powder
- 1/2 teaspoon onion powder
- Salt and pepper to taste
- 1 can (15 oz) black beans, rinsed and drained
- 1 cup corn (fresh or frozen)
- 1/2 cup diced red onion
- 1 cup shredded cheese (cheddar or Monterey Jack)
- 8 corn tortillas
- 2 cups enchilada sauce (store-bought or homemade)
- Fresh cilantro, for garnish
The roasted butternut squash is the star ingredient here, adding a natural sweetness to balance the smoky spices.
How do you make Butternut Squash Black Bean Enchiladas step by step?
This recipe is straightforward and beginner-friendly, with just a few easy steps to follow for a delicious result.
Step 1 — Preheat the oven
Preheat your oven to 375°F (190°C).
Step 2 — Season and roast the squash
In a large bowl, toss the diced butternut squash with olive oil, cumin, chili powder, garlic powder, onion powder, salt, and pepper. Spread the seasoned squash on a baking sheet and roast for 25-30 minutes until tender.
You might also enjoy our butternut squash and black bean.
Step 3 — Prepare the filling
In a large mixing bowl, combine the roasted squash, black beans, corn, diced red onion, and half of the shredded cheese. Stir until evenly mixed.
Step 4 — Warm the tortillas
Heat the corn tortillas in a dry skillet over medium heat for about 30 seconds on each side until pliable.

Step 5 — Assemble the enchiladas
Spoon a generous amount of the squash and black bean mixture onto each tortilla. Roll them up tightly and place seam-side down in a greased baking dish.
Step 6 — Add sauce and cheese
Pour the enchilada sauce evenly over the rolled tortillas, then sprinkle with the remaining cheese.
For more ideas, check out our creamy butternut squash pasta with.
Step 7 — Bake
Cover the dish with foil and bake for 20 minutes. Remove the foil and bake for an additional 10 minutes, or until the cheese is bubbly and golden.
Step 8 — Garnish and serve
Let the enchiladas cool for a few minutes, then garnish with fresh cilantro before serving.
Frequently Asked Questions About Butternut Squash Black Bean Enchiladas
Can I make this dish vegan?
Yes! Use vegan cheese and a plant-based enchilada sauce to make this recipe vegan-friendly.
How do I store leftovers?
Store leftovers in an airtight container in the refrigerator for up to 3 days. Reheat in the oven or microwave.
Looking for something similar? Try our treasure hunting in the kitchen:.
Can I freeze these enchiladas?
Yes, freeze them in an airtight container before baking. When ready, bake directly from frozen, adding extra time as needed.
What can I use instead of corn tortillas?
You can substitute flour tortillas if preferred, but they will have a softer texture in the final dish.
What’s the best cheese to use?
Cheddar and Monterey Jack work best, as they melt beautifully and complement the flavors.
What pairs well with this dish?
These enchiladas are a meal on their own, but they pair wonderfully with:
- Spanish rice: A classic side dish that ties the meal together.
- Guacamole: The creamy texture balances the spices in the enchiladas.
- Mixed green salad: A light, crisp salad adds freshness to the meal.
- Margaritas: For a festive touch, pair with a tart and refreshing margarita.
Expert Tips for Perfect Enchiladas
- Don’t overcrowd the baking dish: Leave space between enchiladas so they cook evenly.
- Warm the tortillas: Heating the tortillas prevents them from cracking during assembly.
- Let them cool slightly: Allow the enchiladas to rest for a few minutes after baking to make serving easier.
- Use homemade enchilada sauce: If you have time, homemade sauce enhances the overall flavor.
Butternut Squash Black Bean Enchiladas
Equipment
- mixing bowl
- baking sheet
- oven
- skillet
- baking dish
Ingredients
- 2 cup butternut squash (peeled and diced)
- 1 tbsp olive oil
- 1 tsp cumin
- 1 tsp chili powder
- 1/2 tsp garlic powder
- 1/2 tsp onion powder
- salt (to taste)
- pepper (to taste)
- 1 can black beans (rinsed and drained)
- 1 cup corn (fresh or frozen)
- 1/2 cup red onion (diced)
- 1 cup shredded cheese (cheddar or Monterey Jack)
- 8 count corn tortillas
- 2 cup enchilada sauce (store-bought or homemade)
- fresh cilantro (for garnish)
Instructions
- Preheat your oven to 375°F (190°C).
- In a large bowl, toss the diced butternut squash with olive oil, cumin, chili powder, garlic powder, onion powder, salt, and pepper.
- Spread the seasoned butternut squash on a baking sheet and roast in the preheated oven for about 25-30 minutes, or until tender.
- In a large mixing bowl, combine the roasted butternut squash, black beans, corn, diced red onion, and half of the shredded cheese. Mix well.
- Warm the corn tortillas in a dry skillet over medium heat for about 30 seconds on each side, until pliable.
- Spoon a generous amount of the butternut squash and black bean mixture onto each tortilla, then roll them up tightly and place them seam-side down in a greased baking dish.
- Pour the enchilada sauce evenly over the rolled tortillas and sprinkle with the remaining cheese.
- Cover the baking dish with foil and bake in the oven for 20 minutes. Remove the foil and bake for an additional 10 minutes, or until the cheese is bubbly and golden.
- Remove from the oven and let cool for a few minutes. Garnish with fresh cilantro before serving.
Notes
Nutrition

Loved this recipe? Save it to your favorite Pinterest board so you can easily find it later! ✨