This post contains affiliate links. As an Amazon Associate, I earn from qualifying purchases. This comes at no extra cost to you.
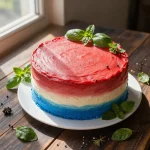
Red, White, and Blue Cake Pops – Red Velvet
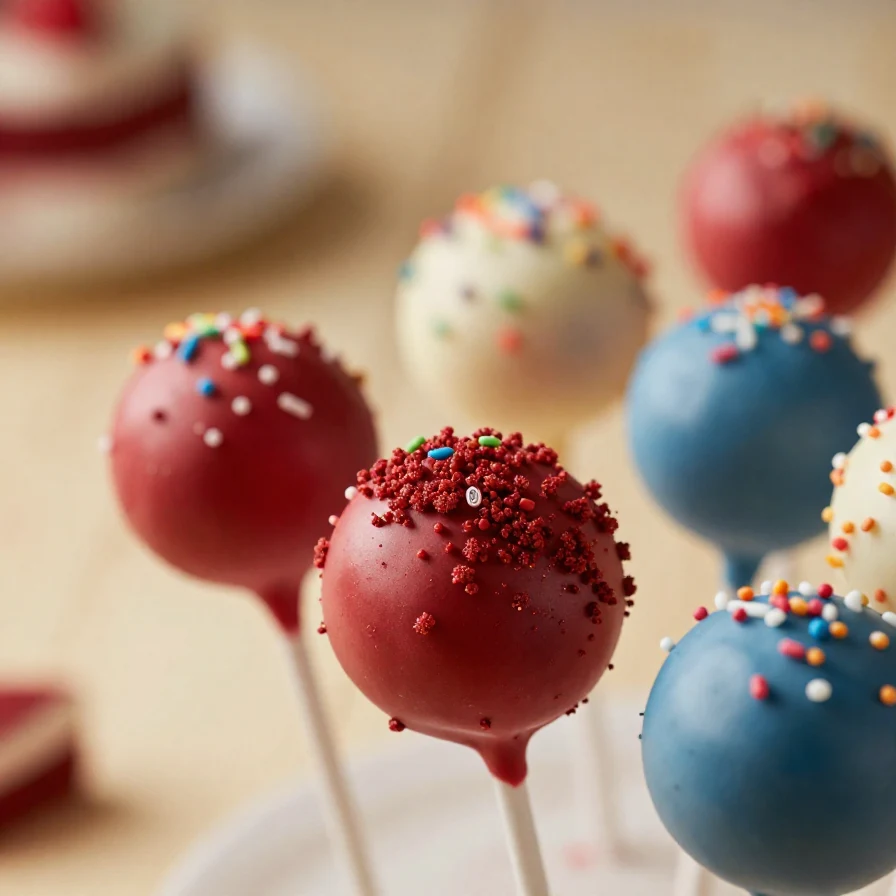
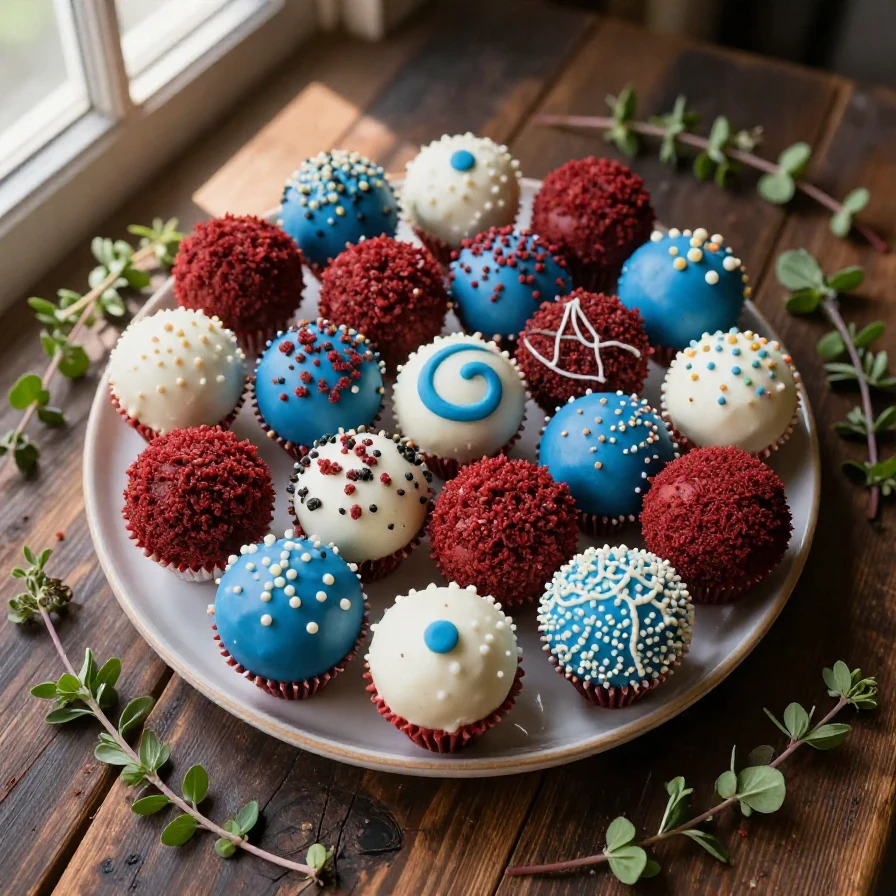
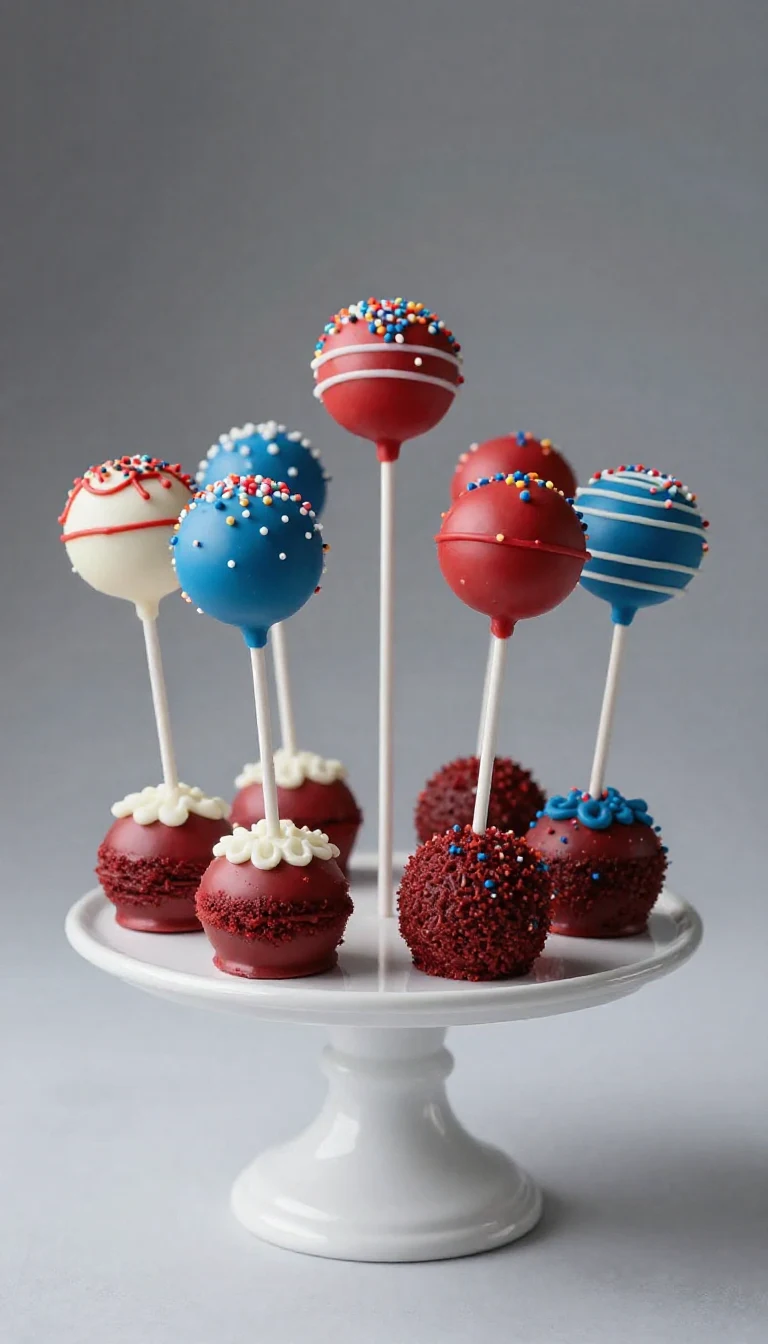
These red, white, and blue cake pops made from rich red velvet cake are a show-stopping treat for any patriotic celebration. With their creamy center, vibrant sprinkles, and sweet candy coating, they deliver a balance of festive flair and decadent flavor. Perfectly portioned and fun to eat, they’re a surefire hit for guests of all ages.
Table of Contents
- Why Make These Cake Pops
- Everything You Need for Red, White, and Blue Cake Pops – Red Velvet
- How To Make Red, White, and Blue Cake Pops – Red Velvet Step by Step
- Common Mistakes to Avoid
- Storage and Reheating Tips
- The Fascinating History of Cake Pops
- Expert Tips and Pro Shortcuts
Why Make These Cake Pops
- Easy to transport and serve: These cake pops are perfectly portioned and incredibly portable—ideal for picnics, barbecues, or parties.
- Kid-friendly and fun: The vibrant red, white, and blue decorations make these cake pops a hit with children and add excitement to any event.
- Made for celebration: Whether it’s Memorial Day, Labor Day, or 4th of July, these red velvet cake pops embody patriotic spirit.
- Minimal mess: With their lollipop sticks, these treats let you enjoy cake without needing plates, forks, or extra cleanup.
Everything You Need for Red, White, and Blue Cake Pops – Red Velvet
- 1 box red velvet cake mix
- 3 large eggs
- 1 cup water
- 1/2 cup vegetable oil
- 1 can cream cheese frosting (16 oz)
- 1 lb white candy melts
- 1/2 cup blue sprinkles
- 1/2 cup red sprinkles
- Lollipop sticks
The red velvet cake mix brings a rich, cocoa-infused base to these cake pops, pairing beautifully with the tangy cream cheese frosting for a perfectly moist texture.
How To Make Red, White, and Blue Cake Pops – Red Velvet Step by Step
- Preheat the oven to 350°F (175°C) and prepare a 9×13 inch cake pan by greasing it.
- In a large mixing bowl, combine the red velvet cake mix, eggs, water, and vegetable oil. Mix until well combined.
- Pour the batter into the prepared cake pan and bake for 30-35 minutes, or until a toothpick inserted in the center comes out clean.
- Allow the cake to cool completely in the pan, then remove it and crumble it into a large bowl.
 Kitchen ApplianceKitchenAid Artisan Stand Mixer
Makes mixing dough and batters effortless — a kitchen game-changer.
Essential CookwareWilton Easy-Flex Silicone Baking MatPerfect for baking and easy cleanup — ideal for rolling out cake pop mixture.
- Add the cream cheese frosting to the crumbled cake and mix until well combined. The mixture should be moist and hold together when pressed.
- Using your hands, roll the mixture into 1-inch balls and place them on a baking sheet lined with parchment paper.
- Melt the white candy melts according to the package instructions.
- Dip the end of each lollipop stick into the melted candy melts, then insert it halfway into a cake ball. This will help secure the stick.
- Place the cake pops in the refrigerator for about 30 minutes to set.
- After the cake pops have set, dip each one into the melted candy melts, allowing the excess to drip off.
- Immediately sprinkle the blue and red sprinkles on the wet candy coating, creating a festive look.
- Place the finished cake pops upright in a styrofoam block or a cake pop holder to allow them to fully set.
Common Mistakes to Avoid
- Skipping the cooling step: Warm cake crumbs can cause the mixture to become too sticky and difficult to shape.
- Not securing the sticks: Failing to dip the stick in melted candy before inserting it into the cake ball may result in unstable cake pops.
- Overheating the candy melts: Keep the temperature low and stir often, as overheating can make the candy coating clumpy.
Storage and Reheating Tips
Store your red, white, and blue cake pops in an airtight container in the refrigerator for up to one week. For longer storage, freeze them in a single layer before transferring to a freezer-safe bag, where they’ll last up to two months.
To enjoy frozen cake pops, simply thaw them in the refrigerator for a few hours before serving. Avoid microwaving or reheating them, as this can ruin the candy coating.
You might also enjoy our lemon blueberry cake pops: a.
The Fascinating History of Cake Pops
Cake pops gained popularity in the early 2000s, thanks to their whimsical presentation and easy portability. Modern cake pops have evolved into a creative canvas for bakers, with designs ranging from simple sprinkles to intricate themed creations.
For more ideas, check out our lemon blueberry sponge cake roll recipe.
These treats are believed to have been inspired by the concept of repurposing leftover cake crumbs, giving life to a dessert that’s both economical and visually striking.
Looking for something similar? Try our lemon blueberry cake with cream.
Expert Tips and Pro Shortcuts
- Use a small cookie scoop to ensure uniform cake balls, making the presentation much more professional.
- Chill your cake mixture before rolling to make shaping and handling easier.
- Work in small batches when dipping in candy melts to prevent the coating from hardening too quickly.
- If you don’t have a styrofoam block, use an empty egg carton turned upside-down to hold the cake pops upright while they set.
Red, White, and Blue Cake Pops - Red Velvet
Ingredients
- 1 box red velvet cake mix
- 3 large eggs
- 1 cup water
- 1/2 cup vegetable oil
- 1 can cream cheese frosting (16 oz)
- 1 lb white candy melts
- 1/2 cup blue sprinkles
- 1/2 cup red sprinkles
- Lollipop sticks
Instructions
- Preheat the oven to 350°F (175°C) and prepare a 9x13 inch cake pan by greasing it.
- In a large mixing bowl, combine the red velvet cake mix, eggs, water, and vegetable oil. Mix until well combined.
- Pour the batter into the prepared cake pan and bake for 30-35 minutes, or until a toothpick inserted in the center comes out clean.
- Allow the cake to cool completely in the pan, then remove it and crumble it into a large bowl.
- Add the cream cheese frosting to the crumbled cake and mix until well combined. The mixture should be moist and hold together when pressed.
- Using your hands, roll the mixture into 1-inch balls and place them on a baking sheet lined with parchment paper.
- Once all the cake balls are formed, melt the white candy melts according to the package instructions.
- Dip the end of each lollipop stick into the melted candy melts, then insert it halfway into a cake ball. This will help secure the stick.
- Place the cake pops in the refrigerator for about 30 minutes to set.
- After the cake pops have set, dip each one into the melted candy melts, allowing the excess to drip off.
- Immediately sprinkle the blue and red sprinkles on the wet candy coating, creating a festive look.
- Place the finished cake pops upright in a styrofoam block or a cake pop holder to allow them to fully set.
Notes
Nutrition
Loved this recipe? Save it to your favorite Pinterest board so you can easily find it later! ✨