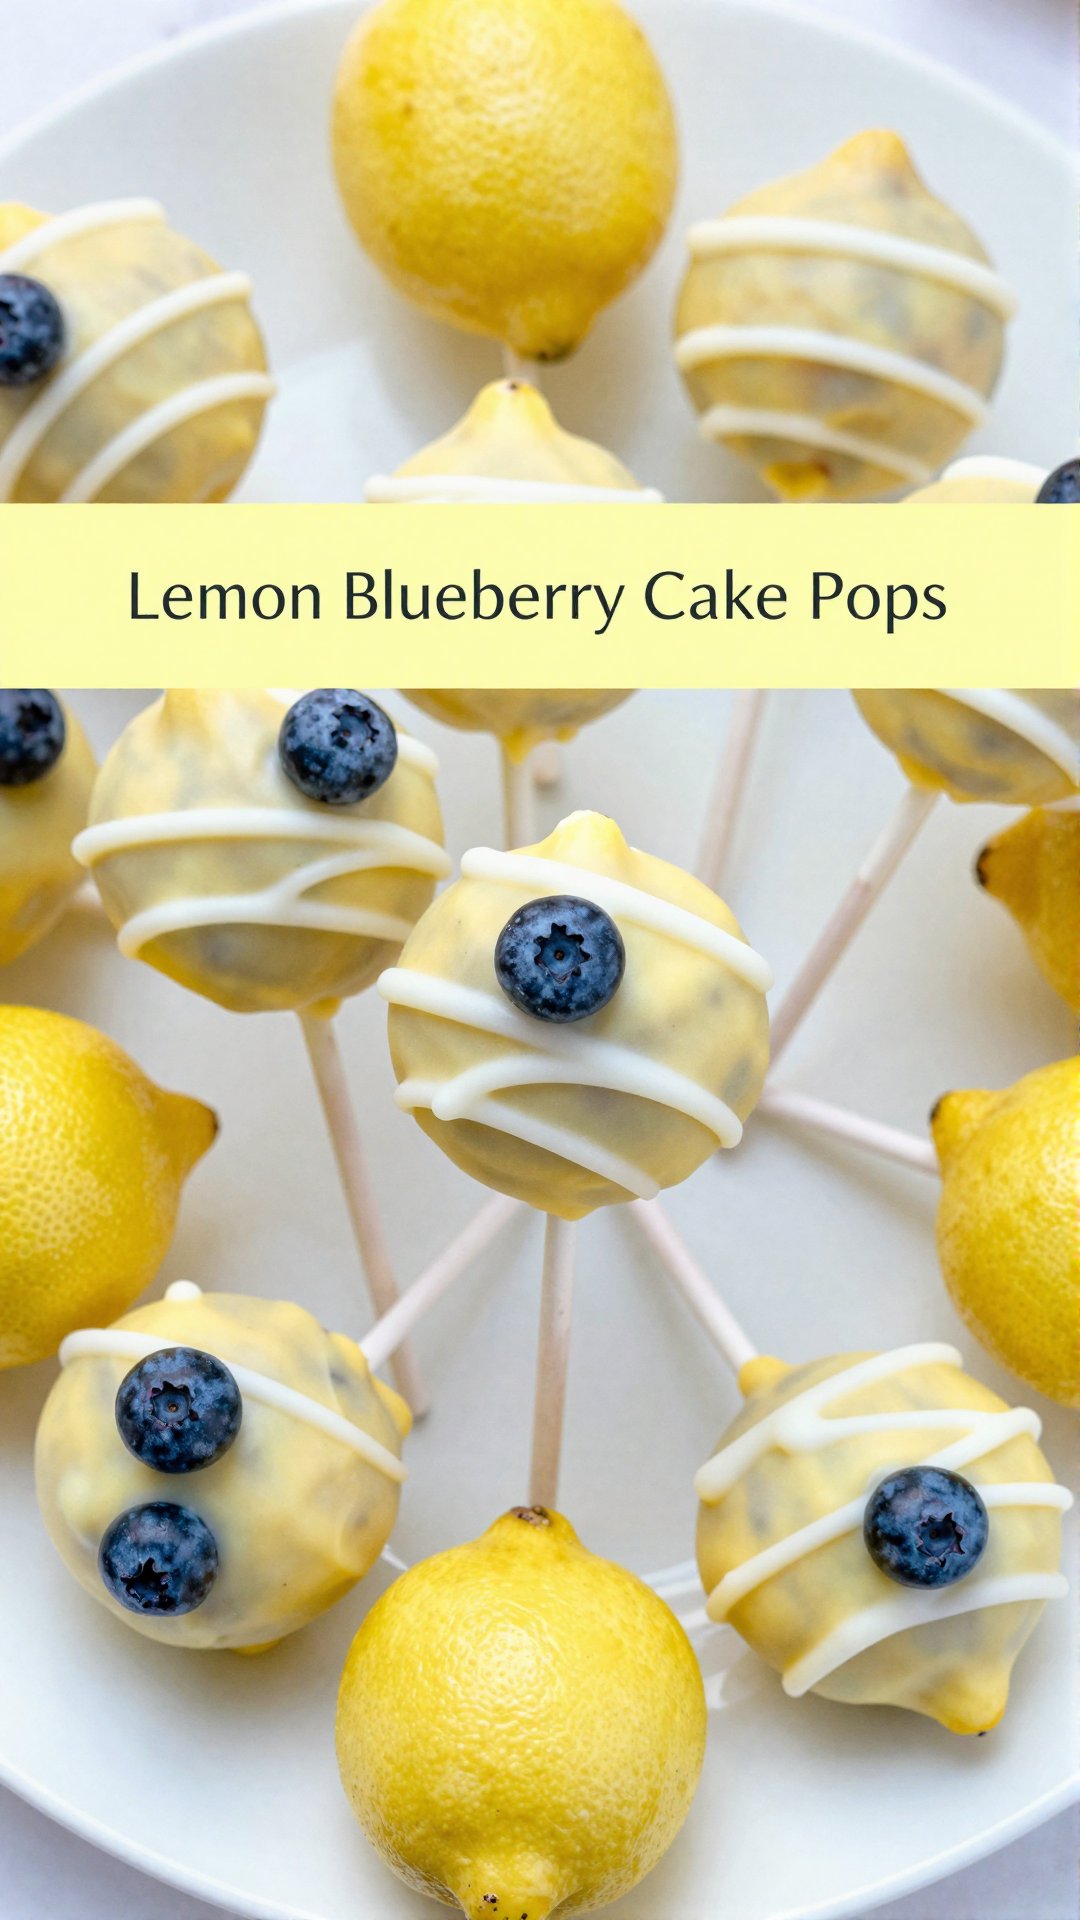
Hey there, friends! Emily Dawson here, from Emily’s Must-Try Kitchen. Today, we’re diving headfirst into a batch of sunshine and sweetness with these irresistible Lemon Blueberry Cake Pops! If you’re anything like me, you believe life’s too short for boring desserts, and these little pops are anything but! Think tangy lemon, juicy blueberries, all wrapped up in a creamy white chocolate hug. Are you ready to transform simple ingredients into a delightful treat that’s perfect for parties, potlucks, or just a sweet afternoon pick-me-up? Let’s get baking!
Growing up in Charleston, South Carolina, I learned early on that the best recipes are those that blend tradition with a playful twist. These lemon blueberry cake pops perfectly embody that spirit. They’re easy enough for a beginner baker but impressive enough to wow your friends and family. Trust me; these will disappear faster than you can say ‘delicious!’
Why You’ll Love This Recipe
Okay, let’s be real. Why should you spend your precious time making these cake pops? Here’s the scoop:
- Easy Peasy: This recipe uses a lemon-flavored cake mix as a base, making it incredibly simple and quick to whip up.
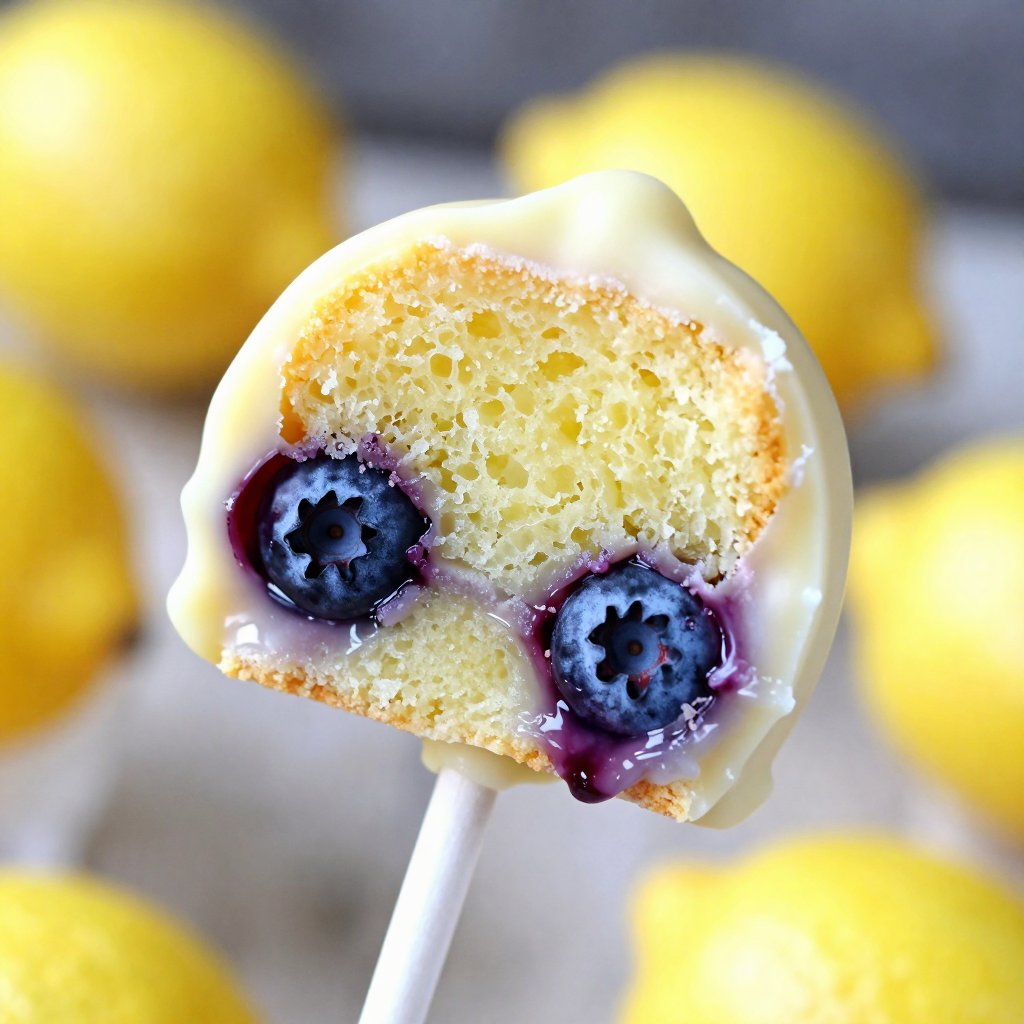
- Bursting with Flavor: The combination of zesty lemon and sweet blueberries is a match made in dessert heaven.
- Perfect for Any Occasion: From birthday parties to bake sales, these cake pops are always a hit.
- Customizable: You can easily adapt this recipe to suit your preferences. Want to add more lemon? Go for it! Prefer a different type of chocolate coating? The world is your oyster!
- Totally Adorable: Let’s face it, these cake pops are just plain cute. They’re guaranteed to bring a smile to anyone’s face.
So, are you convinced yet? I thought so! Let’s move on to the ingredients.
Ingredients You’ll Need
Before we start, let’s gather our ingredients. Here’s what you’ll need to create these delightful lemon blueberry cake pops:
- Lemon-flavored cake mix: This forms the base of your cake pops and provides that delicious lemon flavor. Using a high-quality cake mix will ensure the best flavor for your lemon blueberry cake pops.
- Fresh blueberries: These add a burst of juicy sweetness and beautiful color to your cake pops. If you don’t have fresh blueberries, you can use frozen, but be sure to thaw and drain them well before using.
- Lemon zest: A little lemon zest enhances the lemon flavor and adds a lovely aroma.
- Lemon juice: Adds a touch of tanginess and helps to keep the cake moist.
- Cream cheese frosting: This binds the cake crumbs together and adds a creamy richness.
- White chocolate melts: For coating the cake pops and adding a touch of sweetness.
Step-by-Step Instructions: Making Your Lemon Blueberry Cake Pops
Alright, let’s get down to business! Follow these simple steps, and you’ll be enjoying your own batch of lemon blueberry cake pops in no time.
- Bake the Cake: Preheat your oven to 350°F (175°C) and prepare your baking pan according to the package instructions of your lemon-flavored cake mix. Bake the cake mix until it’s golden brown and a toothpick inserted into the center comes out clean.
- Cool and Crumble: Let your cake cool completely. This is crucial! Once cooled, crumble it into a large mixing bowl. Don’t be afraid to get your hands dirty here!
- Mix in the Goodness: Add the cream cheese frosting, lemon zest, and lemon juice to the crumbled cake. Mix everything together until it’s well combined and forms a cohesive mixture. This is where the magic happens!
- Roll into Balls: Roll the mixture into 1-inch balls. Place them on a baking sheet lined with parchment paper. This will prevent them from sticking.
- Chill Out: Place the baking sheet with the cake balls in the refrigerator for at least 30 minutes. This will help them firm up and make them easier to dip.
- Melt the Chocolate: Melt your white chocolate according to the package instructions. Be careful not to overheat it, or it will seize up. I usually melt mine in 30-second intervals in the microwave, stirring in between. Learning how to properly melting white chocolate is key.
- Dip and Decorate: Dip each cake ball halfway into the melted white chocolate and place it back on the lined baking sheet. You can add sprinkles or other decorations at this point, if desired.
- Let it Set: Allow the chocolate coating to set completely before serving. You can speed this up by placing the baking sheet in the refrigerator for a few minutes.
- Enjoy!: Once the coating is set, your lemon blueberry cake pops are ready to be devoured!
Pro Tips for Perfect Cake Pops
Want to take your cake pops to the next level? Here are a few of my favorite pro tips:
- Use high-quality ingredients: The better the ingredients, the better your cake pops will taste. Especially when making your lemon blueberry cake pops, make sure you have fresh blueberries.
- Don’t overbake the cake: Overbaked cake will be dry and crumbly, making it difficult to form into balls.
- Chill the cake balls: Chilling the cake balls before dipping them in chocolate will help them hold their shape.
- Use a candy thermometer: A candy thermometer will help you ensure that your chocolate is melted to the correct temperature.
- Dip quickly and carefully: Dip the cake balls quickly and carefully to avoid breaking them.
- Decorate creatively: Have fun with your decorations! Use sprinkles, edible glitter, or even melted chocolate to create unique and eye-catching cake pops.
These tips are sure to help you get the best pops is on your first try!
Common Mistakes to Avoid
We all make mistakes in the kitchen—it’s part of the fun! But here are a few common pitfalls to watch out for when making cake pops:
- Cake is too dry: If your cake is too dry, add a little more frosting to the mixture.
- Cake balls are falling apart: If your cake balls are falling apart, try chilling them for a longer period of time.
- Chocolate is seizing: If your chocolate is seizing, it means it’s overheated or has come into contact with water. Try adding a tablespoon of vegetable oil to the chocolate and stirring until smooth.
- Cake pops are cracking: If your cake pops are cracking, it could be because the chocolate coating is too thick. Try dipping them in a thinner layer of chocolate.
Delicious Variations to Try
One of the best things about cake pops is how versatile they are! Here are a few variations to inspire your creativity:
- Add different extracts: Experiment with different extracts, such as vanilla, almond, or orange, to add a unique flavor to your cake pops.
- Use different types of chocolate: Try using dark chocolate, milk chocolate, or even colored candy melts to coat your cake pops.
- Add nuts or sprinkles: Sprinkle chopped nuts or colorful sprinkles over the chocolate coating for added texture and flavor.
- Drizzle with melted chocolate: Drizzle melted chocolate over the cake pops for a decorative touch.
- Make mini cake pops: Roll the mixture into smaller balls for bite-sized treats.
Feel free to get creative and experiment with different flavors and decorations to create your own signature cake pops! Your lemon blueberry cake pops are sure to be a hit. If you want to make blueberry cake pops without the lemon, simply omit the lemon zest and lemon juice.
How to Store Your Cake Pops
If you’re lucky enough to have any cake pops leftover, here’s how to store them:
- Room Temperature: Store your cake pops in an airtight container at room temperature for up to 2-3 days.
- Refrigerator: For longer storage, store them in the refrigerator for up to a week.
- Freezer: You can also freeze cake pops for up to 2-3 months. Wrap them individually in plastic wrap and then place them in an airtight container. Thaw them in the refrigerator before serving.
Frequently Asked Questions
Got questions? I’ve got answers! Here are a few frequently asked questions about making cake pops:
- Can I use a different type of frosting? Absolutely! Feel free to use your favorite type of frosting, such as vanilla, chocolate, or even peanut butter.
- Can I use frozen blueberries? Yes, you can use frozen blueberries, but be sure to thaw and drain them well before using.
- Can I make these ahead of time? Yes, you can make the cake balls ahead of time and store them in the refrigerator for up to 2 days.
- How do I prevent the chocolate from cracking? Make sure the chocolate is melted smoothly and not overheated. Also, avoid dipping the cake pops in a thick layer of chocolate.
- Can I use a different type of cake mix? Of course! If you don’t have lemon-flavored cake mix, you can use vanilla or white cake mix and add lemon zest and lemon juice for that lemony flavor.
Serving Suggestions
Now that your lemon blueberry cake pops are ready, it’s time to serve them up! Here are a few ideas:
- Party Platter: Arrange the cake pops on a platter for a festive and eye-catching display.
- Gift Giving: Package them in cellophane bags and tie with a ribbon for a sweet and thoughtful gift.
- Dessert Table: Add them to your dessert table for a fun and delicious treat.
- Afternoon Snack: Enjoy them with a cup of tea or coffee for a delightful afternoon snack.
- Just Because: Sometimes, you don’t need a reason! Treat yourself to a cake pop just because you deserve it.
I hope you enjoyed this recipe for Lemon Blueberry Cake Pops! Remember, cooking is all about having fun and experimenting in the kitchen. Don’t be afraid to try new things and put your own spin on this recipe. And most importantly, enjoy the process and the delicious results!
Thanks for joining me in Emily’s Must-Try Kitchen. Until next time, happy baking!

Lemon Blueberry Cake Pops
Ingredients
Cake Pops Ingredients
- 1 box Lemon-flavored cake mix
- 1 cup Fresh blueberries
- 1 tablespoon Lemon zest
- 2 tablespoons Lemon juice
- 1 cup Cream cheese frosting
- 12 oz White chocolate melts
Instructions
- Preheat oven to 350°F (175°C) and prepare baking pan. Bake cake mix until golden brown.
- Let the cake cool completely, then crumble it into a mixing bowl.
- Mix in cream cheese frosting, lemon zest, and lemon juice until well combined.
- Roll mixture into 1-inch balls and place on a lined baking sheet.
- Melt white chocolate; dip each ball halfway into chocolate and return to the baking sheet.
- Allow coating to set before serving.
Notes
Nutrition