Welcome to the Sweet World of Royal Icing
Are you ready to elevate your baking game? Royal icing is a versatile and magical addition to your kitchen repertoire, perfect for decorating cookies and cakes alike. This icing is not just about aesthetics; it’s about creating beautiful memories, whether you’re frosting a birthday cake or adorning holiday cookies. In this guide, you’ll discover everything you need to know about making royal icing, from tips and tricks to troubleshooting common problems.
Why You’ll Love This Recipe
Royal icing is a favorite among bakers for several reasons:
- Easy to Make: With just a few ingredients, you can whip up a batch of royal icing in no time.
- Perfect for Decorating: Whether you’re piping intricate designs or flooding cookies, royal icing holds its shape beautifully.
- Customizable: You can easily tint royal icing to match any theme or occasion, making it perfect for parties and celebrations.
- Long-Lasting: This icing dries hard, ensuring your decorations stay intact for days (or even weeks!).
- Fun for All Ages: Involve the kids! Decorating with royal icing is a delightful way to spend time together in the kitchen.
Ingredients Breakdown
To create the perfect royal icing, you’ll need:
- 2 cups confectioners’ sugar: This is the base of your icing, providing sweetness and structure.
- 2 tablespoons plus 2 teaspoons water: Adjusts the consistency of the icing for your decorating needs.
- 4-1/2 teaspoons meringue powder: A key ingredient that helps the icing dry hard and maintain its shape.
- 1/4 teaspoon cream of tartar: Stabilizes the icing and helps achieve the perfect texture.
- Food coloring (optional): Add a splash of color to your icing to match your theme.
If you’re looking for alternatives, consider using fresh egg whites instead of meringue powder, or try powdered egg whites if you have them on hand. Just remember, the key to great royal icing is consistency!
How to Make Royal Icing
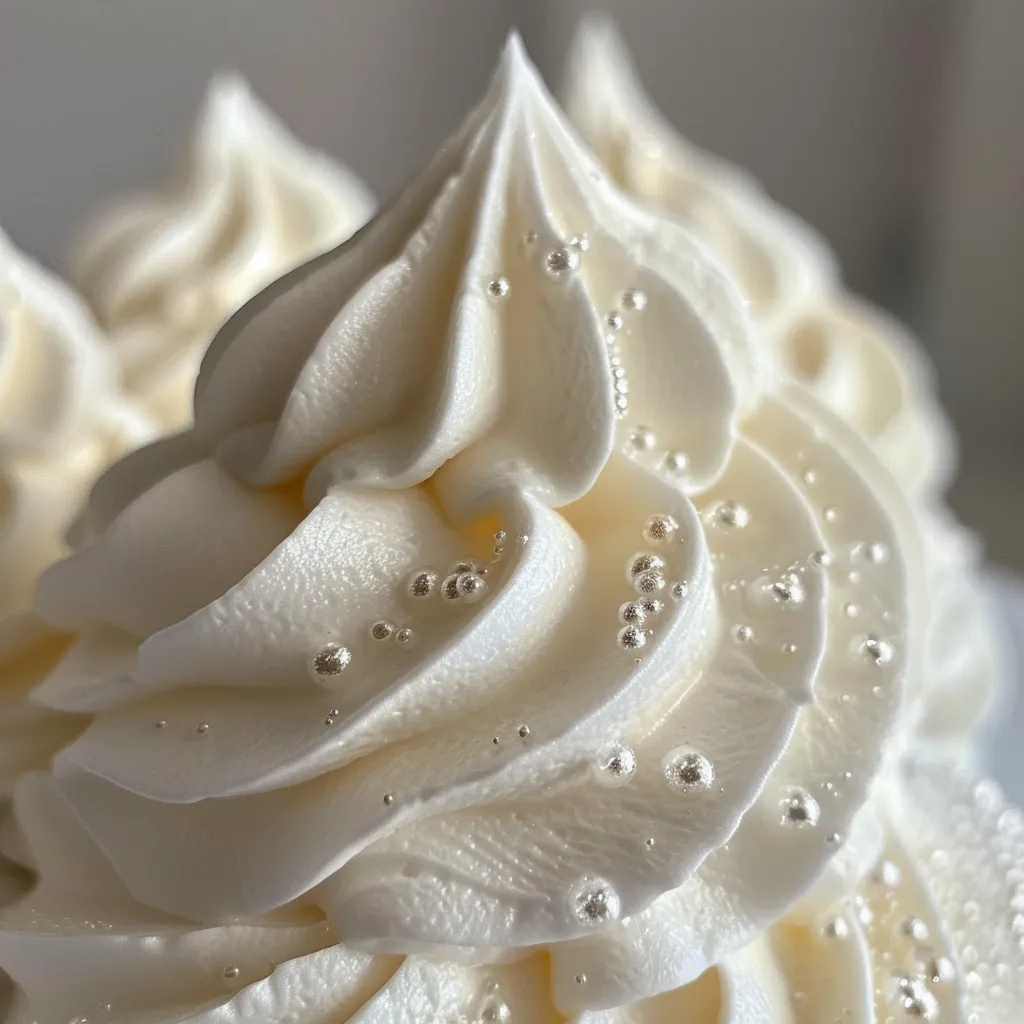
Now, let’s dive into the steps to make this delightful icing:
- Step 1: In a small bowl, combine the confectioners’ sugar, water, meringue powder, and cream of tartar; beat on low speed just until combined.
- Step 2: Increase speed to high and beat for 4-5 minutes or until stiff peaks form.
- Step 3: If desired, tint with food coloring.
- Step 4: Keep unused icing covered at all times with a damp cloth to prevent it from drying out.
- Step 5: If necessary, beat again on high speed to restore texture before using.
Pro Tips for Perfect Royal Icing
Here are some expert insights to help you master royal icing:
- Consistency is Key: The right consistency is vital for successful decorating. For piping, the icing should hold its shape, while flooding requires a slightly thinner mix.
- Test Your Icing: Use the “10-second rule”—drizzle a little icing back into the bowl; it should disappear in about 10 seconds.
- Use a Pastry Bag: For precise application, place your royal icing in a pastry bag fitted with a round tip.
- Practice Piping: Don’t be discouraged if your first attempts don’t look perfect. It takes practice to get the hang of it!
- Keep It Covered: Always cover your leftover icing with a damp cloth or airtight container to prevent drying.
- Store Properly: Royal icing can be stored in the refrigerator for up to 2 weeks. Just stir well before using again.
- Experiment: Don’t be afraid to try different flavors or color combinations. Add extracts like almond or vanilla for added depth.
- Be Mindful of Humidity: High humidity can affect the drying time and texture of royal icing. Adjust your recipe accordingly!
Common Mistakes and Troubleshooting
Even the best bakers can face challenges. Here are some common pitfalls and how to solve them:
- Too Runny: If your icing is too runny, add more confectioners’ sugar until you reach the desired consistency.
- Cracking or Breaking: Ensure the icing dries slowly; cover with a clean cloth while it sets.
- Color Bleeding: Use gel food coloring rather than liquid to prevent bleeding.
- Air Bubbles: Tap the bowl gently or use a toothpick to release any trapped air bubbles.
- Drying Issues: If your icing isn’t drying properly, check your humidity levels and make sure you’re using the right amount of meringue powder.
Variations of Royal Icing
Feeling adventurous? Here are some fun variations to try:
- Chocolate Royal Icing: Add cocoa powder to your icing base for a chocolate twist.
- Flavored Royal Icing: Experiment with different extracts like lemon, mint, or hazelnut for unique flavors.
- Glittery Royal Icing: Add edible glitter for a fun sparkle on your baked goods.
- Thinned Royal Icing: For flooding, add more water to achieve a runny consistency—perfect for covering cookie surfaces.
Storage and Make-Ahead Instructions
Want to prep ahead of time? Here’s how to store your royal icing:
- Refrigerate: Keep your royal icing in an airtight container in the fridge for up to 2 weeks.
- Freeze: You can freeze royal icing for up to 3 months. Thaw in the refrigerator before using.
- Keep Covered: Always ensure your icing is covered with a damp cloth or plastic wrap when not in use to prevent drying out.
Comprehensive FAQ
Got questions? Here are some frequently asked questions about royal icing:
- Can I use egg whites instead of meringue powder? Yes, fresh egg whites can be used, but ensure they’re pasteurized for safety.
- How long does royal icing take to dry? Typically, royal icing dries to the touch in 30 minutes but can take up to 24 hours to fully harden.
- What’s the difference between piping and flooding? Piping is for detailed work, while flooding is used to cover larger areas of cookies.
- Can I tint royal icing in advance? Yes, but it’s best to add food coloring just before use for vibrant results.
- Why is my royal icing too thick? If it’s too thick, add a few drops of water until you reach the desired consistency.
- How do I fix dry royal icing? Add a little water and re-beat until smooth.
- Can I reuse royal icing? Yes, as long as it has been kept covered and doesn’t dry out.
- What’s the best way to store decorated cookies? Store them in an airtight container at room temperature to keep the icing intact.
Nutrition Tips and Dietary Adaptations
While royal icing is primarily a treat, here are some tips for making it a bit healthier:
- Use Natural Sweeteners: Substitute some sugar with natural sweeteners like agave or honey (though this may affect consistency).
- Vegan Options: Use aquafaba (chickpea brine) instead of egg whites for a vegan alternative to meringue powder.
- Control Portions: When decorating, use smaller amounts to enjoy without overindulging.
Equipment Recommendations
To make your royal icing journey smoother, here’s what you’ll need:
- Stand or Hand Mixer: For whipping the icing to the right consistency.
- Pastry Bags and Tips: Essential for piping your designs accurately.
- Food Coloring Gels: For vibrant and rich colors that won’t dilute your icing.
- Silicone Spatula: Great for mixing and scraping down the sides of your mixing bowl.
- Cookie Cutters: To create fun shapes that will be decorated with your royal icing.
Serving Suggestions
Now that you have your royal icing ready, here are some fun serving ideas:
- Decorated Cookies: Use royal icing to create beautiful designs on sugar cookies for any occasion.
- Cakes: Pipe intricate designs on cakes for a professional-looking finish.
- Holiday Treats: Make festive themed cookies for holidays like Christmas, Halloween, and Easter.
- Gift Giving: Package decorated cookies in boxes as thoughtful gifts for friends and family.
Thank you for joining me on this sweet adventure into the world of royal icing! Remember, cooking is all about joy and creativity. So roll up your sleeves, grab your mixing bowl, and let’s create some delicious memories together. Happy baking!
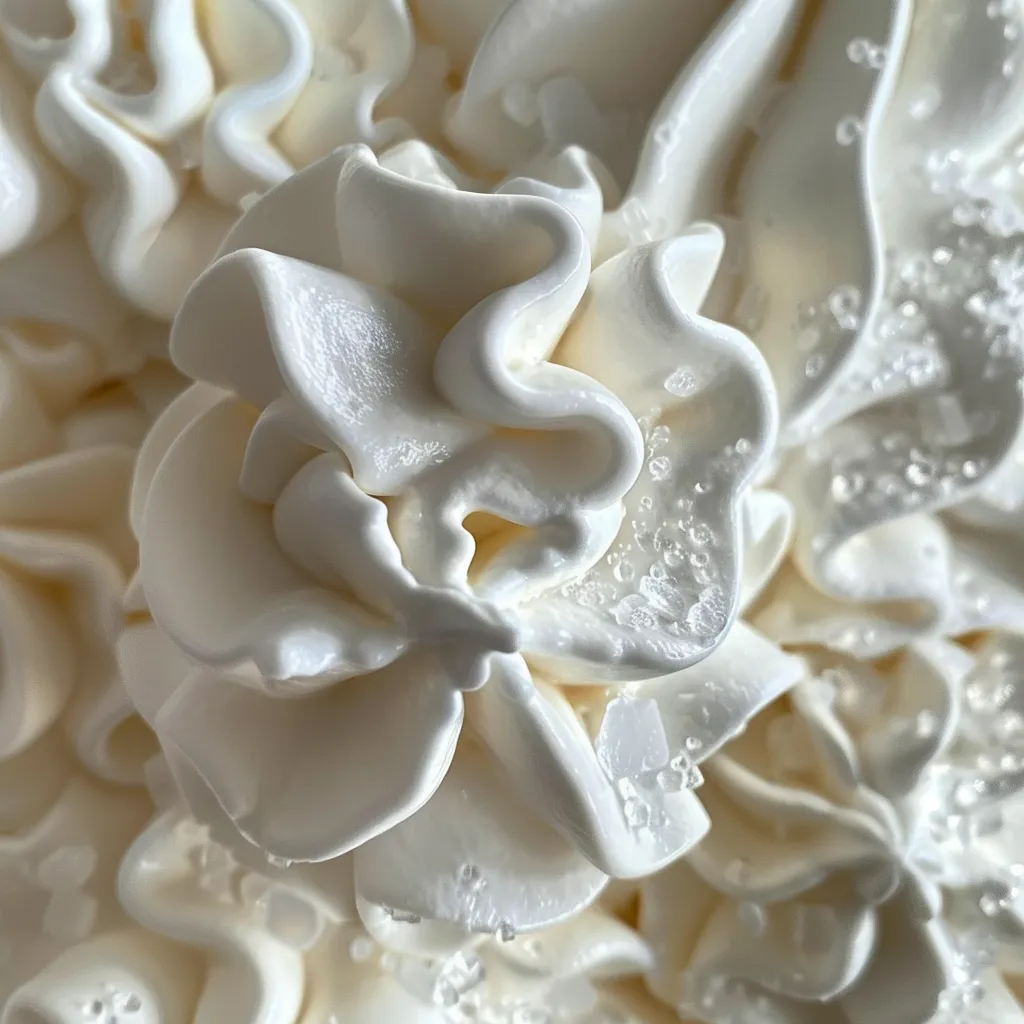
Royal Icing
Ingredients
Dry ingredients
- 2 cups confectioners' sugar
- 4.5 teaspoons meringue powder
- 1/4 teaspoon cream of tartar
Liquid
- 2 tablespoons water
- 2 teaspoons water
Optional
- Food coloring (optional)
Instructions
- Combine confectioners' sugar, water, meringue powder, and cream of tartar; beat on low until combined.
- Beat on high for 4-5 minutes until stiff peaks form.
- Tint with food coloring if desired. Keep covered with a damp cloth when not in use.
- Place icing in a pastry bag for decorating.
- Use #3 tip for borders and dots; #1 or #2 for detailed decorations.