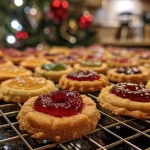
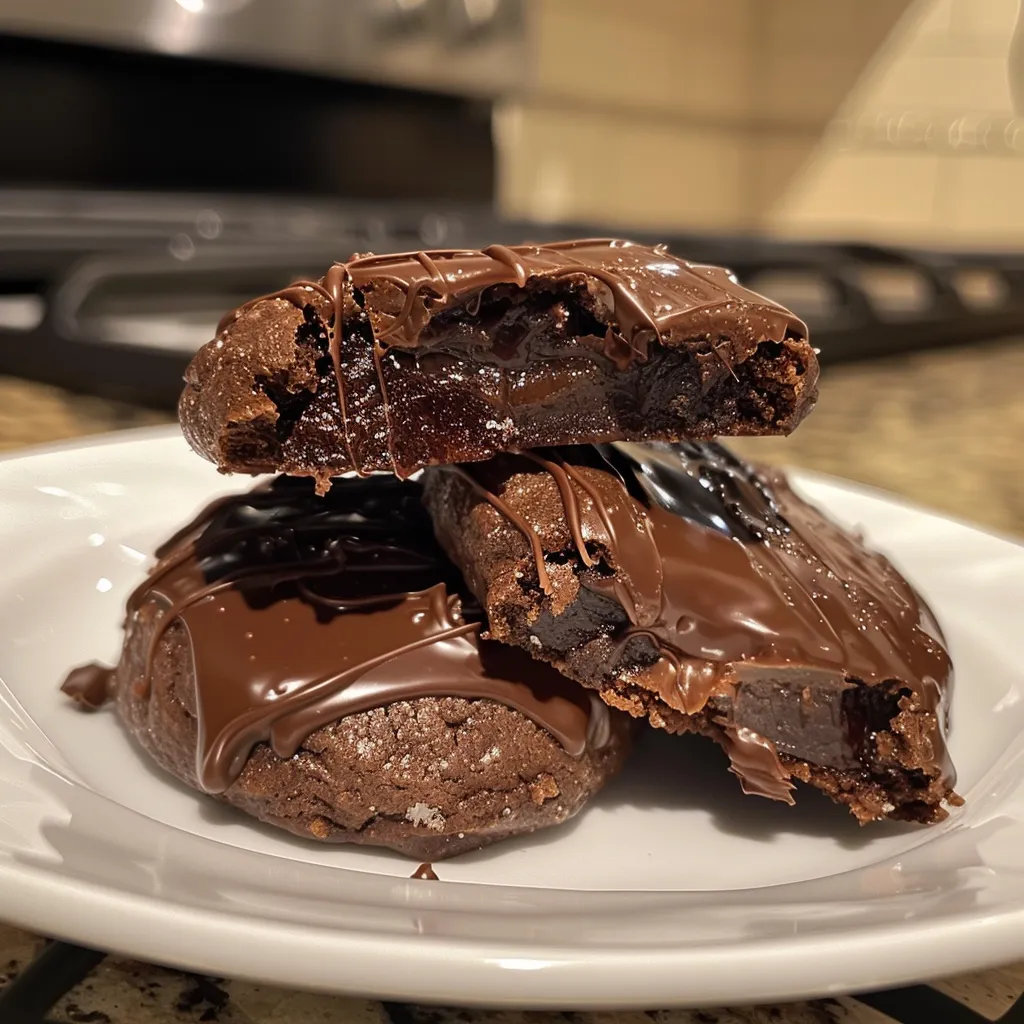
Welcome back to Emily’s Must-Try Kitchen, friends! Today, I’m bubbling with excitement to share a recipe that’s not only a family favorite but also a delightful surprise for any gathering: Melt-in-Your-Mouth Chocolate Blossom Cookies! These cookies are the epitome of comfort, nostalgia, and pure joy, reminiscent of the countless afternoons I spent baking with my mom in our cozy Charleston kitchen. The way the rich chocolate mingles with the sweetness of the kisses on top is a symphony of flavors that brings smiles all around the table.
As I stood on my little stool, taste-testing cookie dough and sneaking chocolate chips when I thought no one was watching, I realized that baking is more than just mixing ingredients. It’s about creating memories, sharing moments of laughter, and, of course, indulging in something delicious. So, roll up your sleeves, and let’s dive into this sweet adventure together!
Why You’ll Absolutely Love Chocolate Blossom Cookies
Let me tell you why these cookies will soon become a staple in your home:
- They are incredibly simple to make—perfect for bakers of all levels!
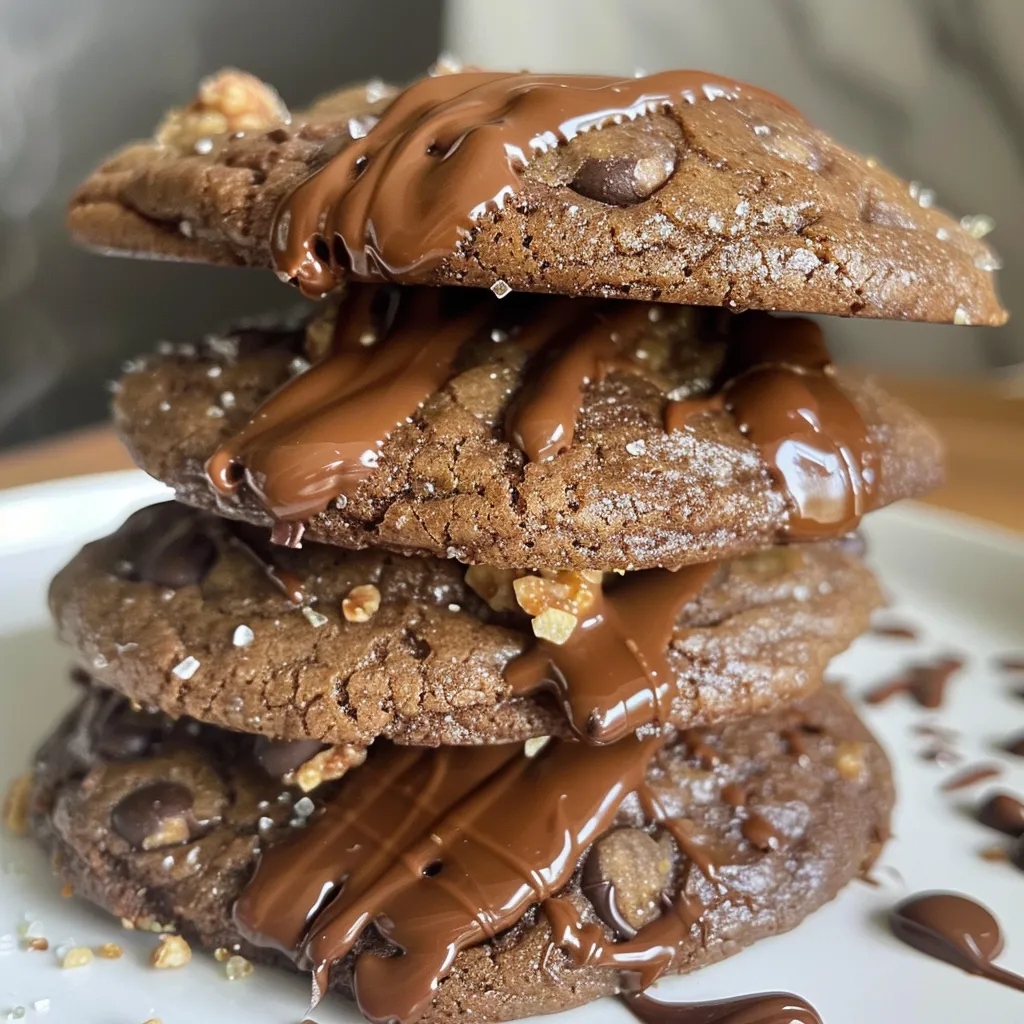
- The combination of soft, chewy cookie and rich chocolate kiss creates an irresistible treat.
- They’re versatile enough for any occasion, from holiday gatherings to casual get-togethers.
- These cookies are a hit with both kids and adults, making them perfect for sharing and spreading joy!
Ingredients You’ll Need
Let’s chat about the ingredients that will bring these delightful cookies to life! We’re keeping it classic and simple, ensuring that every bite is a burst of chocolatey goodness. We’ll start with unsalted butter for that rich, creamy base, paired with both granulated and brown sugars to achieve that perfect balance of sweetness. The addition of eggs and vanilla extract brings warmth and depth to our cookies.
Now, let’s talk about the dry ingredients! All-purpose flour, cocoa powder, baking soda, and a pinch of salt work together to create a soft, chewy texture. And, of course, we can’t forget the star of the show—those luscious chocolate kisses that we’ll pop right in the center of each cookie after baking.
You’ll find the full ingredient list with measurements in the recipe card below!
How to Make Chocolate Blossom Cookies, Step-by-Step
Alright, my fellow kitchen adventurers, let’s get baking! Follow these simple steps, and I promise you’ll have a tray of cookies that will disappear faster than you can say “Chocolate Blossom!”
- Preheat your oven to 350°F (175°C). This is the perfect time to get that warm, inviting aroma filling your kitchen!
- In a large bowl, cream together the softened butter, granulated sugar, and brown sugar until the mixture is smooth and fluffy. This is where the magic begins!
- Next, beat in the eggs one at a time, making sure they’re fully incorporated before adding the next. Stir in the vanilla extract—trust me, it makes all the difference.
- In a separate bowl, whisk together the flour, baking soda, salt, and cocoa powder. This step ensures that all those dry ingredients are evenly distributed.
- Gradually blend the dry ingredients into the wet mixture until everything is fully combined. You’ll want to use a spatula or a wooden spoon here—no need for fancy gadgets!
- Now, roll the dough into 1-inch balls and place them on ungreased baking sheets, making sure to leave some space between each ball. They’ll spread out beautifully as they bake!
- Bake for 10-12 minutes, or until the edges are firm. The center will look slightly soft, and that’s okay; they’ll continue to set as they cool.
- Remove from the oven and immediately press a chocolate kiss into the center of each cookie. This is the moment where the magic really happens!
- Let the cookies cool on the baking sheet for a few minutes before transferring them to a wire rack to cool completely. Try to resist the urge to sneak a bite too quickly—though, no one will blame you if you do!
Pro Tips for the Best Results
Before you dive in, here are a few of my tried-and-true tips to ensure your Chocolate Blossom Cookies turn out perfectly:
- Make sure your butter is softened, not melted! This will help create the right texture.
- Don’t overmix the dough once you add the dry ingredients—mix just until combined for the softest cookies!
- For an extra touch of fun, sprinkle a little sea salt on top of each cookie after adding the chocolate kiss. It enhances the chocolate flavor beautifully!
Serving Suggestions
These cookies are perfect on their own, but why not elevate the experience? Serve them warm with a scoop of vanilla ice cream for a delightful dessert. They also make a sweet addition to gift boxes during the holidays or as a party favor for your next gathering. Imagine friends and family unwrapping a bag of these beauties—pure bliss!
Storage and Make-Ahead Tips
If you’re like me, you might want to bake a double batch, and that’s perfectly okay! These cookies can be stored in an airtight container at room temperature for up to a week. If you want to make them ahead of time, you can also freeze the cookie dough balls before baking. Just pop them in the oven straight from the freezer, adding a couple of extra minutes to the baking time.
There you have it, my dear friends! A simple yet decadent recipe for Chocolate Blossom Cookies that’s sure to bring joy to your kitchen and smiles to your loved ones. I can’t wait to hear how your baking adventures go! Don’t forget to share your stories and tag me in your creations. Happy baking!
Chocolate Blossom Cookies
Ingredients
Dough
- 1 cup unsalted butter, softened
- 1 cup granulated sugar
- 1 cup brown sugar, packed
- 2 large eggs
- 2 teaspoons vanilla extract
- 3 cups all-purpose flour
- 1 teaspoon baking soda
- 1 teaspoon salt
- 1 cup unsweetened cocoa powder
- 1 cup chocolate kisses, unwrapped
Instructions
- Preheat oven to 350°F (175°C).
- Cream butter, sugars, then add eggs and vanilla.
- Mix dry ingredients and combine with wet mixture.
- Form dough into 1-inch balls, place on baking sheets, and bake 10-12 minutes.
- Press a chocolate kiss into each cookie while warm, then cool.
Notes
Nutrition
Loved this recipe? Save it to your favorite Pinterest board so you can easily find it later! It’s the perfect way to keep all your sweet ideas in one place. ✨