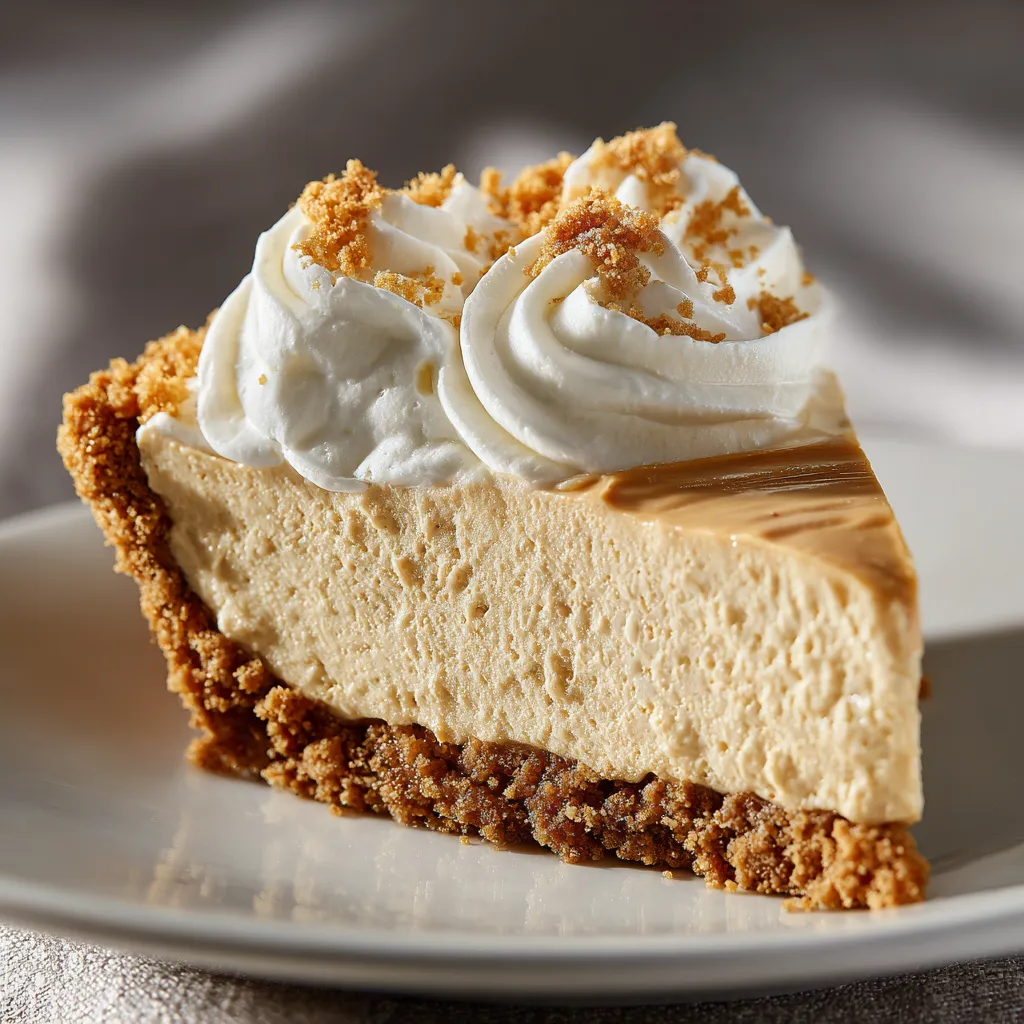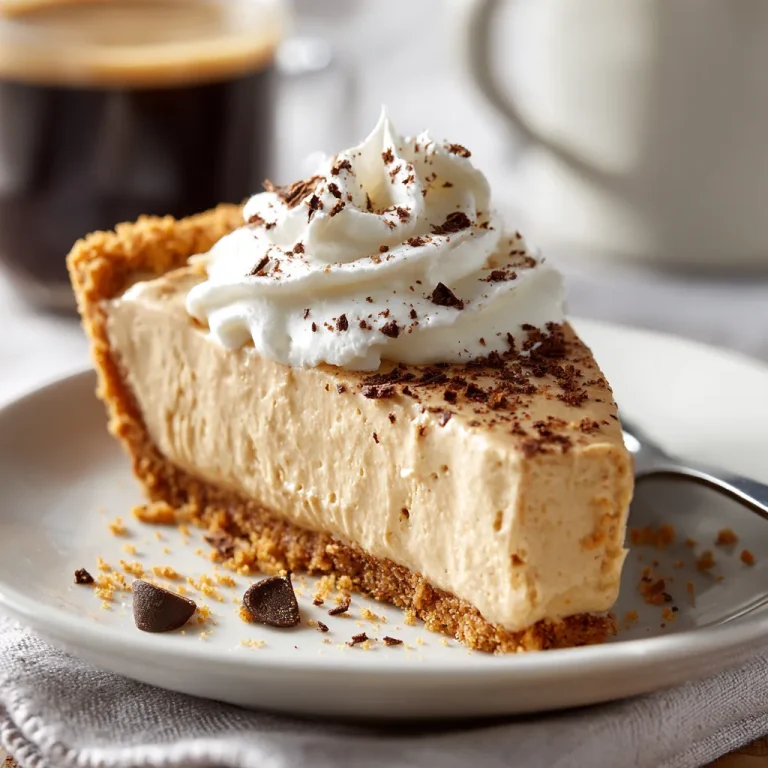
Discover the Joy of Peanut Butter Pie
Welcome to Emily’s Must-Try Kitchen! Today, we’re diving into a dessert that’s as delightful as it is simple: Peanut Butter Pie. This creamy, dreamy pie is not just a treat for your taste buds; it’s a celebration of the joyful moments spent in the kitchen. Whether you’re planning a family gathering, a potluck, or just want to indulge in something sweet, this pie promises to steal hearts and leave everyone asking for seconds!
In the heart of this recipe lies the creamy peanut butter filling, paired with a crunchy Oreo crust that’s utterly irresistible. So, roll up your sleeves, and let’s get started on this delicious journey!
Why You’ll Love This Recipe
- No-Bake Delight: This peanut butter pie requires no baking, making it perfect for warm days and busy schedules.
- Rich and Creamy Texture: The luscious peanut butter filling paired with the smooth whipped cream creates a dessert that’s simply heavenly.
- Customizable Options: Feel free to switch up the ingredients or add your favorite toppings to make this pie uniquely yours.
- Quick and Easy: With just a few simple steps, you can whip up this delightful dessert in no time!
- Perfect for Any Occasion: Whether it’s a birthday party or a simple family dinner, this pie is sure to impress your guests.
Ingredients Breakdown

Here’s everything you’ll need to make this scrumptious Peanut Butter Pie:
- 24 Oreo sandwich cookies: These will form the base of your pie. Feel free to use any chocolate cookie if you prefer.
- 5 tablespoons (70 g) butter, melted: This helps bind the crust together.
- 12 oz (340 g) cream cheese, softened: Essential for that creamy texture.
- 1 ½ cups (375 g) creamy peanut butter: The star of the show! Use smooth peanut butter for the best results.
- 2 ¼ cups (280 g) powdered sugar, divided: This adds sweetness to the filling and optional whipped cream.
- 1 teaspoon (5 ml) vanilla extract: Enhances the overall flavor.
- 1 ½ cups (355 ml) heavy cream: For making the fluffy whipped topping.
- ¾ cup (175 ml) heavy cream (for topping): Optional, but highly recommended for that extra creamy layer.
- ¼ cup (30 g) powdered sugar (for topping): To sweeten your whipped cream topping.
- ½ teaspoon vanilla extract (for topping): For a hint of flavor in your topping.
- 2 tablespoons crushed Reese’s Pieces (optional): A fun garnish that adds extra flavor and crunch!
Ingredient Substitutions
If you’re looking to switch things up or have dietary restrictions, here are some substitutions:
- Gluten-Free Option: Use gluten-free Oreo cookies to make the crust.
- Low-Sugar Version: Swap regular powdered sugar with a sugar substitute like erythritol.
- Nut-Free Alternative: Replace peanut butter with sunbutter or almond butter.
- Dairy-Free Option: Use dairy-free cream cheese and whipped topping.
Step-by-Step Instructions
Let’s get to the fun part—making the pie! Follow these simple steps for a delicious outcome:
- **Prepare the Crust:** Crush the Oreo cookies into fine crumbs and mix them with the melted butter. Press the mixture firmly into the bottom and sides of a 9-inch pie dish. Refrigerate while preparing the filling.
- **Make the Filling:** In a large mixing bowl, beat the softened cream cheese, creamy peanut butter, 2 cups of powdered sugar, and vanilla extract until smooth and creamy.
- **Whip the Cream:** In a separate bowl, whip the heavy cream with the remaining ¼ cup powdered sugar until stiff peaks form.
- **Combine:** Gently fold the whipped cream into the peanut butter mixture until fluffy and well combined.
- **Fill the Crust:** Spread the peanut butter filling evenly into the prepared crust, smoothing the top with a spatula.
- **Optional Topping:** If desired, whip together the cream, powdered sugar, and vanilla for the topping. Spread or pipe over the pie.
- **Garnish:** Sprinkle crushed Reese’s Pieces on top for a fun twist.
- **Chill:** Refrigerate for at least 4 hours, or overnight, before serving to let the flavors meld together.
Pro Tips for Perfect Peanut Butter Pie
- Softened Cream Cheese: Ensure your cream cheese is at room temperature to avoid lumps in your filling.
- Use Heavy Cream: For the best whipped topping, opt for heavy cream for a richer texture.
- Don’t Overmix: When folding in the whipped cream, do so gently to keep the filling light and airy.
- Chill Time Matters: Allow sufficient chilling time to set the pie properly.
- Flavor Boost: Add a pinch of salt to the filling to enhance the peanut butter flavor.
- Decorate Creatively: Get creative with toppings—try chocolate shavings or additional crushed cookies!
- Experiment with Fillings: Feel free to mix in chocolate chips or crushed candy bars for added flavor.
- Perfect Slices: Use a hot knife (run under hot water) to cut clean slices for serving.
Common Mistakes and Troubleshooting
Avoid these pitfalls to ensure your pie is a success:
- Crust Too Crumbly: If your crust falls apart, try adding a bit more melted butter to help it hold together.
- Lumpy Filling: Always beat the cream cheese well before adding other ingredients to ensure a smooth filling.
- Overwhipped Cream: Stop whipping as soon as you see stiff peaks to prevent your whipped cream from becoming grainy.
Variations to Try
Make this Peanut Butter Pie your own with these fun variations:
- Chocolate Peanut Butter Pie: Add melted chocolate to the filling for a rich chocolate flavor.
- Banana Peanut Butter Pie: Layer sliced bananas on the crust before adding the filling.
- Reese’s Peanut Butter Pie: Fold in chopped Reese’s cups into the filling for extra texture.
- Gluten-Free Peanut Butter Pie: Use gluten-free cookies for the crust and ensure all ingredients are gluten-free.
Storage and Make-Ahead Instructions
This pie can be made ahead of time and stored in the refrigerator. Here are some tips:
- Refrigeration: Store leftovers covered in the fridge for up to 5 days.
- Freezing: You can freeze this pie, but it’s best enjoyed fresh. If freezing, wrap tightly in plastic wrap and aluminum foil.
- Thawing: To thaw, place the pie in the refrigerator overnight before serving.
Frequently Asked Questions (FAQs)
- Can I use natural peanut butter for this pie? Yes, but ensure it’s well-stirred and not too oily.
- How do I make homemade whipped cream? Simply whip heavy cream with sugar and vanilla until stiff peaks form.
- Can I use a springform pan instead of a pie pan? Absolutely! A springform pan makes for easy removal.
- What’s the best way to garnish this pie? Crushed Reese’s Pieces or chocolate shavings work wonderfully!
- Can I make this pie ahead of time? Yes! It’s even better when made a day in advance, allowing the flavors to meld.
- How long can I store leftovers? Leftovers can be stored in the refrigerator for up to 5 days.
- Can I freeze this pie? Yes, but it’s best served fresh. If freezing, wrap it well.
- What is the best way to slice this pie? Use a hot knife for clean slices!
Nutrition Tips and Dietary Adaptations
If you’re looking to enjoy this dessert while keeping your health in mind, consider these tips:
- Portion Control: Enjoy smaller slices to satisfy your sweet tooth without overindulging.
- Nutritious Add-Ons: Consider adding crushed nuts or seeds for an extra crunch and nutritional boost.
- Balanced Pairing: Serve with fresh fruit for a refreshing contrast to the richness of the pie.
Equipment Recommendations
To make this Peanut Butter Pie, here’s what you’ll need:
- 9-inch pie dish: For shaping and presenting your pie.
- Mixing bowls: For combining ingredients.
- Electric mixer: To easily beat the filling and whip the cream.
- Spatula: For folding and smoothing your filling.
Serving Suggestions
This Peanut Butter Pie is a showstopper that pairs well with:
- Fresh Berries: Strawberries or raspberries add a delightful tartness.
- Chocolate Sauce: Drizzle over the top for an extra indulgent treat.
- Ice Cream: Pair with vanilla or chocolate ice cream for an extra creamy experience!
Thank you for joining me in making this delicious Peanut Butter Pie! I hope it brings joy to your table and fills your home with warmth and laughter. Remember, the best part of cooking is sharing it with others. Happy baking, my friends!
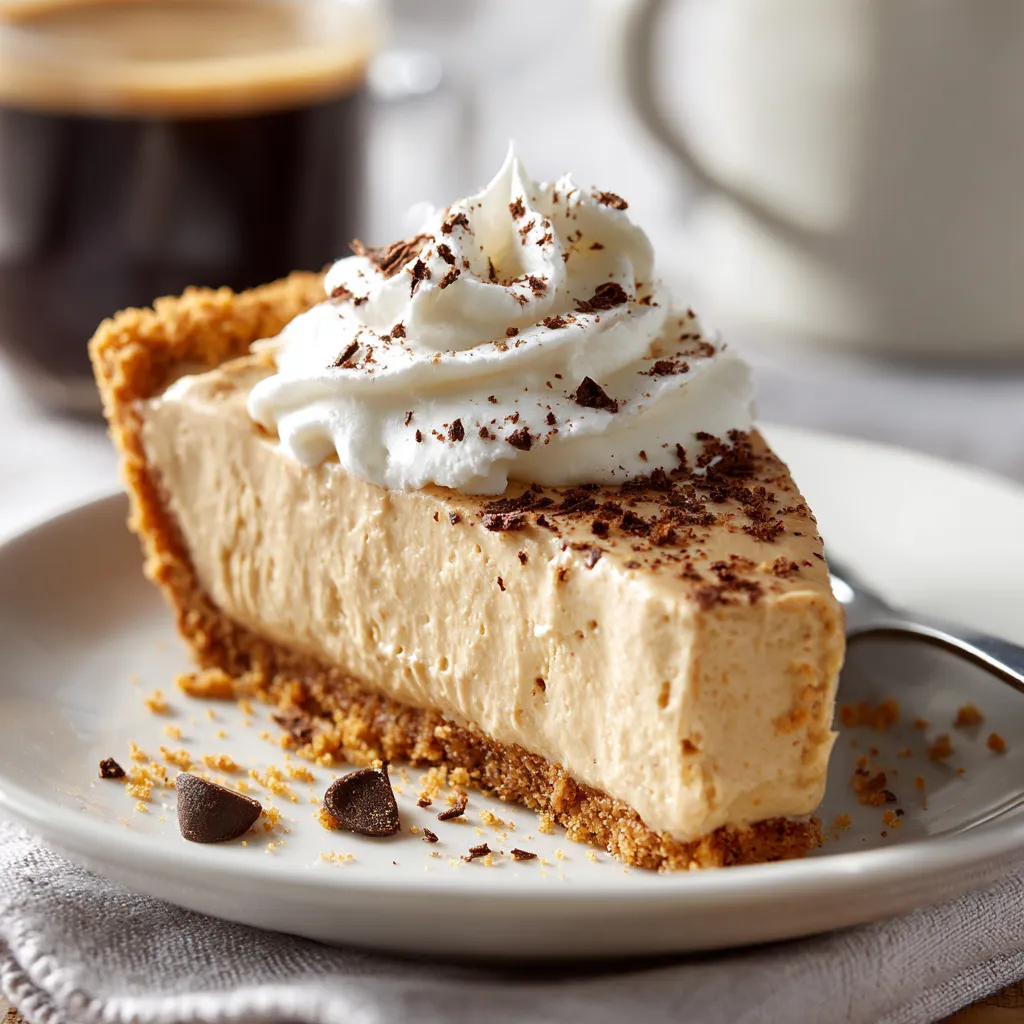
Peanut Butter Pie
Ingredients
Crust
- 24 pieces oreo sandwich cookies (with filling)
- 5 tablespoons butter, melted
Filling
- 12 oz cream cheese, softened
- 1 ½ cups creamy peanut butter
- 2 ¼ cups powdered sugar, divided
- 1 teaspoon vanilla extract
- 1 ½ cups heavy cream
Whipped topping (optional)
- ¾ cup heavy cream
- ¼ cup powdered sugar
- ½ teaspoon vanilla extract
- 2 tablespoons crushed Reese’s Pieces (optional)
Instructions
- Crush Oreos into fine crumbs and mix with melted butter. Press into a 9-inch pie dish and chill.
- Beat cream cheese, peanut butter, 2 cups powdered sugar, and vanilla until smooth. Fold in whipped cream.
- Spread filling into crust, smooth the top, and refrigerate for at least 4 hours.
- Optional: Whip heavy cream, powdered sugar, and vanilla for topping. Spread or pipe over pie and garnish with crushed Reese’s Pieces.
Notes
Nutrition
Loved this recipe? Save it to your favorite Pinterest board so you can easily find it later! It’s the perfect way to keep all your sweet ideas in one place. ✨