This post contains affiliate links. As an Amazon Associate, I earn from qualifying purchases. This comes at no extra cost to you.
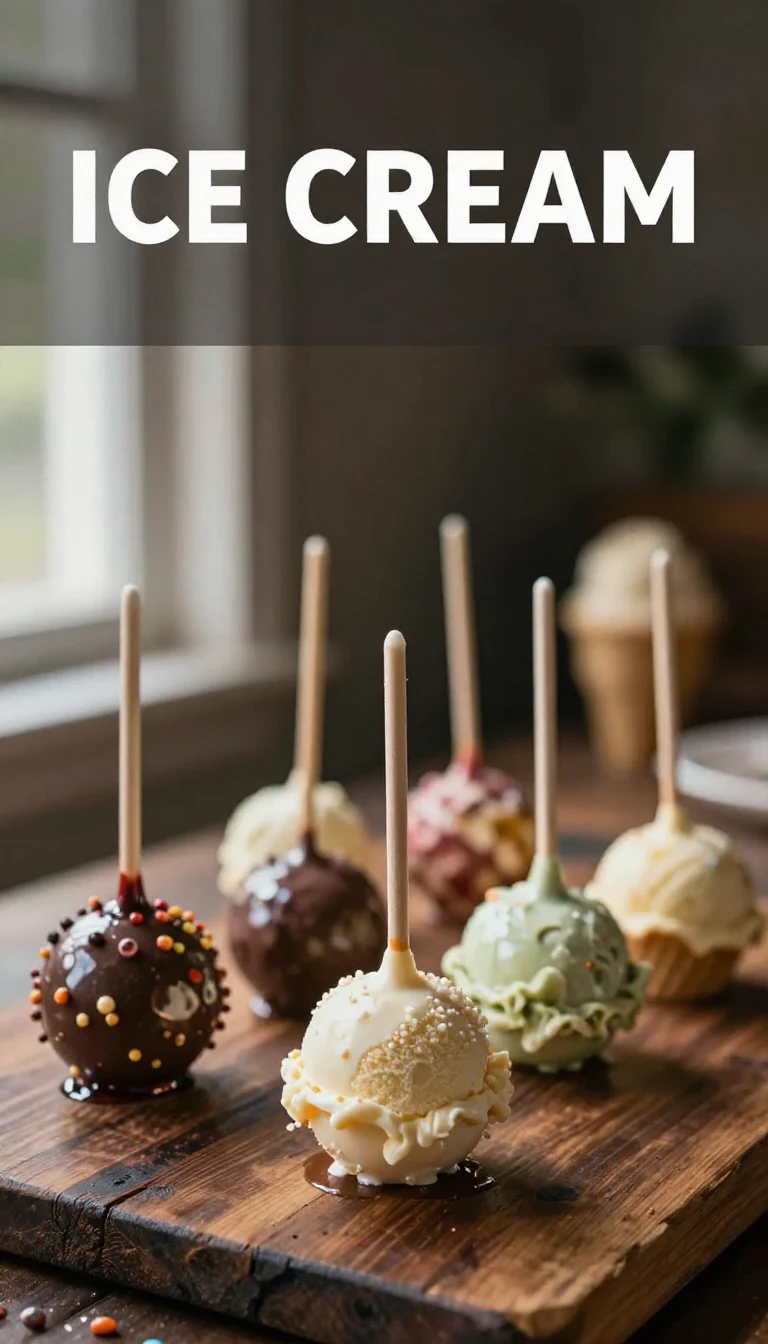
Ice cream cone cake pops are a delightful combination of moist cake balls and crunchy mini ice cream cones, dipped in a colorful candy coating for a party-perfect treat. These bite-sized desserts deliver the charm of ice cream without melting, making them ideal for festive gatherings or celebrations. With their playful presentation and customizable decorations, they’re sure to steal the show on any dessert table.
Table of Contents
- Why Make Ice Cream Cone Cake Pops
- Everything You Need for Ice Cream Cone Cake Pops
- How To Make Ice Cream Cone Cake Pops Step by Step
- Common Mistakes to Avoid
- Storage and Reheating Tips
- Serving Ideas for Ice Cream Cone Cake Pops
Why Make Ice Cream Cone Cake Pops
- They’re easy to make and perfect for beginners. You only need a box of cake mix and a few simple ingredients to create these adorable treats.
- These mini desserts are incredibly portable and mess-free. The ice cream cone base eliminates the need for sticks or plates, making them an excellent option for outdoor events like picnics.
- They can be customized to suit any occasion. Use sprinkles, candy coatings, or themed colors to match birthday parties, holidays, or even 4th of July celebrations.
- They add an instant ‘wow’ factor to dessert spreads. The combination of their whimsical look and irresistible sweetness makes them a hit with both kids and adults.
Everything You Need for Ice Cream Cone Cake Pops
- 1 box of cake mix (any flavor)
- 3 large eggs
- 1/2 cup vegetable oil
- 1 cup water
- 1 cup frosting (store-bought or homemade)
- 24 mini ice cream cones
- 1 bag of candy coating or chocolate melts
- Sprinkles (for decoration)
- Lollipop sticks
The candy coating adds a smooth, glossy finish while sprinkles provide a playful burst of color. Mini ice cream cones not only serve as the edible base but also elevate the visual appeal of these cake pops.
How To Make Ice Cream Cone Cake Pops Step by Step
- Preheat the oven to 350°F (175°C) and prepare a cake mix according to the package instructions using the eggs, vegetable oil, and water.
- Pour the batter into a greased cake pan and bake according to the time specified on the box, usually about 25-30 minutes, until a toothpick inserted in the center comes out clean.
- Allow the baked cake to cool completely in the pan before transferring it to a wire rack.
- Once cooled, crumble the cake into a large mixing bowl until it forms fine crumbs.
- Add the frosting to the cake crumbs and mix until well combined and the mixture holds together when rolled into a ball.
- Using your hands, form small balls of the cake mixture (about 1 inch in diameter) and place them on a baking sheet lined with parchment paper.
 Kitchen ApplianceKitchenAid Artisan Stand Mixer
Makes mixing dough and batters effortless — a kitchen game-changer.
Essential CookwareWilton Easy-Flex Silicone SpatulaIdeal for mixing and scraping batter — a must-have for cake pops.
- Insert a lollipop stick into the center of each cake ball and freeze for about 30 minutes until firm.
- Melt the candy coating or chocolate melts according to package instructions until smooth.
- Dip each cake pop into the melted coating, allowing excess to drip off. Quickly sprinkle with decorations before the coating hardens.
- Place the dipped cake pops upright in a styrofoam block or a cup filled with rice to set.
- Let the cake pops cool completely until the coating is hardened, then serve and enjoy!

Common Mistakes to Avoid
- Don’t skip the freezing step. Failing to chill the cake balls can cause them to fall apart when dipping into the candy coating.
- Avoid overloading with frosting. Too much frosting can make the mixture too soft to hold its shape, so add it gradually until the texture is just right.
- Ensure the candy coating isn’t too hot. High heat can cause cracks in the coating as it sets, so let it cool slightly before dipping.
Storage and Reheating Tips
Store leftover ice cream cone cake pops in an airtight container at room temperature for up to 3 days. For longer storage, refrigerate them for up to a week, ensuring the cones stay dry to avoid sogginess.
If freezing, individually wrap each cake pop in plastic wrap and store them in a freezer-safe container for up to 3 months. Let them thaw at room temperature before serving to maintain the best texture and flavor.
Serving Ideas for Ice Cream Cone Cake Pops
- Pair them with a fruit platter for a balance of sweetness and freshness.
- Serve alongside our homemade peach cobbler ice cream recipe for a fun dessert duo.
- Use them as edible centerpieces on party tables, displayed in decorative holders or cups filled with colorful candy.
- For a 4th of July celebration, decorate with red, white, and blue sprinkles and pair them with patriotic-themed drinks for a cohesive menu.

Ice Cream Cone Cake Pops
Ingredients
- 1 box cake mix (any flavor)
- 3 large eggs
- 1/2 cup vegetable oil
- 1 cup water
- 1 cup frosting (store-bought or homemade)
- 24 mini ice cream cones
- 1 bag candy coating or chocolate melts
- Sprinkles (for decoration)
- Lollipop sticks
Instructions
- Preheat the oven to 350°F (175°C) and prepare a cake mix according to the package instructions using the eggs, vegetable oil, and water.
- Pour the batter into a greased cake pan and bake according to the time specified on the box, usually about 25-30 minutes, until a toothpick inserted in the center comes out clean.
- Allow the baked cake to cool completely in the pan before transferring it to a wire rack.
- Once cooled, crumble the cake into a large mixing bowl until it's fine crumbs.
- Add the frosting to the cake crumbs and mix until well combined and the mixture holds together when rolled into a ball.
- Using your hands, form small balls of the cake mixture (about 1 inch in diameter) and place them on a baking sheet lined with parchment paper.
- Insert a lollipop stick into the center of each cake ball and freeze for about 30 minutes until firm.
- Melt the candy coating or chocolate melts according to package instructions until smooth.
- Dip each cake pop into the melted coating, allowing excess to drip off. Quickly sprinkle with decorations before the coating hardens.
- Place the dipped cake pops upright in a styrofoam block or a cup filled with rice to set.
- Let the cake pops cool completely until the coating is hardened, then serve and enjoy!
Notes
Nutrition
Loved this recipe? Save it to your favorite Pinterest board so you can easily find it later! ✨