This post contains affiliate links. As an Amazon Associate, I earn from qualifying purchases. This comes at no extra cost to you.
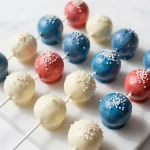
July 4th cakesicles combine the moist texture of vanilla cake with the satisfying crunch of a white chocolate shell. Adorned in vibrant red, white, and blue sprinkles, these festive treats are as eye-catching as they are irresistible. Perfect for patriotic celebrations, they’re a guaranteed hit at summer gatherings!
Table of Contents
- Why Make These Patriotic Cakesicles?
- Everything You Need for July 4th Cakesicles
- How To Make July 4th Cakesicles Step by Step
- The Inspiration Behind Patriotic Desserts
- Easy Ingredient Swaps for July 4th Cakesicles
- Common Mistakes to Avoid
- Frequently Asked Questions
Why Make These Patriotic Cakesicles?
- Effortlessly festive: July 4th cakesicles are dressed up in red, white, and blue, making them ideal for Independence Day celebrations. The decorations are simple yet impactful, creating a show-stopping dessert.
- Portable and kid-friendly: These cakesicles are easy to hold and eat, making them a mess-free option for outdoor gatherings. Kids and adults alike will enjoy their handheld convenience.
- Customizable to your taste: You can add your own touch with different sprinkles or drizzle patterns. This makes the recipe versatile for other occasions beyond July 4th.
- Quick to prepare ahead of time: With most of the work done a day in advance, you can focus on entertaining your guests on the big day. Their freezer-friendly nature keeps them fresh and ready to go.
Everything You Need for July 4th Cakesicles
- 1 box of vanilla cake mix
- 3 large eggs
- 1/2 cup vegetable oil
- 1 cup water
- 1 cup vanilla frosting
- 1 cup white chocolate chips
- 1/2 cup red candy melts
- 1/2 cup blue candy melts
- Sprinkles in red, white, and blue
- Popsicle sticks
The key to vibrant cakesicles is the combination of white chocolate and candy melts. Their smooth texture and bright colors create the perfect coating for these patriotic treats.
How To Make July 4th Cakesicles Step by Step
- Preheat the oven to 350°F (175°C) and prepare a 9×13-inch baking pan by greasing it.
- In a large mixing bowl, combine the vanilla cake mix, eggs, vegetable oil, and water. Mix until the batter is smooth and lump-free.
- Pour the batter into the prepared pan and bake for 25-30 minutes, or until a toothpick inserted in the center comes out clean.
- Allow the cake to cool completely in the pan before transferring it to a wire rack.
 Kitchen ApplianceKitchenAid Artisan Stand Mixer
Makes mixing dough and batters effortless — a kitchen game-changer
Essential CookwareWilton Non-Stick Baking PanEssential for baking your cakesicles evenly and easily.
- Once cooled, crumble the cake into a large bowl. Stir in the vanilla frosting until the mixture has a dough-like consistency.
- Shape the cake mixture into popsicle-like forms and insert a popsicle stick into each one.
- Place the cakesicles on a baking sheet lined with parchment paper and freeze for at least 1 hour.
- Melt the white chocolate chips in a microwave-safe bowl using 30-second intervals, stirring in between until smooth.
- Dip each cakesicle into the melted white chocolate to coat it fully. Let the excess chocolate drip off before placing it back on the parchment paper.
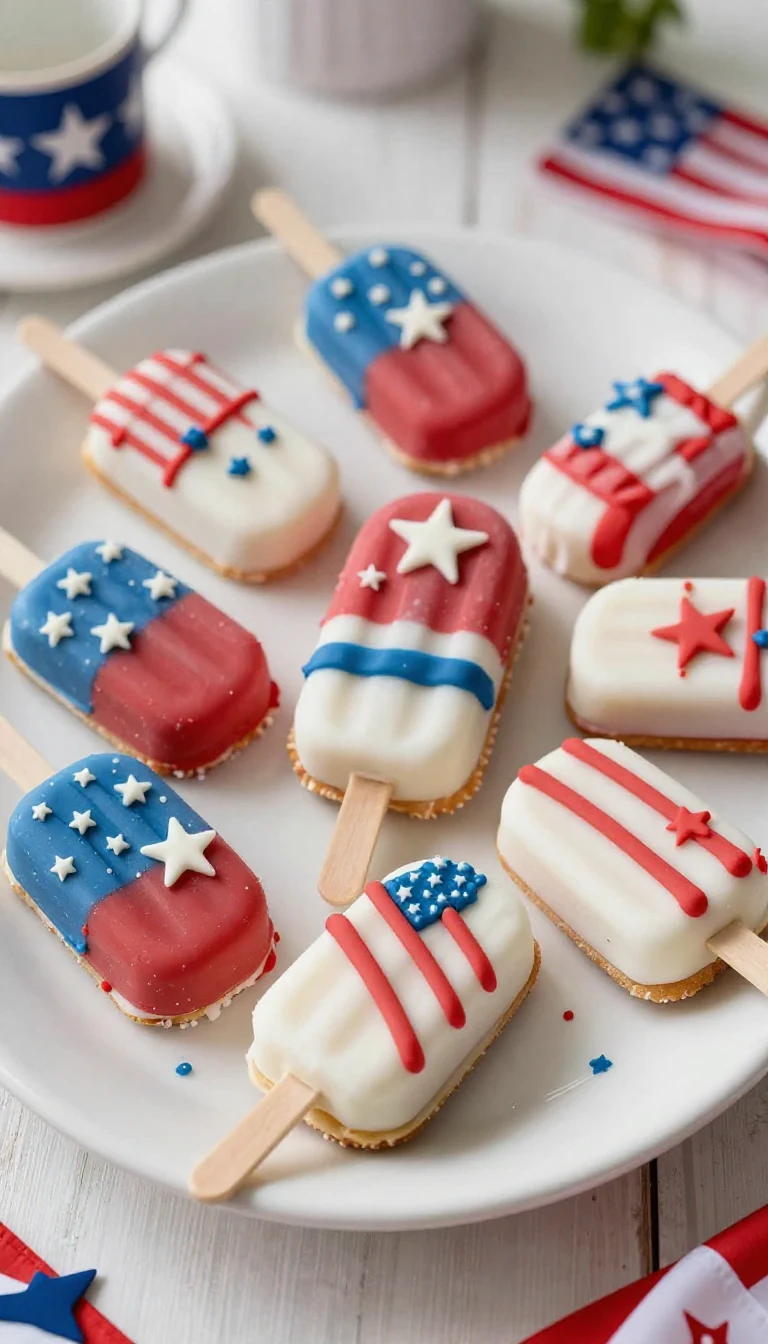
- Immediately add the red, white, and blue sprinkles to the coating while it’s still wet to ensure they stick.
- Melt the red and blue candy melts separately in the microwave and drizzle them over the cakesicles for a festive finish.
- Let the chocolate set completely—about 30 minutes at room temperature or 10 minutes in the refrigerator—before serving.


The Inspiration Behind Patriotic Desserts
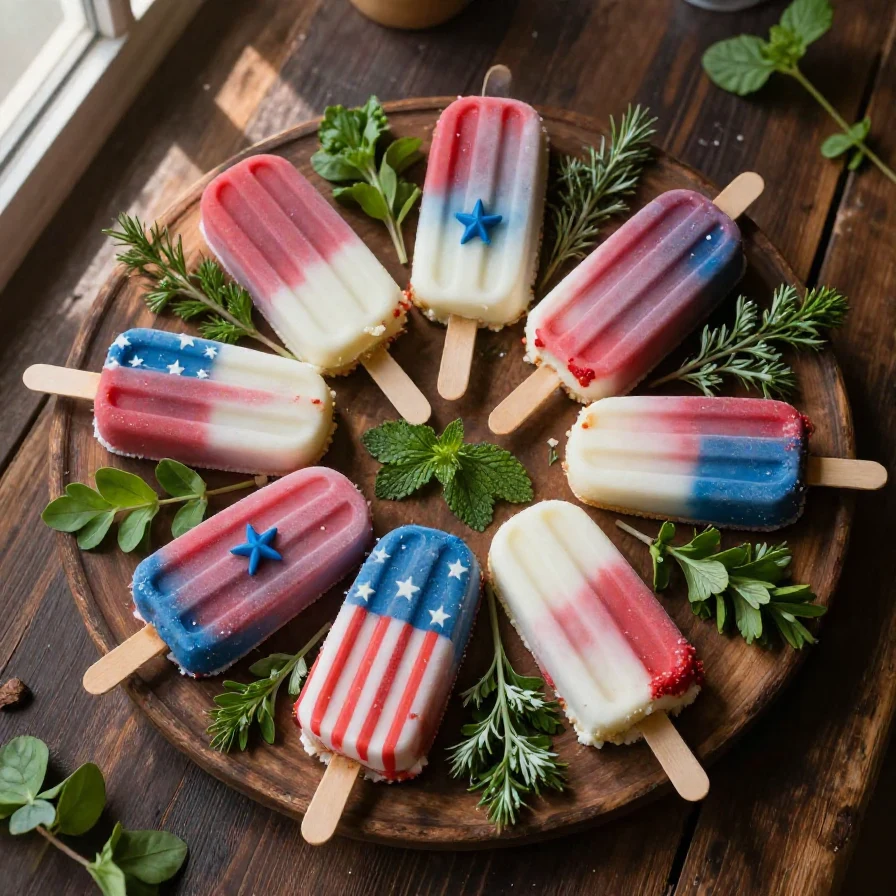
Red, white, and blue desserts have long been a staple of Independence Day celebrations in the United States. From flag-inspired cakes to colorful cupcakes, these treats symbolize the pride and joy of the nation’s birthday.
July 4th cakesicles offer a modern spin on this tradition by combining easy portability with eye-popping patriotic decor. Their festive appearance makes them a delightful centerpiece for any gathering.
Easy Ingredient Swaps for July 4th Cakesicles
- Chocolate variation: Swap the vanilla cake mix for chocolate cake mix to give your cakesicles a richer flavor. The colorful decorations will still pop against the darker base.
- Different coatings: Use dark or milk chocolate instead of white chocolate to change the flavor profile. This adds an extra layer of indulgence to your cakesicles.
- Frosting switch: Substituting vanilla frosting with cream cheese frosting imparts a tangy kick that complements the cake’s sweetness.
Common Mistakes to Avoid
- Skipping the freezing step: Ensure the cakesicles are fully firm before coating them in white chocolate. Skipping this step can cause the cake to crumble while dipping.
- Overheating the chocolate: Melt the chocolate in short bursts to prevent it from seizing or burning. Stirring frequently helps maintain a smooth consistency.
- Applying sprinkles too late: Add the sprinkles immediately after dipping to ensure they adhere properly to the wet chocolate. Waiting too long can cause them to slide off.
Frequently Asked Questions
- Can I make these cakesicles ahead of time? Yes, you can make them up to three days in advance and store them in an airtight container in the refrigerator.
- What’s the best way to transport cakesicles? Keep them in a cooler bag with ice packs if you’re taking them to an outdoor event. This prevents the chocolate from melting in the heat.
- Can I use homemade cake instead of box mix? Absolutely! A homemade vanilla or chocolate cake works just as well for this recipe.
July 4th Cakesicles
Ingredients
- 1 box vanilla cake mix
- 3 large eggs
- 1/2 cup vegetable oil
- 1 cup water
- 1 cup vanilla frosting
- 1 cup white chocolate chips
- 1/2 cup red candy melts
- 1/2 cup blue candy melts
- sprinkles in red, white, and blue
- popsicle sticks
Instructions
- Preheat the oven to 350°F (175°C) and prepare a 9x13 inch baking pan by greasing it.
- In a large mixing bowl, combine the vanilla cake mix, eggs, vegetable oil, and water. Mix until well combined and smooth.
- Pour the cake batter into the prepared baking pan and bake for 25-30 minutes, or until a toothpick inserted into the center comes out clean.
- Allow the cake to cool completely in the pan before transferring it to a wire rack.
- Once the cake has cooled, crumble it into a large bowl. Add the vanilla frosting and mix until fully combined.
- Scoop out portions of the cake mixture and shape them into popsicle-like forms. Insert popsicle sticks into each cakesicle.
- Place the cakesicles on a baking sheet lined with parchment paper and freeze for at least 1 hour until firm.
- In a microwave-safe bowl, melt the white chocolate chips in 30-second intervals until smooth.
- Dip each frozen cakesicle into the melted white chocolate, ensuring it's fully coated. Allow excess chocolate to drip off.
- Immediately sprinkle the red, white, and blue sprinkles onto the wet chocolate coating before it hardens.
- Melt the red and blue candy melts separately in the microwave and drizzle them over the coated cakesicles for a festive touch.
- Let the cakesicles sit until the chocolate sets completely, about 30 minutes at room temperature or 10 minutes in the refrigerator.
- Serve the July 4th cakesicles chilled and enjoy your festive treat!
Notes
Nutrition
Loved this recipe? Save it to your favorite Pinterest board so you can easily find it later! ✨