This post contains affiliate links. As an Amazon Associate, I earn from qualifying purchases. This comes at no extra cost to you.
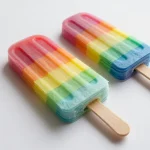
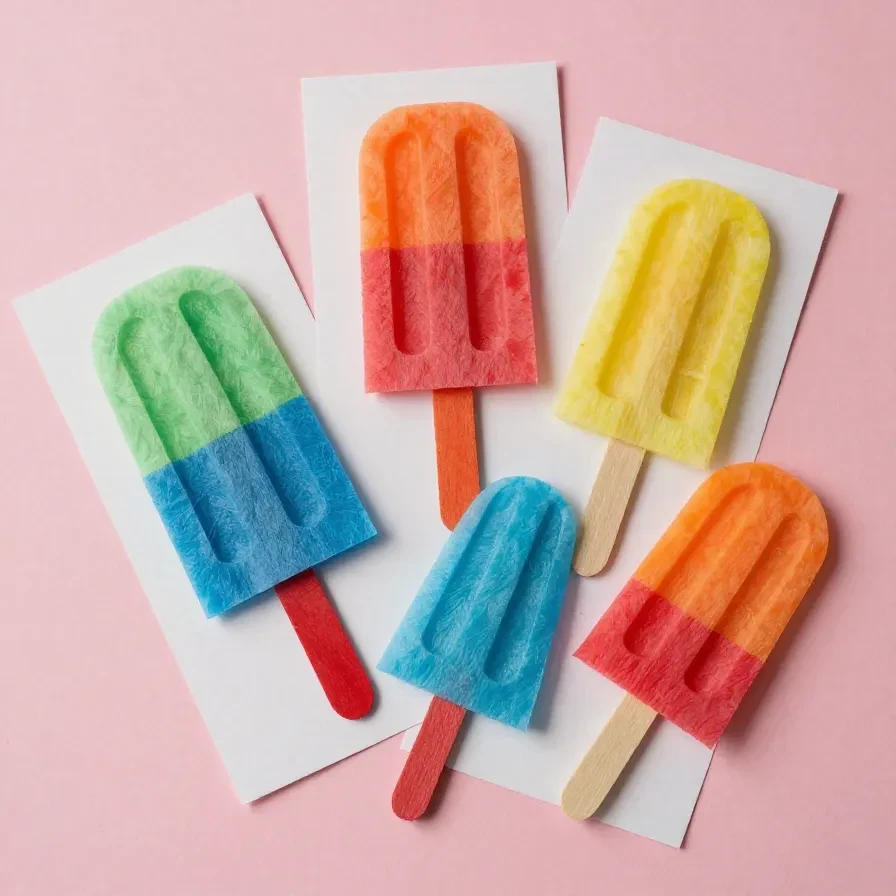
Popsicle tissue paper craft for kids is a vibrant and engaging project that lets children explore their creativity while crafting a colorful summer treat. Using just tissue paper, glue, and popsicle-shaped templates, this activity is perfect for keeping little hands busy. It’s ideal for summer-themed activities and can double as a playful decoration or educational tool.
This craft combines fun and learning by helping kids work on fine motor skills and recognize shapes and colors. Whether it’s for a classroom display or a homemade party decoration, these colorful popsicles bring a cheerful burst of summer into any setting. Plus, it’s simple enough for preschoolers yet exciting enough to captivate older children.
Table of Contents
Why Choose Popsicle Tissue Paper Craft
- This craft is perfect for enhancing fine motor skills in kids, from toddlers to elementary students. Tearing or cutting tissue paper and gluing it onto the template helps build hand-eye coordination.
- It’s a low-cost and accessible activity that uses materials you probably already have at home. This makes it an easy go-to for parents or teachers planning an afternoon of creativity.
- Popsicle tissue paper crafts make excellent decorations for summer-themed parties or classrooms. They add a playful and colorful touch that both kids and adults will appreciate.
- It encourages kids to learn about colors, patterns, and even shapes while making something fun. You can create a learning opportunity by discussing warm and cool colors or symmetrical designs during the process.
What You Need for This Craft
Gathering the right materials ensures a smooth crafting experience for kids of all ages. Here’s what you’ll need:
- Tissue paper: Use a variety of colors to create vibrant popsicles. Pre-cut squares can save time for younger kids.
- Cardstock or thick paper: Print or draw a popsicle template on sturdy paper to hold the tissue paper securely.
- Glue stick or liquid glue: Opt for non-toxic glue to keep the activity safe for little ones.
- Craft sticks: These will form the base of your popsicle. You can paint them or leave them natural for a classic look.
- Scissors: Ensure they are kid-friendly or pre-cut materials for younger participants to avoid accidents.
- Optional: Laminating sheets or adhesive spray for added durability, especially if you plan to use the popsicles as decorations.
How to Make Popsicle Tissue Paper Crafts
Follow these simple steps to create your colorful popsicle tissue paper crafts:
- Start by printing or drawing a popsicle shape onto your cardstock. Cut out the template carefully to create a sturdy base.
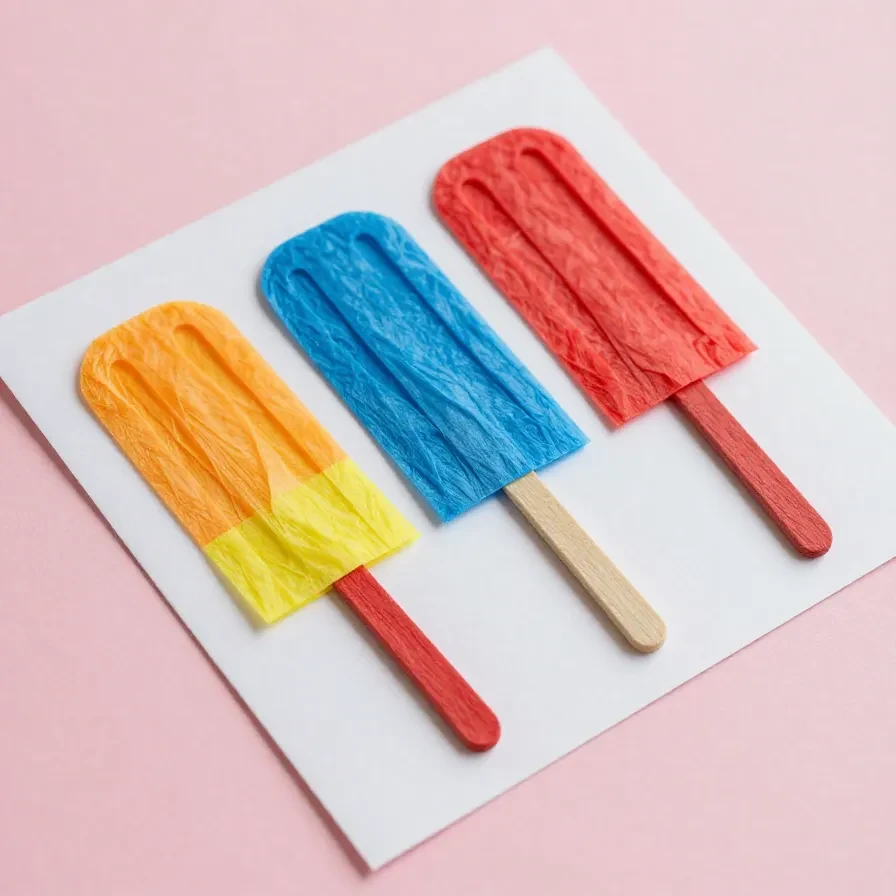
- Cut or tear tissue paper into small squares or pieces. Encourage kids to mix and match colors for a vibrant design.
- Spread glue onto the popsicle template in small sections. Press the tissue paper pieces onto the glue, overlapping them slightly for full coverage.
- Once the entire popsicle is covered, let the glue dry completely. You can trim any tissue paper that hangs over the edges for a cleaner look.
- Glue a craft stick to the bottom of the popsicle to complete the project. For extra durability, consider laminating the finished piece or applying an adhesive spray.
Essential Tools and Resources
- Pre-made templates: Download free popsicle templates online to save time and effort.
- Kid-safe scissors: Rounded-tip scissors are a must for younger kids to ensure safety while cutting tissue paper.
- Glue options: Use glue sticks for less mess or liquid glue for stronger adhesion. Make sure it dries clear for a neater finish.
- Organizational tools: Use a tray or plastic containers to keep tissue paper and other materials sorted and within reach.
Benefits of This Fun Craft
Kids gain so much more than just a finished craft when they create popsicle tissue paper crafts. Here are some of the key benefits:

- Boosts creativity: Choosing colors and arranging patterns encourages self-expression and decision-making.
- Develops motor skills: Activities like cutting and gluing improve hand strength and coordination.
- Great for bonding: Group crafting sessions encourage teamwork and communication among kids.
- Lasting keepsake: These crafts make wonderful mementos or decorations, perfect for preserving summer memories.
Creative Variations You Can Try
- 3D popsicles: Use foam sheets or layers of tissue paper to add texture and depth. This approach is great for kids who enjoy tactile projects.
- Miniature garlands: String multiple small popsicles together to create a festive summer banner. Hang it in a classroom, on a porch, or at a party for a pop of color.
- Educational twist: Label different parts of the popsicle with colors, numbers, or letters. This adds an interactive learning element to the craft.
Tips for Making It Durable and Educational
- Use laminating sheets: Seal the finished popsicle to protect it from wear and tear. Laminated crafts last longer and can even be reused as classroom tools.
- Opt for high-quality glue: Choose glue that dries clear and bonds strongly to ensure pieces stay in place. This works especially well if the craft will be handled frequently.
- Incorporate a lesson: Teach kids about color mixing or pattern creation while they assemble their craft. Incorporating educational elements can make crafting time more meaningful.
- Store materials wisely: Keep leftover tissue paper, templates, and craft sticks organized for future projects. Reusing materials makes crafting more economical and sustainable.
Popsicle Tissue Paper Craft For Kids
Ingredients
Materials
- 10-12 pieces wooden popsicle sticks
- 1 pack colored tissue paper (various colors)
- 1 white glue or glue stick
- 1 pair scissors
- 1 piece paintbrush
- 1 piece plastic plate or tray (for glue application)
- 1 pencil
- 1 roll washi tape or decorative tape (optional)
Tools
Instructions
- Gather all materials and set up your workspace on a flat surface.
- Take 5-6 popsicle sticks and lay them side by side to form the base of your craft.
- Using a glue stick or white glue, apply a thin layer of glue on the popsicle sticks.
- Cut small squares or shapes from the colored tissue paper.
- Place the tissue paper pieces on the glued popsicle sticks, arranging them to cover the entire surface.
- Once the tissue paper is in place, use a paintbrush to apply a light layer of glue over the top to seal the tissue paper.
- Allow the glue to dry for about 30 minutes.
- If desired, use washi tape or decorative tape to add borders or designs around the edges.
- After everything is dry, you can display your popsicle tissue paper craft or use it as a decorative item.
Notes
Loved this post? Save it to your favorite Pinterest board so you can easily find it later! ✨