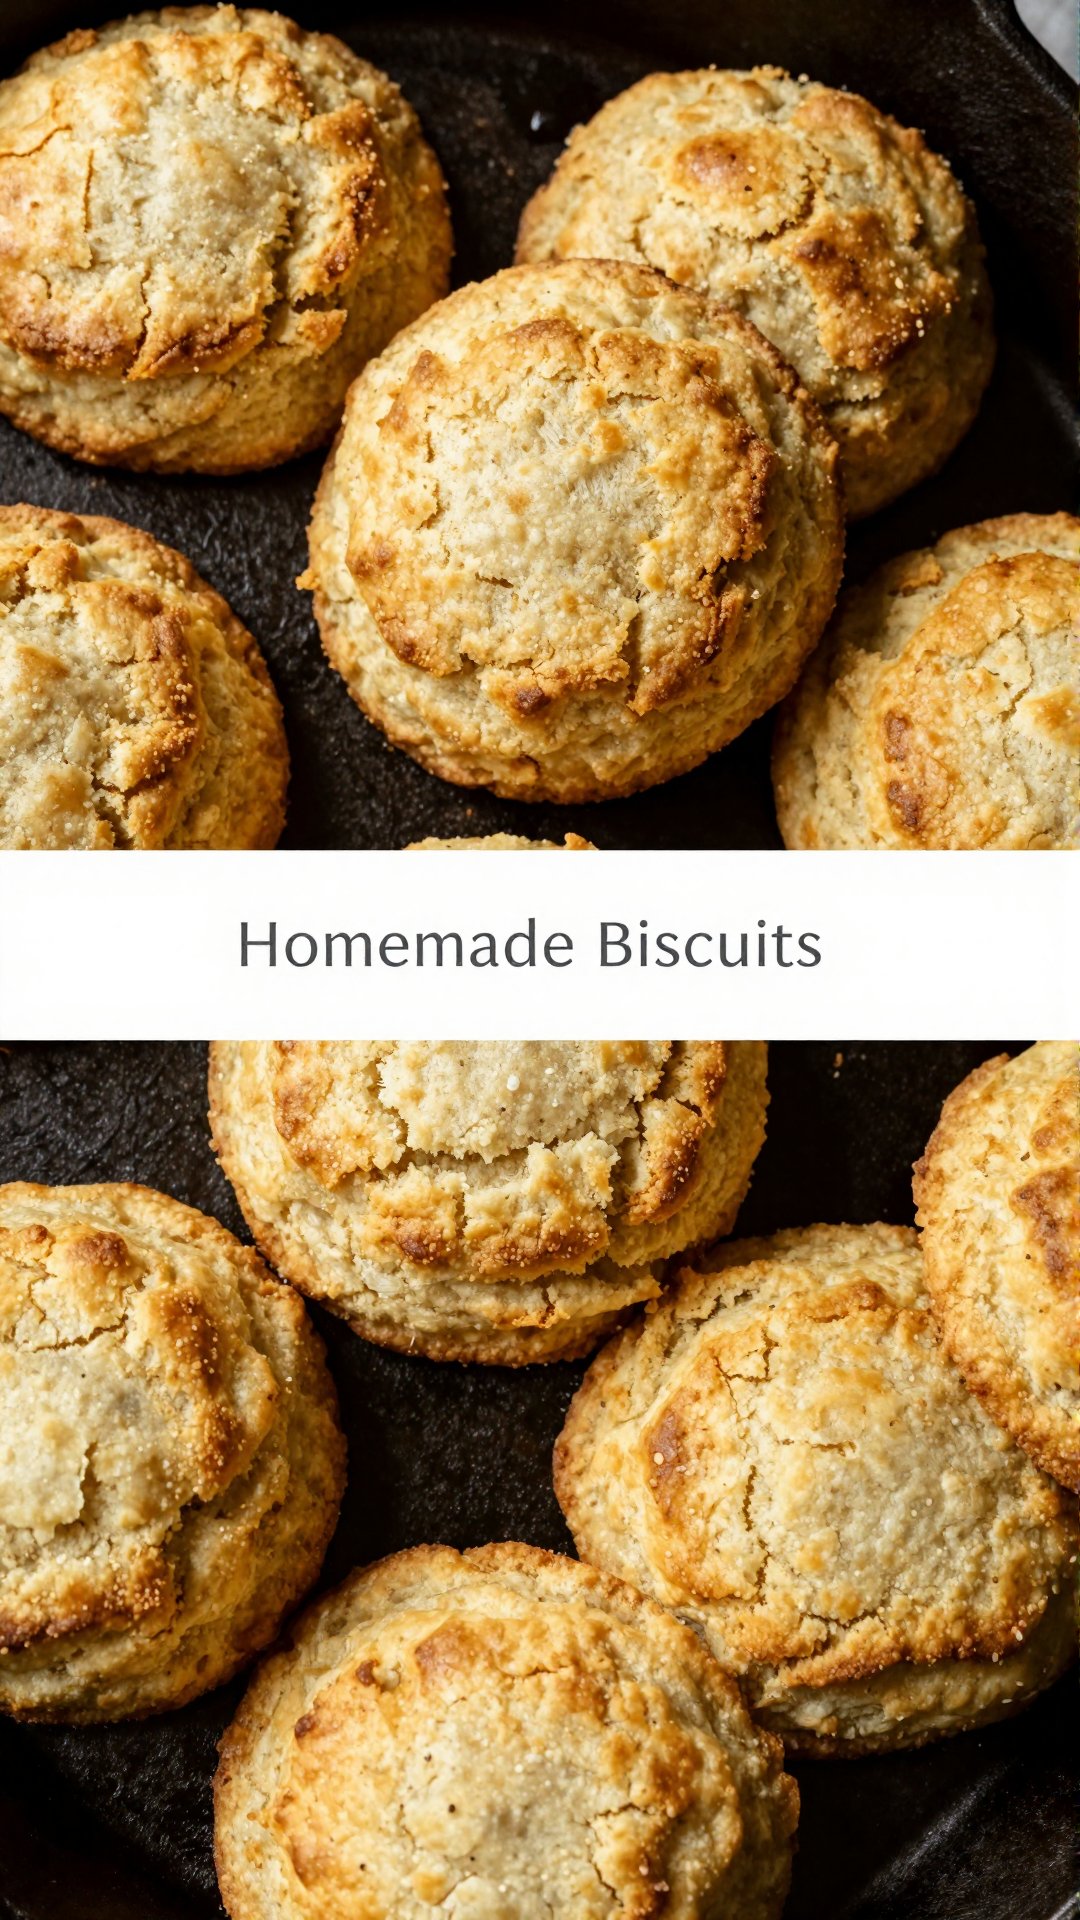
Hey there, friend! Emily Dawson here, from Emily’s Must-Try Kitchen. Gather ’round, because today we’re diving headfirst into a recipe that’s near and dear to my heart: Easy Homemade Biscuits. I’m talking about those golden, fluffy clouds of goodness that make any meal feel like a warm hug. Growing up in Charleston, biscuits were a staple, a symbol of comfort, and a must-have at every family gathering. Now, I’m sharing my super simple, almost foolproof recipe with you. Get ready to impress yourself (and maybe your family and friends, too!).
Forget those store-bought biscuits that taste like… well, nothing much. We’re making biscuits *from scratch* today, and trust me, it’s easier than you think. This recipe is perfect for busy weeknights, lazy weekend mornings, or any time you need a little dose of Southern comfort. So, let’s roll up our sleeves and get baking!
Why You’ll Love This Easy Biscuits Recipe
Okay, let me count the ways you’re going to fall head-over-heels for *these easy* biscuits. Seriously, *if you* don’t love them, I’ll eat my (biscuit) hat!
- Quick & Easy: From bowl to oven in minutes. *With just* a handful of ingredients and a few simple steps, you’ll have fresh, warm biscuits on the table in no time.
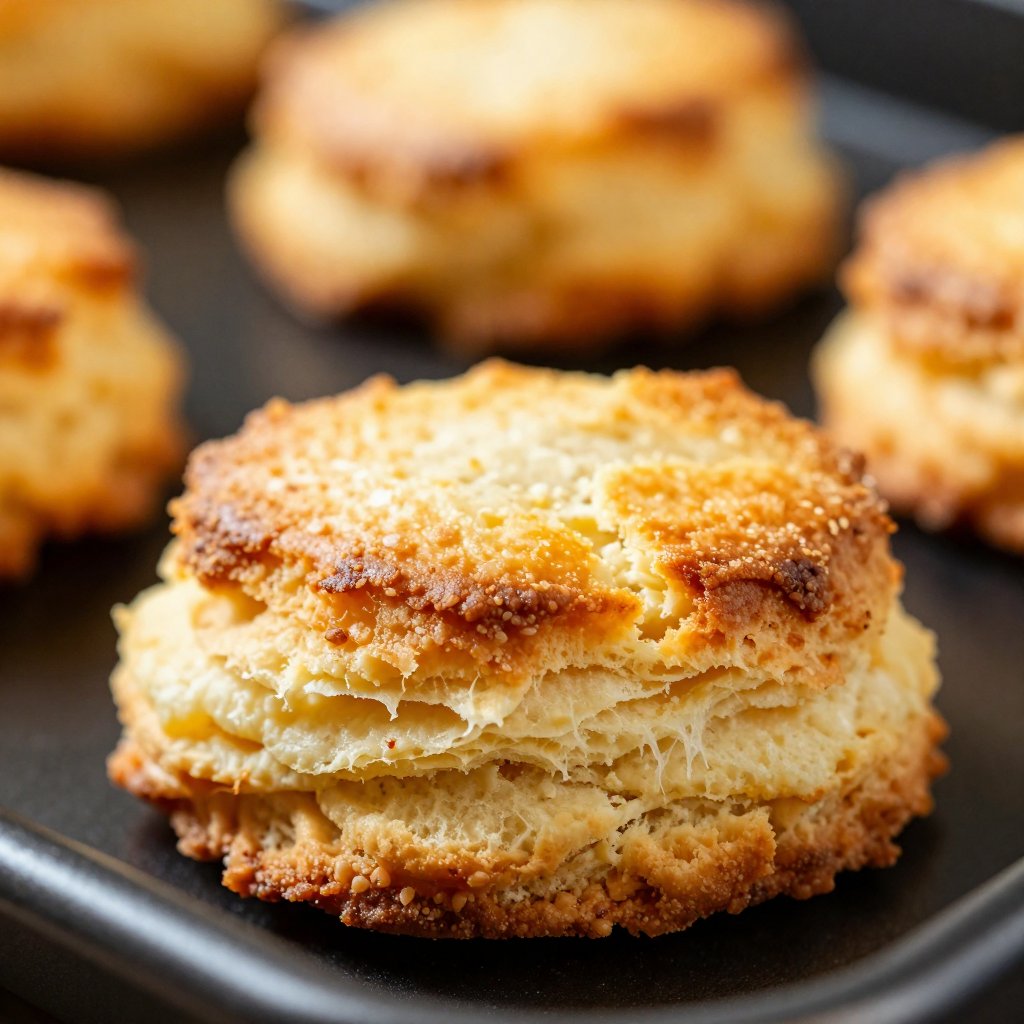
- Fluffy & Delicious: These aren’t your dense, dry biscuits. We’re talking light, airy, and melt-in-your-mouth delicious.
- Versatile: Perfect for breakfast, lunch, or dinner. Serve them with butter and jam, alongside your favorite soup or stew, or as a base for a breakfast sandwich.
- Customizable: Want to add cheese, herbs, or spices? Go for it! This recipe is a blank canvas for your culinary creativity.
- Impressive: Seriously, people will think you spent hours slaving away in the kitchen. Little do they know how easy *these easy* biscuits are!
Ingredients for Homemade Biscuits
Here’s what you’ll need to whip up a batch of these heavenly biscuits:
- 2 cups all-purpose self-rising flour (sifted)
- 1 teaspoon sugar
- ½ teaspoon salt
- ½ cup frozen butter (shredded)
- 1¼ cups milk or buttermilk
Step-by-Step: Making the Best Biscuits
Alright, let’s get down to business. Follow *these easy* steps, and you’ll be enjoying warm, homemade biscuits in no time!
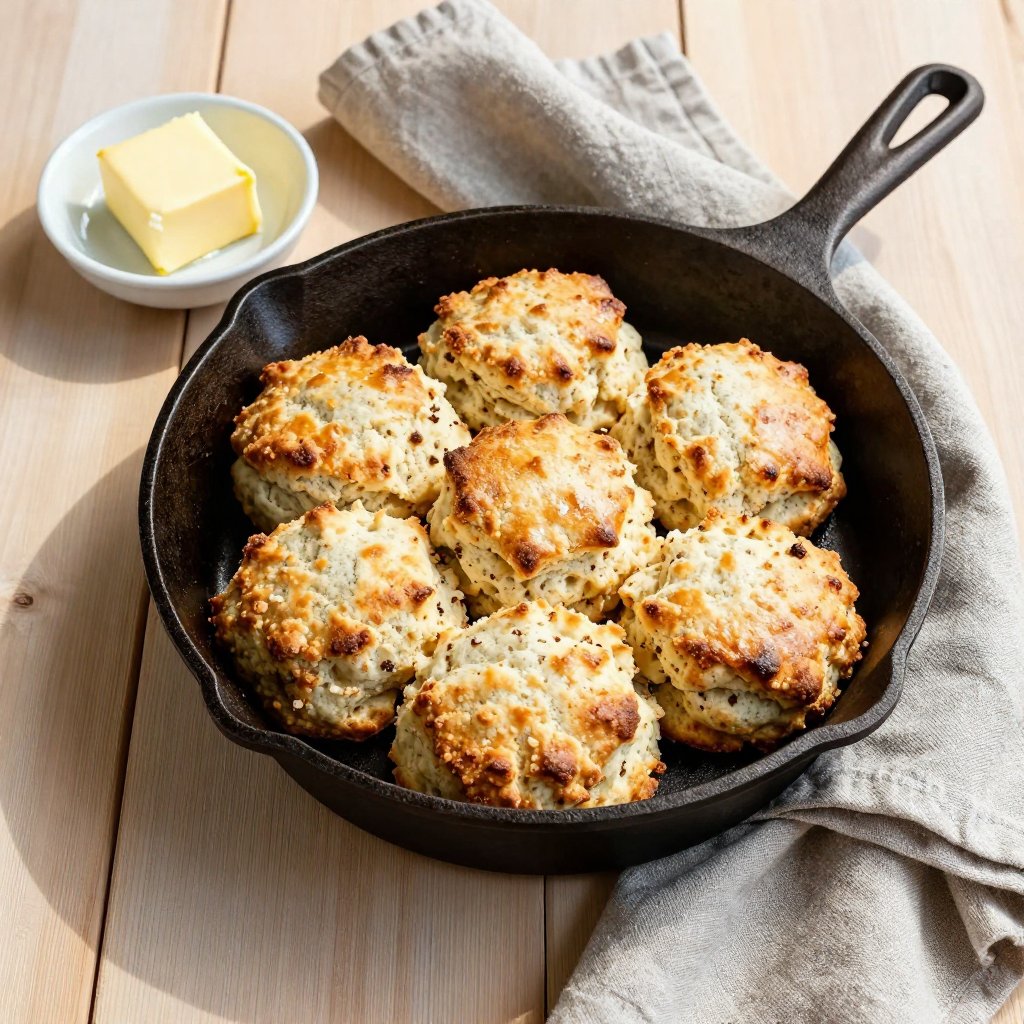
- Preheat & Prep: Preheat *the oven* to 425℉. Grease a cast iron skillet or baking sheet and place it in *the oven*. This helps the bottoms of *the biscuits* get extra crispy.
- Combine Dry Ingredients: In a large bowl, *add the* flour, sugar, and salt. Whisk until well combined. This ensures even distribution of the ingredients.
- Incorporate the Butter: *Add the* shredded *butter*. Use a fork to mash *the butter into the flour*. You want to create coarse crumbs – this is key to flaky biscuits! The colder *the butter*, the better.
- Add the Milk: Slowly start mixing *the milk* or buttermilk with a fork. Do not over-mix. The *dough* should be slightly shaggy and still a little dry. Overmixing develops the gluten and results in tough biscuits.
- Fold & Flip: Transfer *the dough* to a lightly floured surface. Fold and flip *the dough* 10-12 times until it is ¾” thick. This creates layers and contributes to the biscuit’s rise.
- Cut the Biscuits: Use a biscuit cutter or a 3″ wide glass to cut out your biscuits. Don’t twist the cutter – press straight down to avoid sealing the edges.
- Bake to Perfection: Remove the hot skillet or baking sheet *from the oven* and *place the biscuits* inside. *Bake the biscuits* for 13-15 minutes or until golden brown and fluffy. Keep an eye on them – ovens vary!
Pro Tips for Biscuit-Making Success
Want to take your biscuit game to the next level? Here are a few insider tips:
- Keep it Cold: Cold ingredients are your best friend when making biscuits. The cold butter creates steam in *the oven*, which results in those beautiful, flaky layers.
- Don’t Overmix: I can’t stress this enough! Overmixing *the dough* develops the gluten, leading to tough biscuits. Mix until just combined.
- Hot Oven, Hot Pan: Preheating your baking sheet or skillet ensures that the biscuit bottoms get nice and crispy.
- Buttermilk Bonus: If you have buttermilk on hand, use it! It adds a tangy flavor and helps create a more tender biscuit.
- The Folding Technique: Folding *the dough* creates layers, which equals flakiness. Don’t skip this step!
Common Mistakes to Avoid
We all make mistakes in the kitchen – it’s part of the learning process! Here are a few common biscuit-making blunders to watch out for:
- Using Warm Butter: This is a big no-no! Warm butter will melt into *the flour*, resulting in dense, greasy biscuits.
- Overmixing the Dough: As mentioned before, overmixing is the enemy of fluffy biscuits.
- Not Using Enough Flour: If *the dough* is too sticky, it will be difficult to handle and your biscuits won’t rise properly. Don’t be afraid to use a little extra flour when folding and cutting.
- Opening the Oven Too Often: Resist the urge to peek! Opening *the oven* can cause the temperature to fluctuate, which can affect the biscuits’ rise.
- Cutting the Biscuits Too Close Together: Give those biscuits some room to breathe! Overcrowding the baking sheet can prevent them *from* browning evenly.
Biscuit Variations: Spice Things Up!
Now, let’s get creative! Here are a few fun variations to try:
- Cheese Biscuits: *Add the* ½ cup shredded cheddar cheese to *the flour* mixture.
- Herb Biscuits: Mix in 2 tablespoons of chopped fresh herbs, such as rosemary, thyme, or chives.
- Sweet Biscuits: *Add the* 2 tablespoons of sugar to *the flour* mixture and brush *the biscuits* with melted *butter and* sprinkle with cinnamon sugar before baking.
- Jalapeño Cheddar Biscuits: *Add the* ½ cup shredded cheddar cheese and 2 tablespoons of minced jalapeño peppers to *the flour* mixture.
- Garlic Parmesan Biscuits: *Add the* ¼ cup grated Parmesan cheese and 1 teaspoon of garlic powder to *the flour* mixture.
Storing Your Homemade Biscuits
If you happen to have any leftover biscuits (which is a big *if you* ask me!), here’s how to store them:
- Room Temperature: Store *the biscuits* in an airtight container at room temperature for up to 2 days.
- Refrigerator: Store *the biscuits* in an airtight container in the refrigerator for up to 5 days.
- Freezer: *To soak* up as much deliciousness as possible, freeze *the biscuits* individually on a baking sheet until solid, then transfer them to a freezer bag. They can be stored in the freezer for up to 2 months. Reheat in a 350°F *oven to* warm through.
Frequently Asked Questions (FAQ)
- Can I use all-purpose flour instead of self-rising flour? Yes, but you’ll need to *add the* baking powder and salt. Use 2 teaspoons of baking powder and ½ teaspoon of salt per cup of all-purpose flour.
- Can I use margarine instead of butter? I wouldn’t recommend it. *Butter and* its flavor are essential for the best-tasting biscuits.
- Can I make these biscuits ahead of time? You can prepare *the dough* ahead of time and store it in the refrigerator for up to 24 hours. However, it’s best to bake *the biscuits* fresh for the best results.
- Why are my biscuits flat? This could be due to a few reasons: using warm butter, overmixing *the dough*, or not using enough baking powder (if using all-purpose flour).
- Why are my biscuits tough? This is usually caused by overmixing *the dough*. Remember to mix until just combined!
Serving Suggestions: What to Eat with Your Biscuits
*These easy* biscuits are incredibly versatile and pair well with just about anything! Here are a few of my favorite ways to enjoy them:
- Breakfast: Serve with butter and jam, honey, or your favorite breakfast spread. They’re also delicious as a base for breakfast sandwiches.
- Lunch: Enjoy them with soup, chili, or a hearty salad.
- Dinner: Serve alongside your favorite comfort food dishes, such as fried chicken, mashed potatoes, and gravy.
- Snack: *To soak* up some gravy, *soak up* some honey, or *them with* your favorite toppings.
- Holidays: Perfect *Easter Side Dishes*, Thanksgiving, Christmas, or *any meal*!
Homemade Biscuits: A Taste of Home
And there you have it – my super simple, foolproof recipe for Easy Homemade Biscuits. I hope you’ll give it a try and experience the joy of baking these warm, fluffy delights *from scratch*. Remember, cooking isn’t about perfection – it’s about having fun, experimenting, and creating something delicious to share with the people you love. So, go ahead, roll up your sleeves, and get baking! And don’t forget to share your biscuit creations with me on social media using #EmilysMustTryKitchen. Happy baking, friends!
Don’t forget to check out my other similar recipes! You might love my Fluffy Biscuits, 3-Ingredient Biscuit Recipe, and Easy Homemade Biscuits.
Homemade Biscuits
Ingredients
Ingredients
- 2 cups all-purpose self-rising flour (sifted)
- 1 teaspoon sugar
- 0.5 teaspoon salt
- 0.5 cup frozen butter (shredded)
- 1.25 cups milk or buttermilk
Instructions
- Preheat oven to 425℉. Grease a cast iron skillet or baking sheet and place it in the oven.
- In a large bowl, add flour, sugar, and salt. Whisk until combined. Add shredded butter and mash with a fork.
- Slowly mix in milk or buttermilk with a fork. Do not over-mix.
- Transfer dough to a floured surface. Fold and flip 10-12 times until ¾" thick.
- Use a biscuit cutter or 3" glass to cut out biscuits.
- Remove hot skillet/sheet from oven and place biscuits inside.
- Bake for 13-15 minutes or until golden brown and fluffy.
Notes
Nutrition