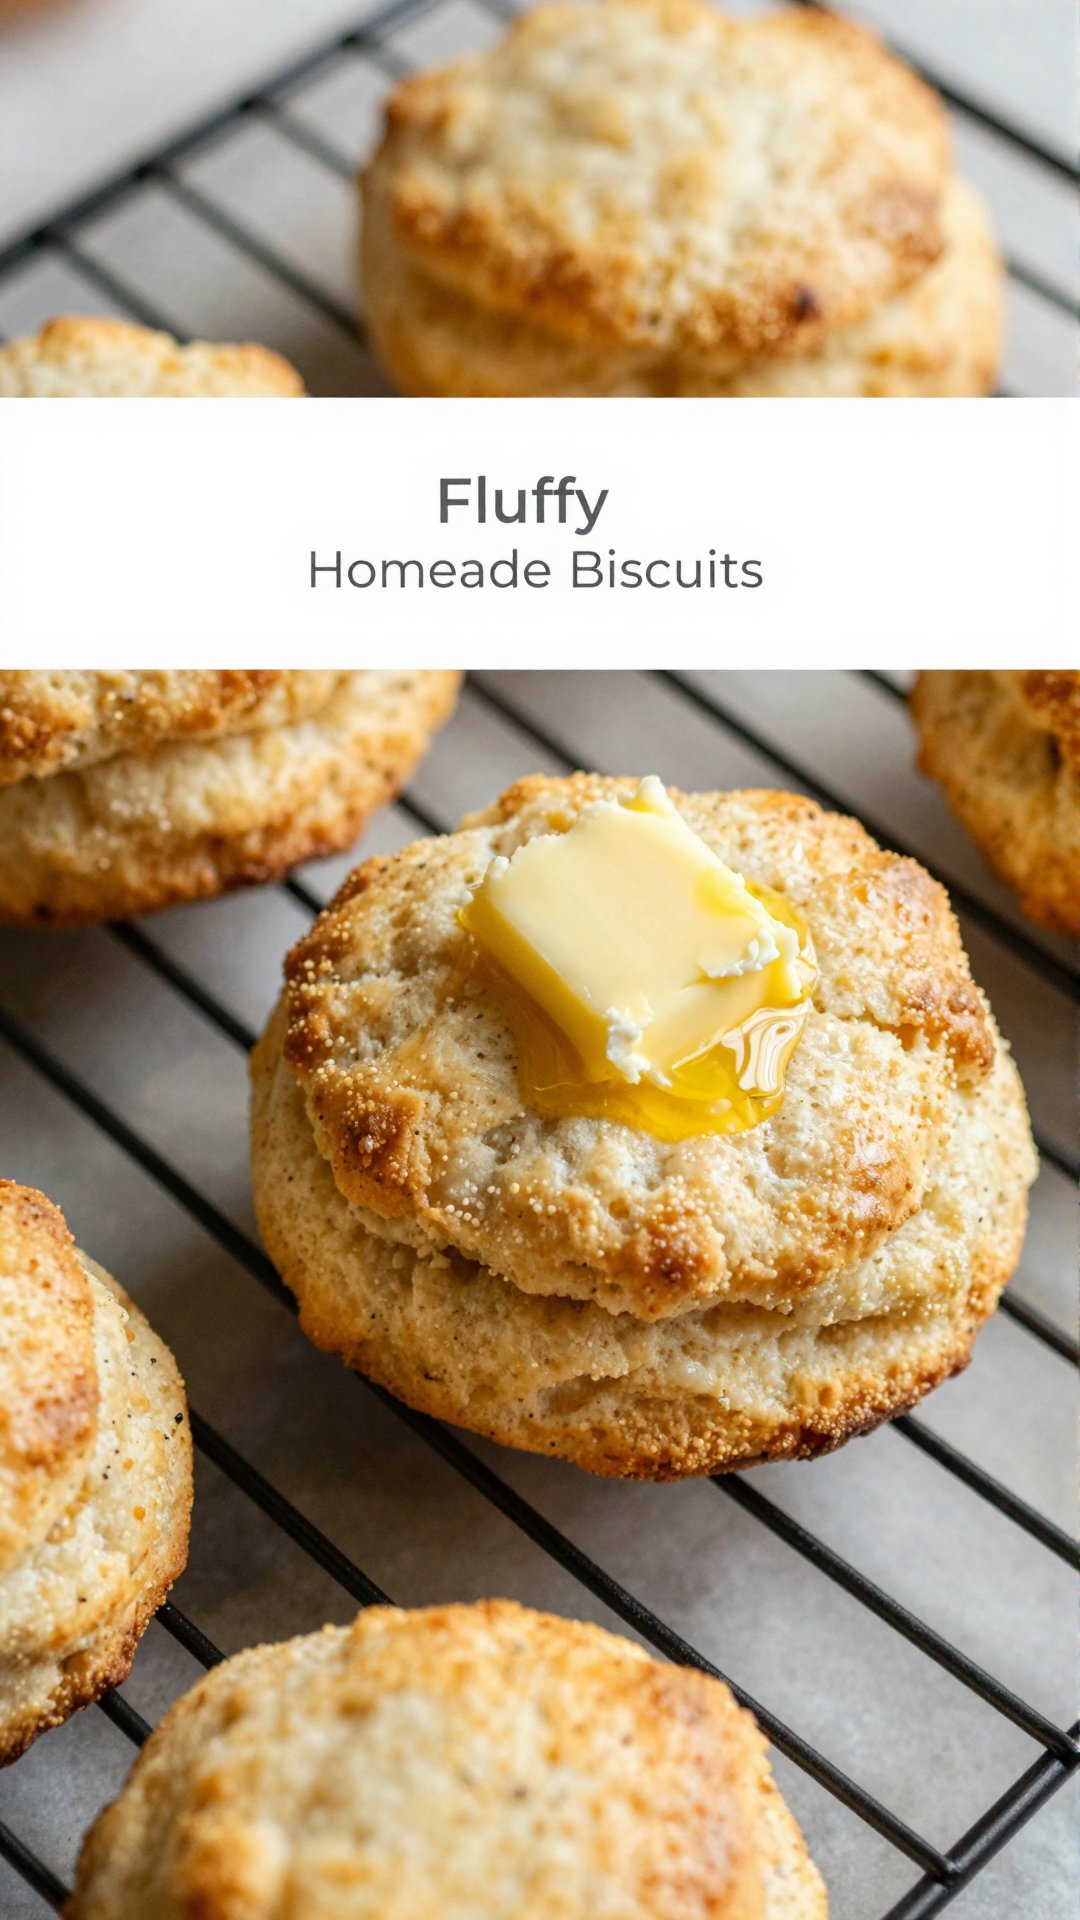
Hey there, friend! Emily Dawson here, from Emily’s Must-Try Kitchen. Today, we’re diving headfirst into a classic that’s close to my heart: fluffy, golden homemade biscuits. And guess what? We’re making them without buttermilk! Yes, you read that right. No buttermilk, no problem. Get ready to impress your family and friends with the easiest, most delicious biscuits they’ve ever tasted. Trust me, this is a recipe you’ll want to keep close by.
Growing up in Charleston, biscuits were a staple. I remember sneaking into the kitchen, trying to get a peek at my mom’s secret. The warmth of the oven, the smell of baking dough – it was pure magic. This recipe brings back all those wonderful memories, and I’m so excited to share it with you.
Why You’ll Love This Recipe
Okay, so why should you try this particular biscuit recipe? Let me tell you, it’s more than just flour and butter. It’s about creating something comforting and delicious with minimal fuss. Here’s why you’ll fall in love:
- Simple Ingredients: You probably have everything you need in your pantry right now. No need for a special trip to the store.
- No Buttermilk Needed: We’re using a simple trick to achieve that tangy flavor and tender crumb without buttermilk.
- Quick & Easy: From start to finish, you’ll have warm, fluffy biscuits on the table in under 30 minutes.
- Versatile: Perfect for breakfast, lunch, or dinner. Serve them with butter and jam, use them for sandwiches, or dunk them in gravy.
- Crowd-Pleaser: Everyone loves a good biscuit, and these are guaranteed to be a hit.
Ingredients
- 270g (2 cups loosely packed) All-purpose flour
- 3g (1/2 teaspoon) Salt
- 85g (6 tbsp) Unsalted butter, cold and cubed
- 12.5g (1 tbsp) Sugar
- 8g (2 tsp) Baking powder
- 180ml (3/4 cup) Milk
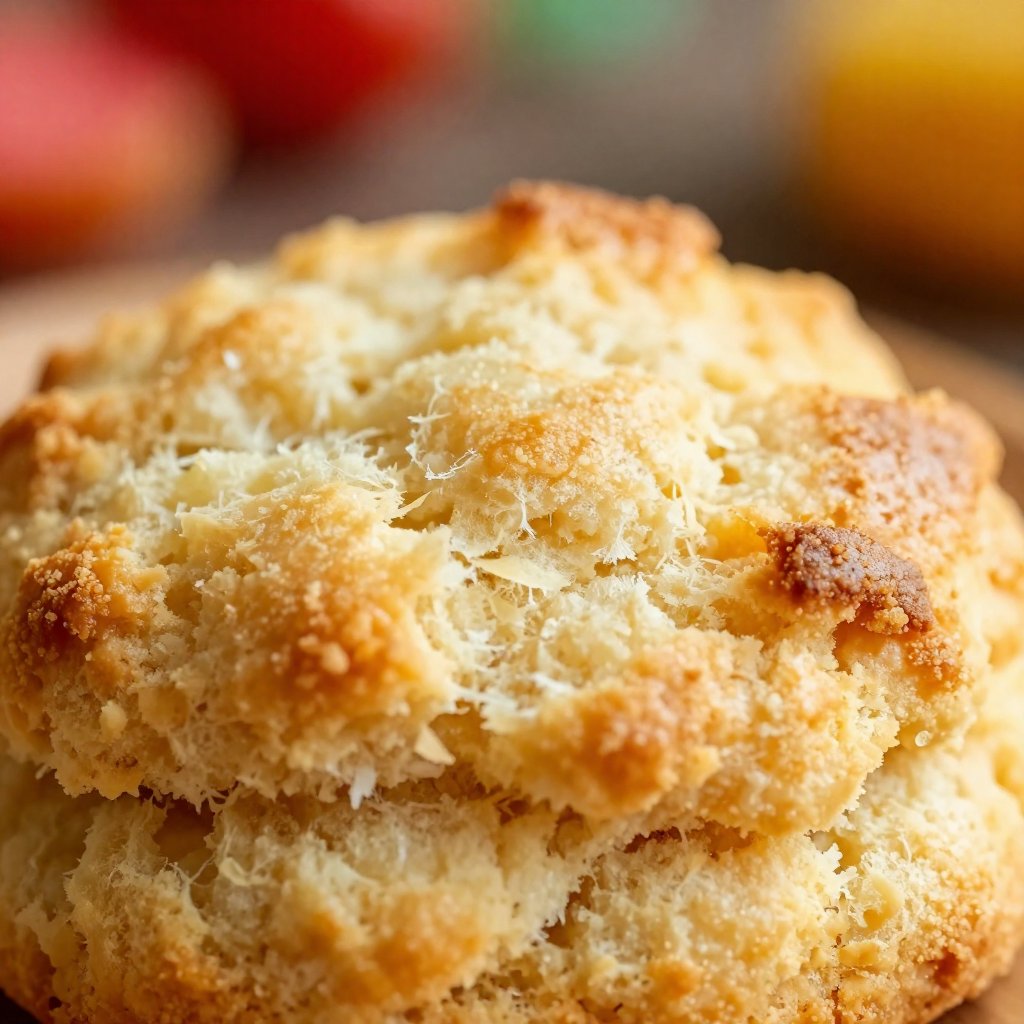
How to Make Fluffy Homemade Biscuits: Step-by-Step
Alright, let’s get baking! Follow these simple steps, and you’ll be enjoying warm, fluffy biscuits in no time.
- Preheat the Oven: Preheat your oven to 450°F (232°C). This high temperature is key to getting that beautiful rise and golden-brown crust.
- Combine Dry Ingredients: In a large bowl, whisk together the flour, salt, sugar, and baking powder. Make sure to really whisk together the dry ingredients. You want the baking powder evenly distributed for maximum fluffiness.
- Cut in the Butter: This is where the magic happens. Cut in the cold butter using a pastry blender or your fingers until the mixture resembles coarse crumbs. The cold butter is crucial; it creates pockets of steam that make the biscuits light and airy. Don’t overwork the mixture; you want to see small pieces of butter.
- Add the Milk: Gradually add the milk, mixing until just combined. Do not overmix. Overmixing develops the gluten in the flour, resulting in tough biscuits. Mix just until the dough comes together.
- Shape the Biscuits: Turn the dough out onto a lightly floured surface and gently pat it into a 3/4-inch thick circle. Use a biscuit cutter or a knife to cut out biscuits. If you don’t have a biscuit cutter, don’t worry! A sharp knife works just as well. Just make sure to cut straight down; twisting can seal the edges and prevent them from rising properly.
- Bake: Place the cut out biscuits on a baking sheet lined with parchment paper. This prevents sticking and ensures even baking.Bake for 15-20 minutes, or until golden brown. Keep an eye on them; every oven is different. You want them to be nicely browned on top and cooked through.
- Enjoy: Let the biscuits cool slightly before serving. Slather them with butter, jam, or honey, or use them to make your favorite breakfast sandwich.
Pro Tips for Perfect Biscuits
Want to take your biscuit game to the next level? Here are a few pro tips I’ve learned over the years:
- Keep Everything Cold: This is the golden rule of biscuit making. Cold butter, cold milk – the colder, the better. Cold ingredients prevent the butter from melting before baking, which is essential for creating those flaky layers.
- Don’t Overmix: I can’t stress this enough. Overmixing develops the gluten in the flour, resulting in tough, dense biscuits. Mix just until the dough comes together.
- Use a Light Hand: When patting out the dough, be gentle. Pressing too hard can compress the layers and prevent them from rising properly.
- Bake at a High Temperature: A high oven temperature creates a rapid rise, resulting in tall, fluffy biscuits.
- Don’t Twist the Cutter: When cutting out the biscuits, press straight down. Twisting can seal the edges and prevent them from rising properly.
- Brush with Melted Butter: For extra golden-brown tops, brush the biscuits with melted butter before baking.
Common Mistakes to Avoid
We all make mistakes in the kitchen, but knowing what to avoid can help you achieve biscuit perfection. Here are a few common pitfalls:
- Using Warm Butter: Warm butter will melt before baking, resulting in flat, greasy biscuits.
- Overmixing the Dough: Overmixing develops the gluten, leading to tough biscuits.
- Not Using Enough Flour: If the dough is too sticky, it will be difficult to work with and the biscuits won’t rise properly.
- Opening the Oven Too Soon: Opening the oven door during baking can cause the biscuits to collapse.
- Not Preheating the Oven: A preheated oven is essential for creating a rapid rise.
Biscuit Variations
Want to mix things up a bit? Here are a few fun variations to try:
- Cheese Biscuits: Add 1/2 cup of shredded cheddar cheese to the dry ingredients.
- Herb Biscuits: Add 1 tablespoon of chopped fresh herbs, such as rosemary or thyme, to the dry ingredients.
- Sweet Biscuits: Add 1/4 cup of sugar and 1/2 teaspoon of ground cinnamon to the dry ingredients.
- Garlic Biscuits: Add 1 teaspoon of garlic powder to the dry ingredients.
- Jalapeño Cheddar Biscuits: Add 1/4 cup of diced jalapeños and 1/2 cup of shredded cheddar cheese to the dry ingredients.
How to Store Homemade Biscuits
If you have any leftover biscuits (which is unlikely!), here’s how to store them:
- Room Temperature: Store the biscuits in an airtight container at room temperature for up to 2 days.
- Refrigerator: Store the biscuits in an airtight container in the refrigerator for up to 5 days.
- Freezer: Freeze the biscuits in a single layer on a baking sheet until solid, then transfer them to a freezer-safe bag or container. They can be frozen for up to 2 months. To reheat, bake them in a preheated oven at 350°F (175°C) until warmed through.
Frequently Asked Questions (FAQ)
- Can I use self-rising flour? While you can, this recipe is specifically formulated for all-purpose flour and baking powder. If you use self-rising flour, omit the salt and baking powder from the recipe.
- Can I use salted butter? Yes, but reduce the amount of salt in the recipe to 1/4 teaspoon.
- Can I use a stand mixer? Yes, you can use a stand mixer with the paddle attachment to cut in the butter. Be careful not to overmix the dough.
- Why are my biscuits flat? Flat biscuits are usually caused by using warm butter, overmixing the dough, or not using enough baking powder.
- Why are my biscuits tough? Tough biscuits are usually caused by overmixing the dough or using too much flour.
Serving Suggestions
Now that you’ve made these amazing biscuits, here are a few ways to enjoy them:
- Classic: Serve them warm with butter and your favorite jam or honey.
- Breakfast Sandwich: Use them to make a delicious breakfast sandwich with eggs, bacon, and cheese.
- Biscuits and Gravy: Crumble them into a bowl and top with creamy sausage gravy.
- Side Dish: Serve them as a side dish with your favorite soup, stew, or chili.
- Dessert: Top them with whipped cream and fresh berries for a simple and satisfying dessert.
There you have it! My go-to recipe for fluffy homemade biscuits without buttermilk. I hope you love them as much as I do. Remember, cooking is all about having fun and experimenting. So don’t be afraid to try new things and put your own spin on this recipe. And most importantly, enjoy the process! Happy baking, friends!
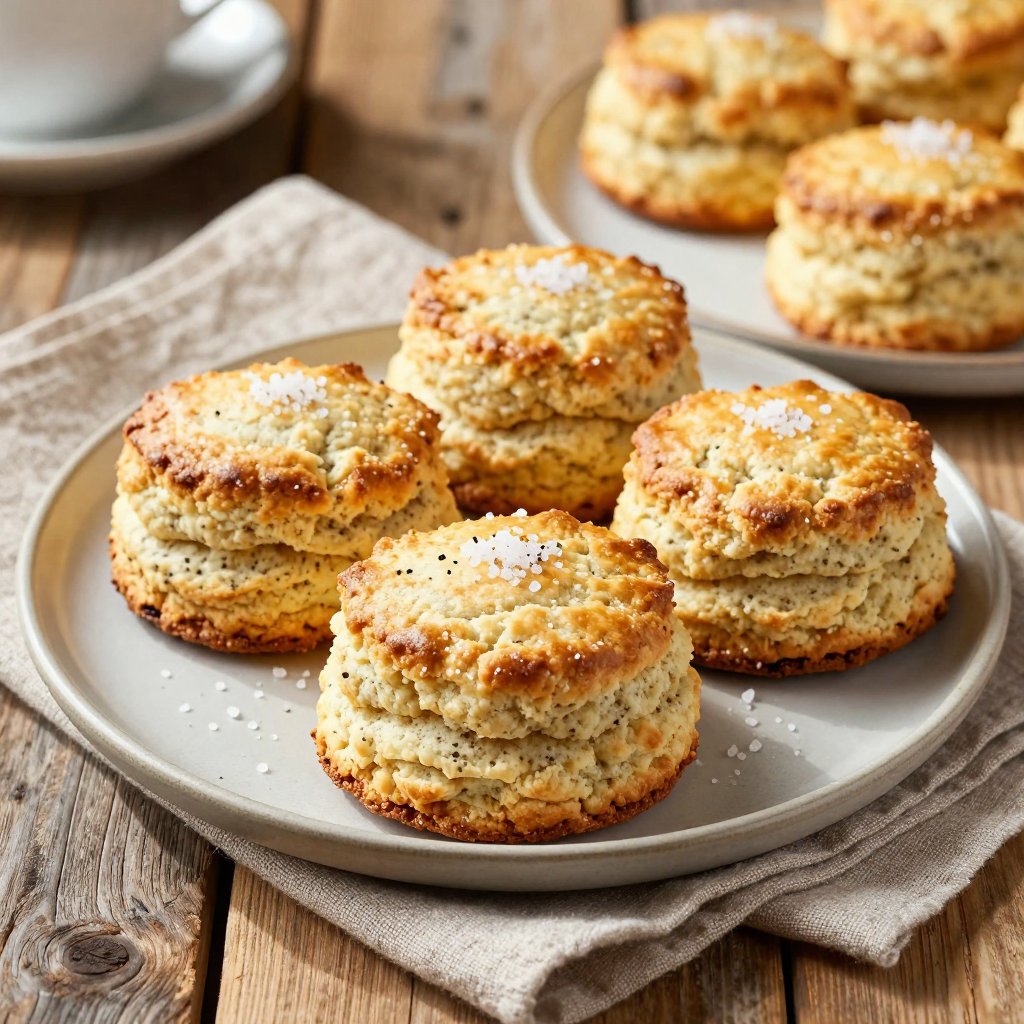
Fluffy Homemade Biscuits: No Buttermilk, No Problem!
Ingredients
Ingredients
- 270 g All-purpose flour (loosely packed)
- 3 g Salt
- 85 g Unsalted butter (cold and cubed)
- 12.5 g Sugar
- 8 g Baking powder
- 180 ml Milk
Instructions
- Preheat oven to 450°F (232°C).
- Whisk flour, salt, sugar, and baking powder in a large bowl.
- Cut in butter until mixture resembles coarse crumbs.
- Gradually add milk, mixing until just combined. Do not overmix.
- Turn dough onto a floured surface and pat into a 3/4-inch thick circle.
- Cut out biscuits and place on a baking sheet lined with parchment paper.
- Bake for 15-20 minutes, or until golden brown.
Notes
Nutrition