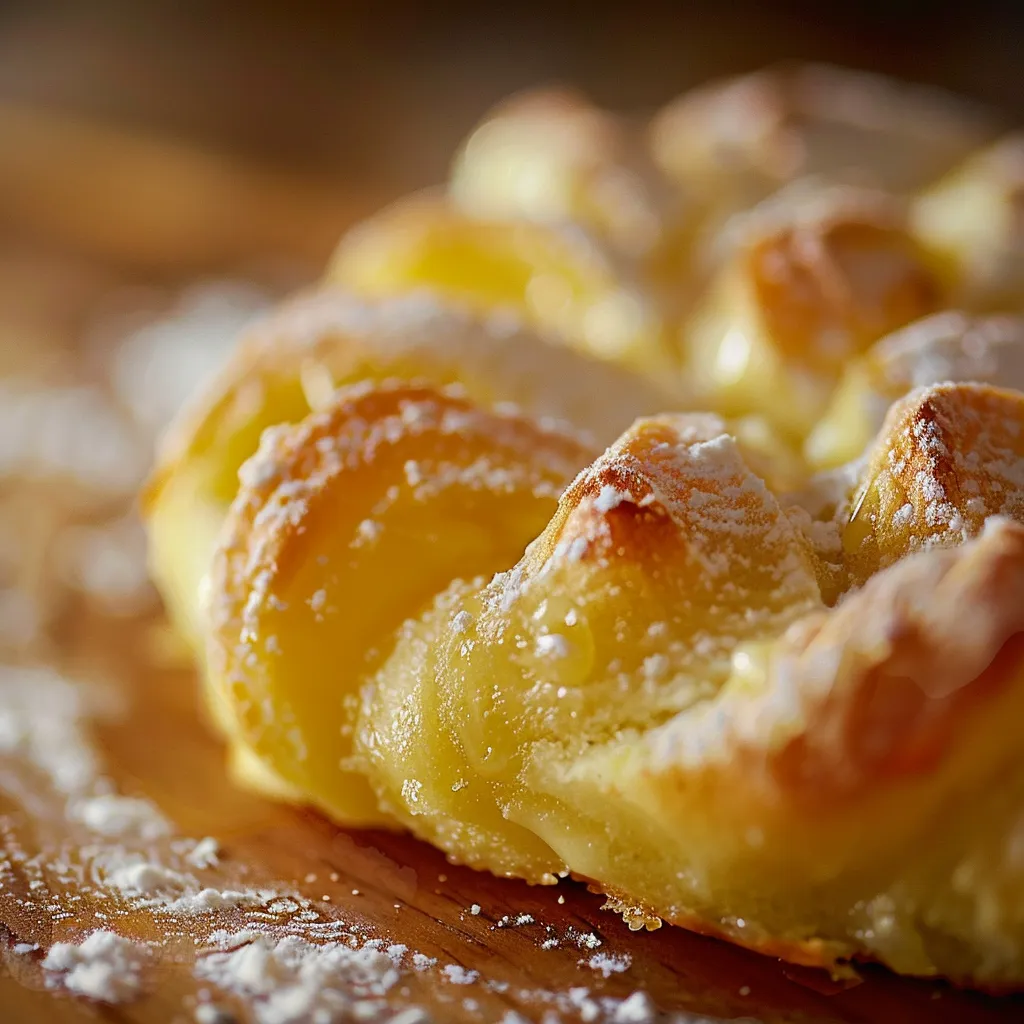
Unlocking the Magic of Danish Butter: A Recipe to Delight Your Taste Buds
Welcome to Emily’s Must-Try Kitchen, friends! Today, we’re diving into a recipe that will fill your home with warmth and nostalgia—Danish Butter. This delightful spread is not just a kitchen staple; it’s a heartwarming addition to your family meals, ideal for slathering on warm bread or using in your favorite pastries. With its rich, creamy texture and subtle sweetness, it’s a must-try for anyone looking to add a touch of magic to their cooking. So, roll up your sleeves, and let’s create something wonderful!
Why You’ll Love This Danish Butter Recipe
Have you ever tasted something so delightful that it instantly transports you back to a cherished memory? That’s what making Danish Butter feels like for me. Growing up in Charleston, South Carolina, the kitchen was always filled with the scents of baking and butter. My mom would often whip up a batch of something special, and I remember sneaking spoonfuls of rich buttercream frosting when I thought no one was looking.
With this Danish Butter recipe, you’re not just making a spread; you’re creating a piece of culinary art that can elevate any meal. Whether you’re preparing for a festive gathering or simply want to enjoy a cozy evening at home, this butter recipe will delight your taste buds and those of your loved ones.
How to Make Danish Butter
Let’s get into the nitty-gritty of creating this delicious Danish Butter. Here’s what you’ll need:
Ingredients
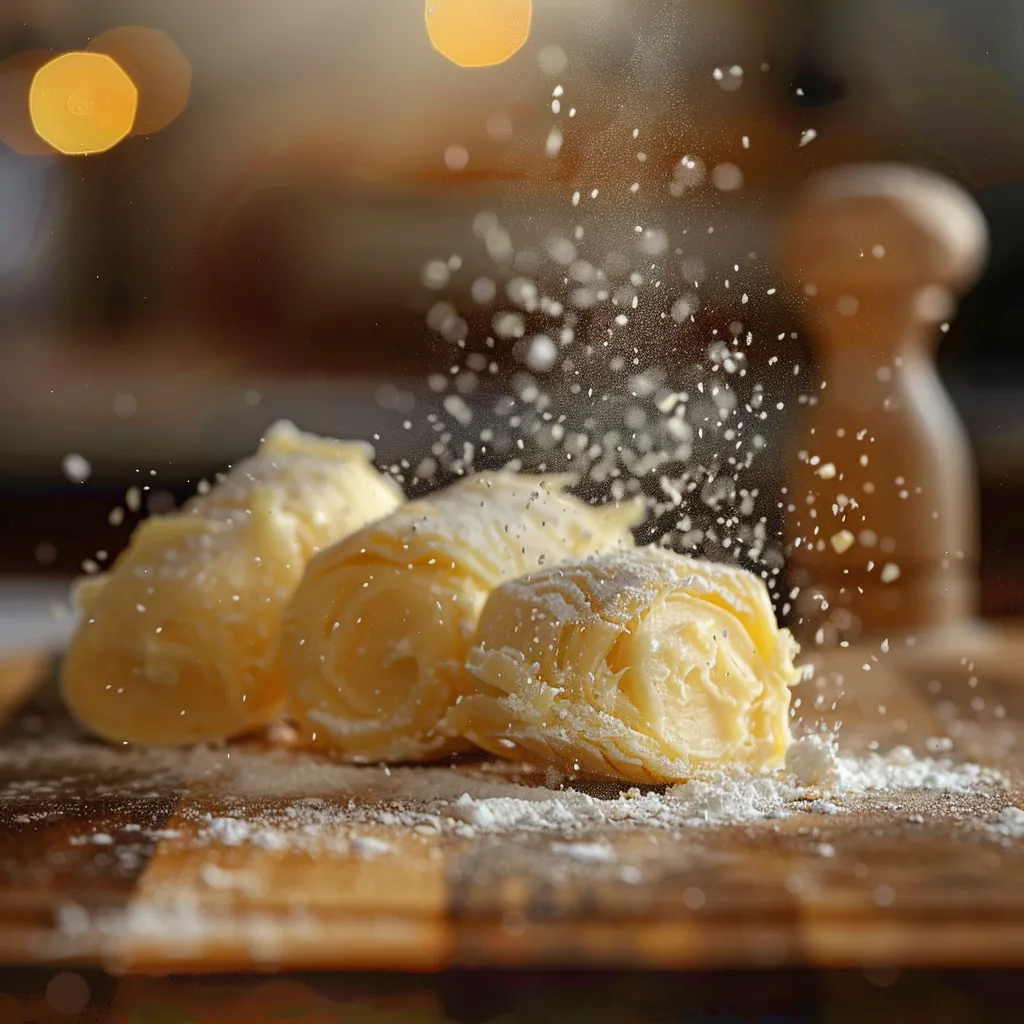
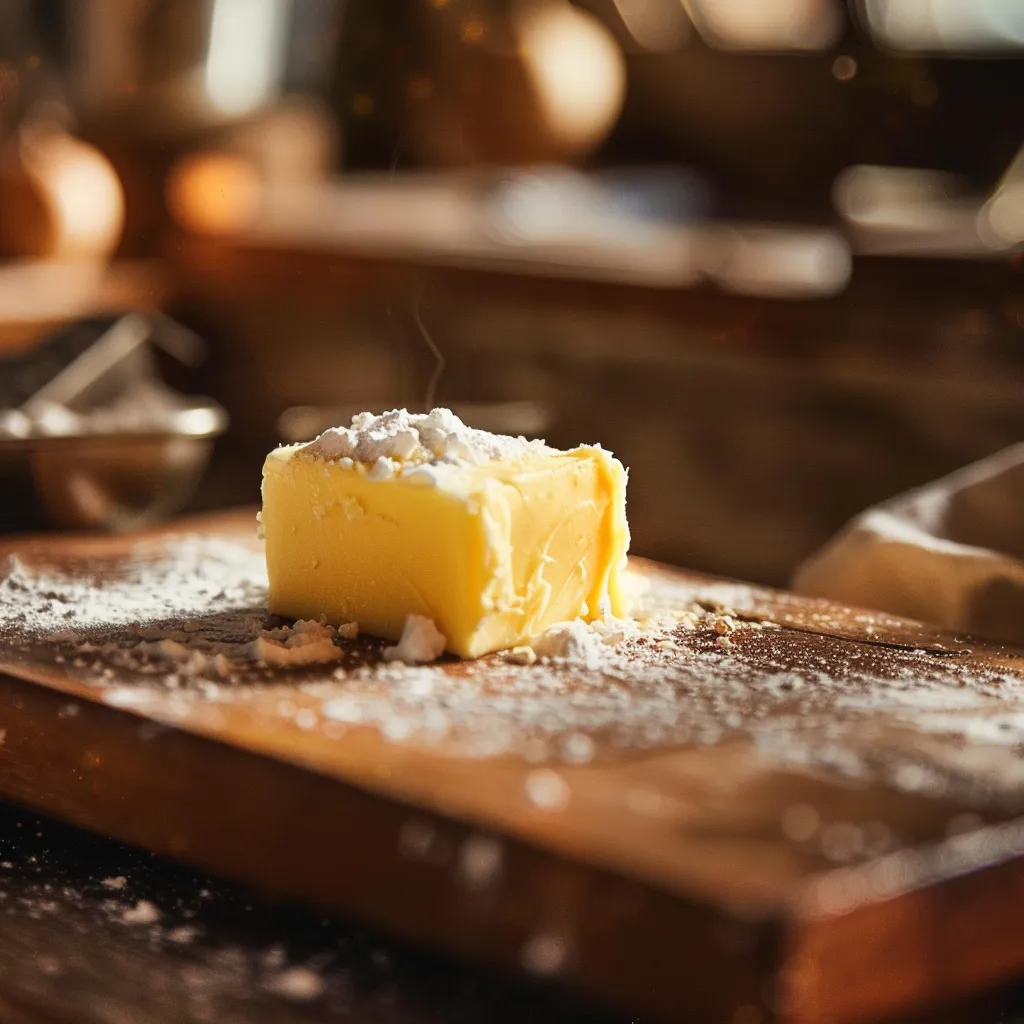
- 1 cup unsalted butter, softened
- 1/2 cup powdered sugar
- 1/4 teaspoon salt
- 1 teaspoon vanilla extract
- 2 cups all-purpose flour
Instructions
1. Cream the Butter and Sugar: In a mixing bowl, cream the softened butter and powdered sugar together until the mixture is light and fluffy. This process is crucial as it incorporates air into the butter, leading to a delightful texture.
2. Add Flavor: Next, add the salt and vanilla extract, mixing until everything is well combined. The vanilla will add a warm, inviting aroma that will make your kitchen smell heavenly.
3. Incorporate the Flour: Gradually add the all-purpose flour to the mixture, stirring until the dough comes together. Be patient—this step is essential for achieving the right consistency.
4. Chill the Dough: Shape the dough into a log or rectangle, wrap it in plastic wrap, and refrigerate for at least 1 hour. Chilling helps the butter firm up, making it easier to slice later.
5. Preheat the Oven: While the dough is chilling, preheat your oven to 350°F (175°C). This temperature is perfect for creating those lightly golden edges we all love.
6. Slice and Bake: Once the dough is chilled, slice it into thin pieces and place them on a baking sheet lined with parchment paper. Bake for 12-15 minutes or until the edges are lightly golden. Your kitchen will be filled with a delicious scent that will have everyone wandering in!
7. Cool and Serve: Remove the cookies from the oven and let them cool before serving. You can enjoy them plain or dress them up with a sprinkle of powdered sugar or a drizzle of chocolate for an extra touch of indulgence.
Tips for Best Results
To ensure your Danish Butter turns out perfectly every time, here are a few tips:
- Use room temperature butter: It’s essential to let your butter sit out before you start. Cold butter won’t cream properly, leading to dense butter.
- Don’t skip the chilling step: Chilling the dough is vital. It helps maintain the shape of the cookies while baking and enhances the flavor.
- Watch the baking time: Every oven is different. Keep an eye on your cookies, and remove them as soon as the edges are golden.
Variations to Try
While the classic Danish Butter recipe is delightful as is, here are a few fun twists you might want to explore:
- Chocolate-Dipped Danish Butter Cookies: Melt some chocolate and dip half of each cookie for a decadent treat.
- Nutty Flavor: Add finely chopped nuts like almonds or hazelnuts to the dough for an extra crunch.
- Citrus Zest: Mix in some lemon or orange zest for a refreshing citrus twist that brightens the flavor profile.
Substitutions
If you’re running low on ingredients or have dietary restrictions, here are some substitutions you can make:
- Butter: You can use a plant-based butter alternative for a dairy-free version.
- Powdered Sugar: If you don’t have powdered sugar, you can blend granulated sugar into a fine powder as a quick substitute.
- Flour: For a gluten-free option, substitute all-purpose flour with a gluten-free blend.
Equipment You’ll Need
To make this delicious Danish Butter, you’ll need some basic kitchen equipment:
- Mixing bowl
- Electric mixer or whisk
- Parchment paper
- Baking sheet
- Plastic wrap
Storage and Freezing
Wondering how to store your delicious Danish Butter? Here’s what you need to know:
Storage: Store your Danish Butter cookies in an airtight container at room temperature for up to one week. If you want to keep them fresher for longer, consider freezing them.Freezing: To freeze, place the cooled cookies in a zip-lock bag or an airtight container and store in the freezer for up to three months. When you’re ready to enjoy, simply let them thaw at room temperature.
Frequently Asked Questions
Here are some common questions that pop up when making Danish Butter:
- Can I substitute ingredients in this recipe? Absolutely! Feel free to use dairy-free butter or gluten-free flour as mentioned above.
- What should I do if my dough is too sticky? If your dough feels sticky, try adding a little more flour until it reaches the right consistency.
- Can I use a cookie press instead of slicing? Yes, using a cookie press is a great alternative! Just make sure your dough is the right thickness to hold its shape.
Wrap-Up and Invitation to Share
And there you have it, friends! This Danish Butter recipe is not just about baking; it’s about creating memories, sharing love, and indulging in something truly delightful. Whether you enjoy them with your morning coffee or as an afternoon treat, these cookies will surely bring smiles to your home.
As always, I love hearing from you! If you try this recipe, don’t forget to share your experiences in the comments below. What variations did you try? How did your family enjoy them? Let’s keep the conversation going and inspire each other to create more delicious moments in the kitchen. Happy baking, and may your kitchen be filled with warmth and joy!
More Delicious Recipes to Explore
If you’re in the mood for more delightful treats, check out these other recipes from Emily’s Must-Try Kitchen:
- Whisking up holiday cheer: Delightful gingerbread men cookies for decorating fun
- Spice up your holiday: Delightful gingerbread crinkle cookies for the cookie swap
- Joyful bites: Crafting delightful Christmas thumbprint cookies
Danish Butter Recipe | Veronika's Kitchen
Ingredients
Dough
- 1 cup unsalted butter, softened
- 1/2 cup powdered sugar
- 1/4 teaspoon salt
- 1 teaspoon vanilla extract
Dry Ingredients
- 2 cups all-purpose flour
Instructions
- Cream butter and powdered sugar until fluffy.
- Add salt and vanilla, mix well.
- Gradually mix in flour until dough forms.
- Shape dough, wrap, and refrigerate for 1 hour.
- Preheat oven to 350°F (175°C). Slice and bake for 12-15 minutes.
Notes
Nutrition
Loved this recipe? Save it to your favorite Pinterest board so you can easily find it later! It’s the perfect way to keep all your sweet ideas in one place. ✨