Author

Emily

Browsing

There’s something magical about the holiday season that makes me want to fill my kitchen with the warmth of baked goods and the sweet aroma of maple. Growing up in Charleston, South Carolina, I remember the holiday gatherings where my family would come together to share stories, laughter, and, of course, delicious treats. One of my fondest memories is standing on a stool in my mom’s kitchen, stealing bites of cookie dough while we baked together. Those moments taught me that cooking isn’t just about the food; it’s about connection, love, and creating memories that last a lifetime.

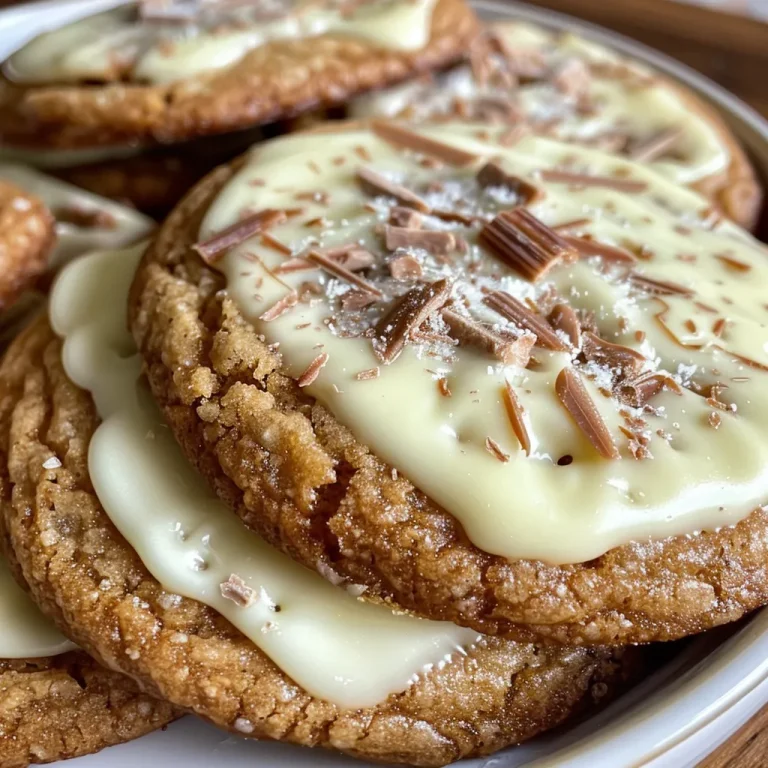
This year, I’m excited to share with you a recipe that embodies that spirit of joy and togetherness: White Chocolate Dipped Chewy Maple Cookies. These cookies are not only irresistibly chewy and packed with the comforting flavor of maple, but they’re also dipped in creamy white chocolate to elevate them to a festive treat that everyone will adore. Let’s roll up our sleeves and create something special for your holiday gatherings!

Why You’ll Absolutely Love White Chocolate Dipped Chewy Maple Cookies for Christmas

These cookies are the perfect addition to your holiday baking repertoire for so many reasons:

  • They are incredibly chewy and flavorful, thanks to the rich maple syrup that adds a lovely depth of sweetness.
  • The white chocolate dip adds a luxurious touch, making them feel extra special for the holiday season.
  • They’re quick and easy to make—perfect for busy holiday schedules when you want to whip up something delicious without spending all day in the kitchen.
  • These cookies are perfect for sharing! Whether you’re gifting them to neighbors, bringing them to a holiday party, or simply enjoying them with family, they’re sure to spread joy.

Ingredients You’ll Need

Let’s talk about the star ingredients that make these cookies so delightful. I chose to use a mix of brown sugar and granulated sugar to give these cookies that perfect chewy texture while keeping them sweet and flavorful. The star of the show, of course, is the maple syrup, which not only sweetens the cookies but also adds that warm, cozy flavor we all associate with the holidays.

Here’s what you’ll need:

  • 2 1/4 cups all-purpose flour
  • 1 teaspoon baking soda
  • 1/2 teaspoon salt
  • 1 cup unsalted butter, softened
  • 1 cup brown sugar, packed
  • 1/2 cup granulated sugar
  • 1/2 cup maple syrup
  • 1 teaspoon vanilla extract
  • 2 large eggs
  • 2 cups white chocolate chips
  • Optional: sea salt for sprinkling

You’ll find the full ingredient list with measurements in the recipe card below!

How to Make White Chocolate Dipped Chewy Maple Cookies for Christmas, Step-by-Step

Alright, let’s dive into the fun part—making these cookies! Follow along, and don’t be afraid to get your hands a little messy; it’s all part of the joy of baking!

1. Preheat your oven to 350°F (175°C) and line your baking sheets with parchment paper. This little step ensures that your cookies won’t stick and makes cleanup a breeze!

2. In a bowl, whisk together the flour, baking soda, and salt, then set it aside. This helps to evenly distribute the baking soda so your cookies rise beautifully.

3. In a large mixing bowl, cream together the softened butter, brown sugar, and granulated sugar until the mixture is light and fluffy. This step is crucial for that perfect cookie texture, so don’t rush it!

4. Next, add the maple syrup, vanilla extract, and eggs to the butter mixture. Mix until everything is well combined—this is where the magic starts to happen!

5. Gradually add the dry ingredients to the wet ingredients, mixing until just combined. You don’t want to over-mix; we want those cookies to stay nice and chewy.

6. Now, fold in the white chocolate chips. These little gems will melt slightly when baked, creating delightful pockets of sweetness in every bite.

7. Using a tablespoon, drop balls of dough onto the prepared baking sheets, spacing them about 2 inches apart. They’ll spread a little, so give them some room!

8. Bake for 10-12 minutes or until the edges are lightly golden. You want them to look slightly underbaked in the center; they will continue to cook as they cool.

9. Remove from the oven and let them cool on the baking sheets for 5 minutes before transferring them to a wire rack to cool completely.

10. Once cooled, melt the remaining white chocolate chips in a microwave-safe bowl, stirring every 30 seconds until smooth.

11. Dip half of each cookie into the melted white chocolate, allowing excess to drip off. This is where they become truly indulgent!

12. Place the dipped cookies on a parchment-lined tray and sprinkle with sea salt if desired. The salty-sweet combination is simply divine.

13. Allow the chocolate to set before serving or packaging.
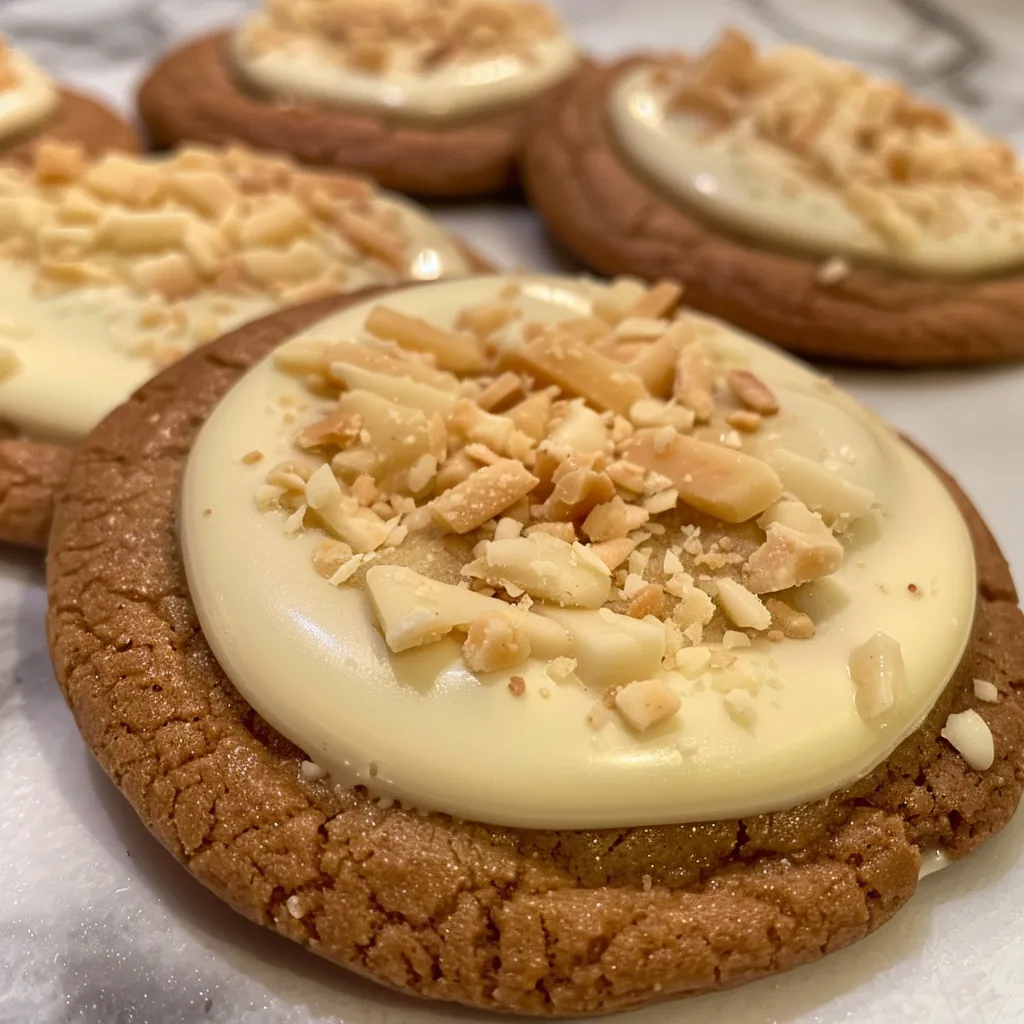
White Chocolate Dipped Chewy Maple Cookies for Christmas

Pro Tips for the Best Results

Here are a few tips I’ve learned along the way to ensure your cookies turn out perfectly:

  • Be sure your butter is softened to room temperature for easy creaming with the sugars. This will help you achieve that light and fluffy texture!
  • If you prefer a more pronounced maple flavor, consider adding a splash of maple extract in addition to the maple syrup.
  • Don’t skip the sea salt on top of the white chocolate! It adds a delightful contrast to the sweetness of the cookie and the chocolate.

Serving Suggestions

These cookies are perfect on their own, but if you’re feeling a little extra festive, consider serving them with a side of whipped cream or a scoop of vanilla ice cream. They also make great gifts when packaged in decorative tins or boxes, so don’t hesitate to share the joy with friends and family!

Storage and Make-Ahead Tips

If you want to get ahead of your holiday baking, these cookies can be made a few days in advance and stored in an airtight container at room temperature. For longer storage, you can freeze the unbaked cookie dough. Just scoop the dough onto a parchment-lined baking sheet, freeze until solid, and then transfer to a freezer bag. When you’re ready to bake, just pop them in the oven straight from the freezer, adding a couple of extra minutes to the baking time.
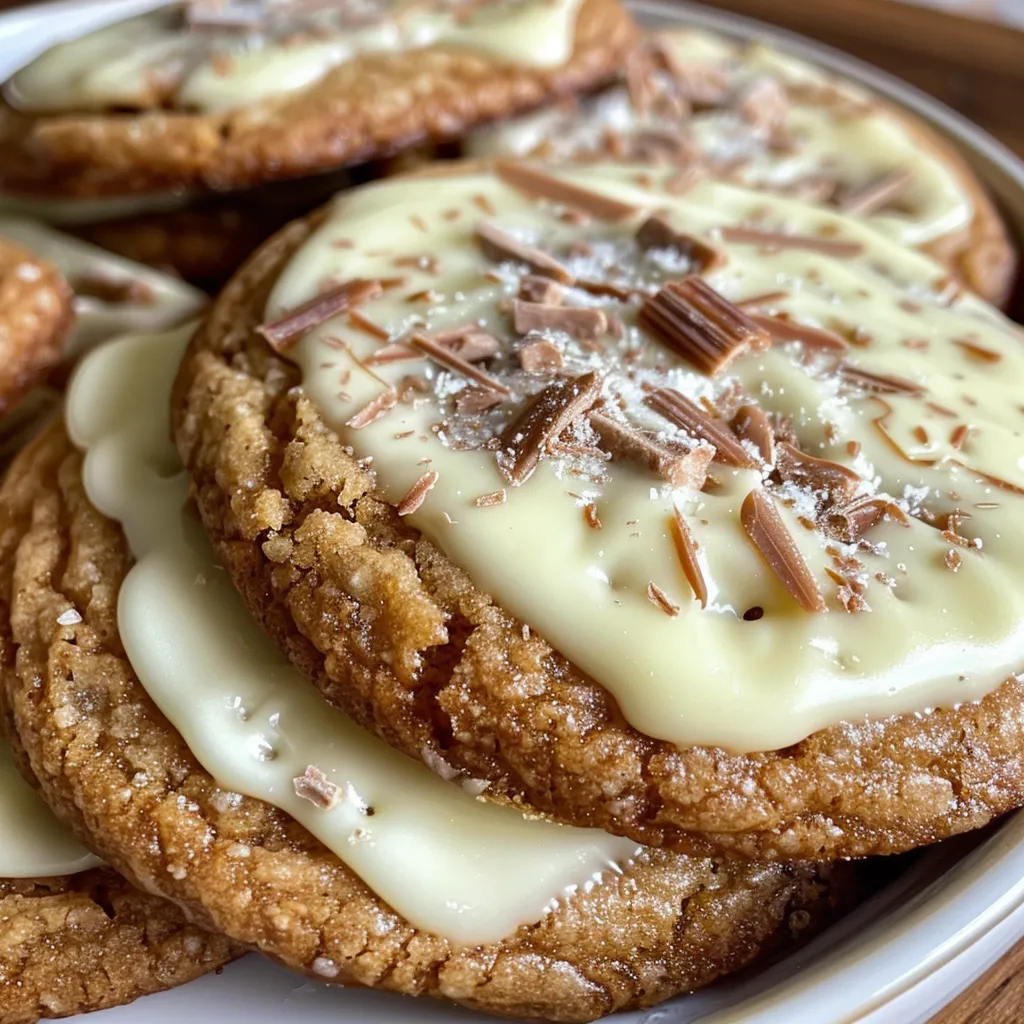
White Chocolate Dipped Chewy Maple Cookies for Christmas

Prep Time 15 minutes
Cook Time 12 minutes
Total Time 27 minutes
Servings 24 cookies
Calories 150
Celebrate the holidays with these chewy maple cookies dipped in white chocolate, topped with a sprinkle of sea salt for a festive touch.

Ingredients

Dry Ingredients

  • 2 1/4 cups all-purpose flour
  • 1 teaspoon baking soda
  • 1/2 teaspoon salt

Wet Ingredients

  • 1 cup unsalted butter, softened
  • 1 cup brown sugar, packed
  • 1/2 cup granulated sugar
  • 1/2 cup maple syrup
  • 1 teaspoon vanilla extract
  • 2 large eggs

Chocolate

  • 2 cups white chocolate chips
  • optional sea salt for sprinkling (for topping)

Instructions 

  • Preheat oven to 350°F (175°C). Mix dry ingredients; set aside.
  • Cream butter and sugars, then add maple syrup, vanilla, and eggs.
  • Gradually mix in dry ingredients, fold in white chocolate chips.
  • Drop dough onto baking sheets, bake 10-12 minutes, cool.
  • Melt remaining white chocolate, dip cookies, sprinkle with sea salt, and let set.

Notes

Chill the dough for easier handling if needed.
Calories: 150kcal
Cost: $15
Course: Dessert
Cuisine: American
Keyword: Christmas, Cookies, Maple

Nutrition

Calories: 150kcal | Carbohydrates: 20g | Protein: 2g | Fat: 8g | Sodium: 70mg

Loved this recipe? Save it to your favorite Pinterest board so you can easily find it later! It’s the perfect way to keep all your sweet ideas in one place. ✨
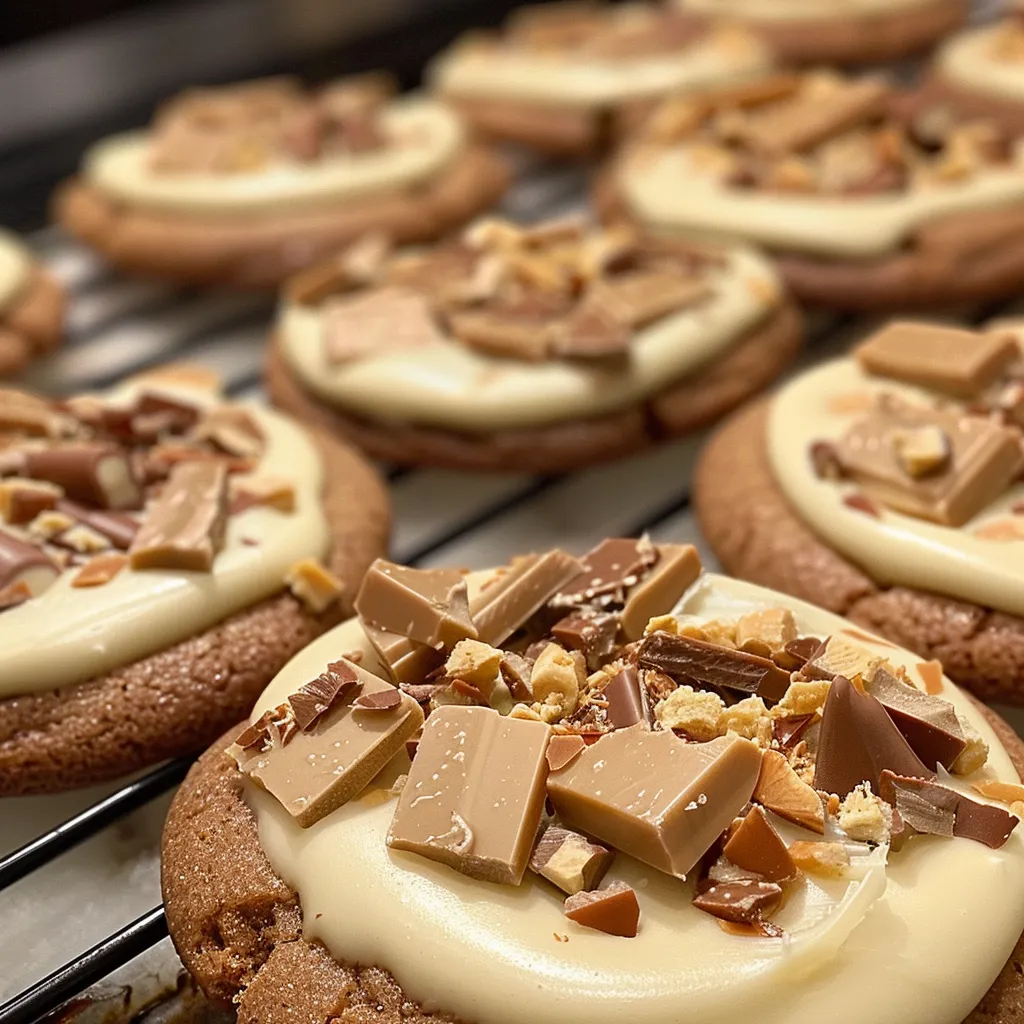
White Chocolate Dipped Chewy Maple Cookies for Christmas

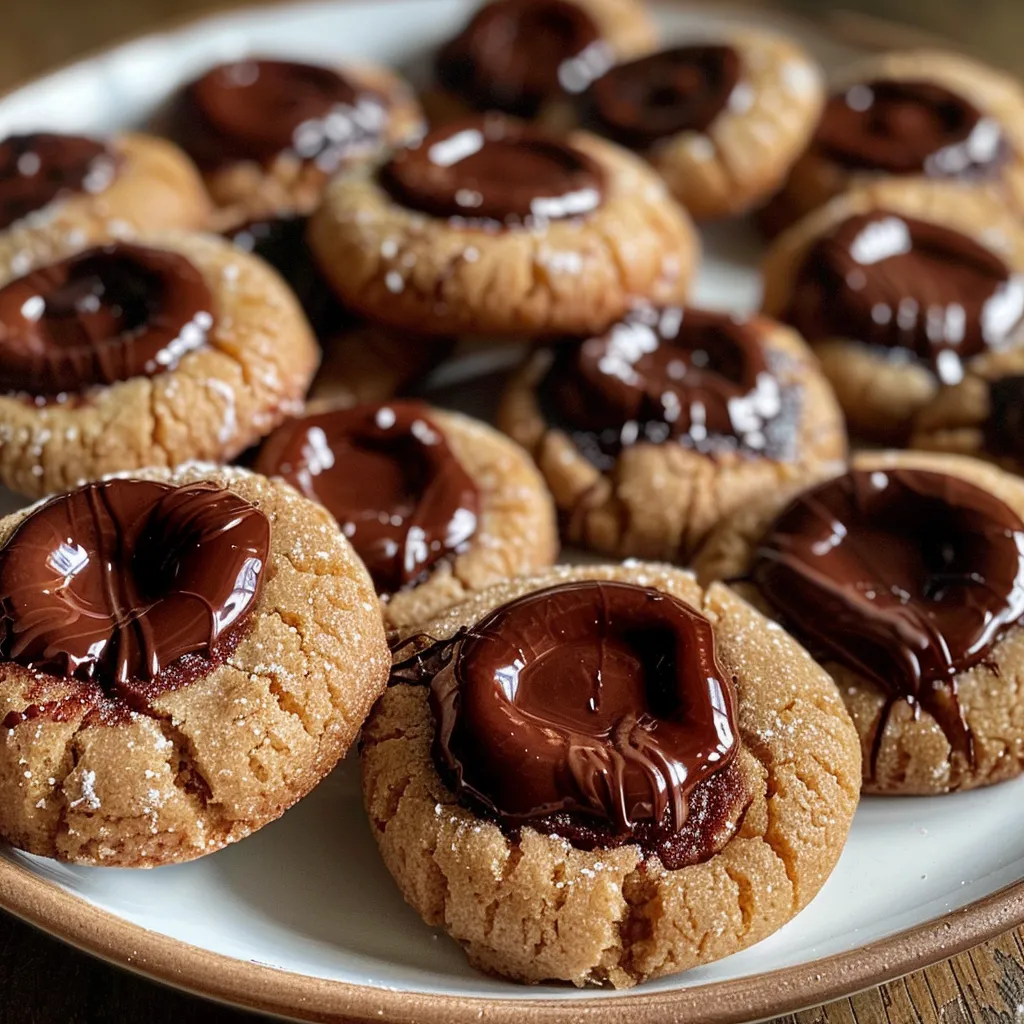
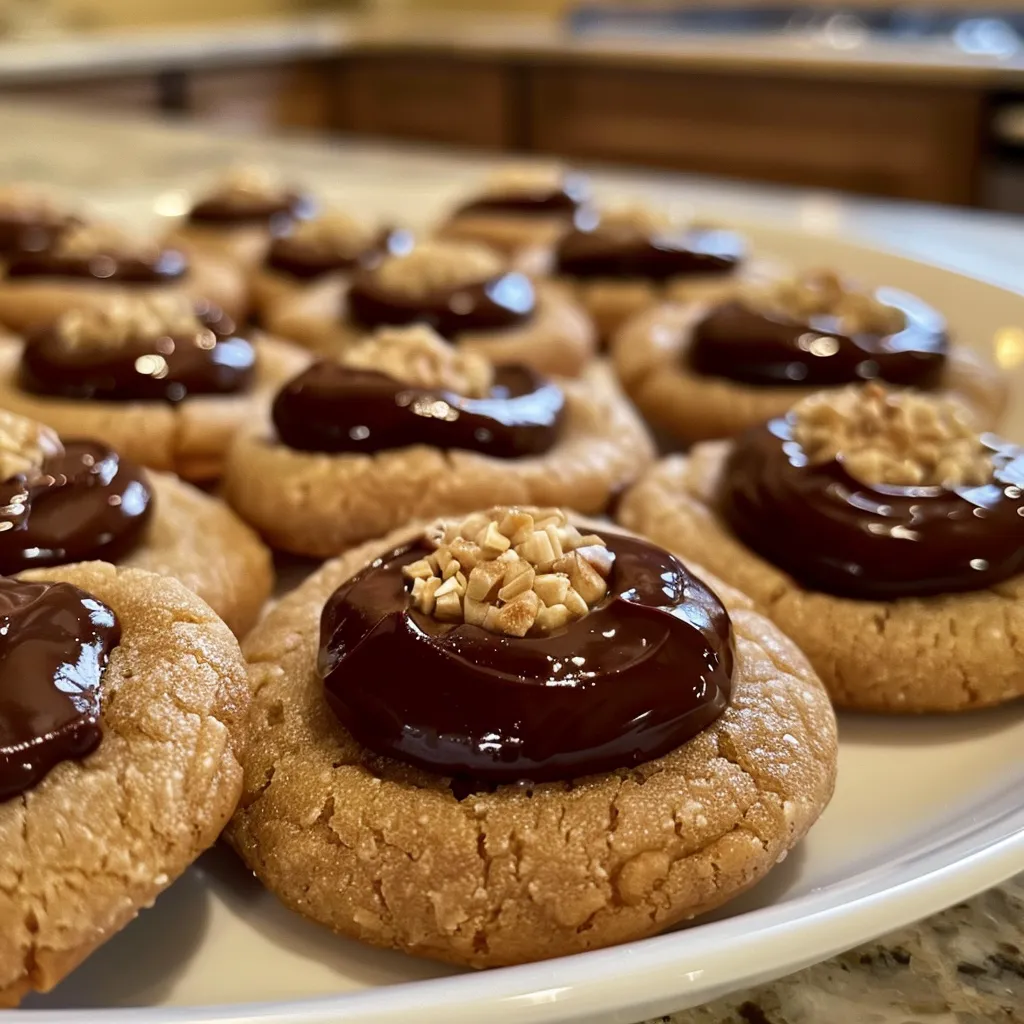
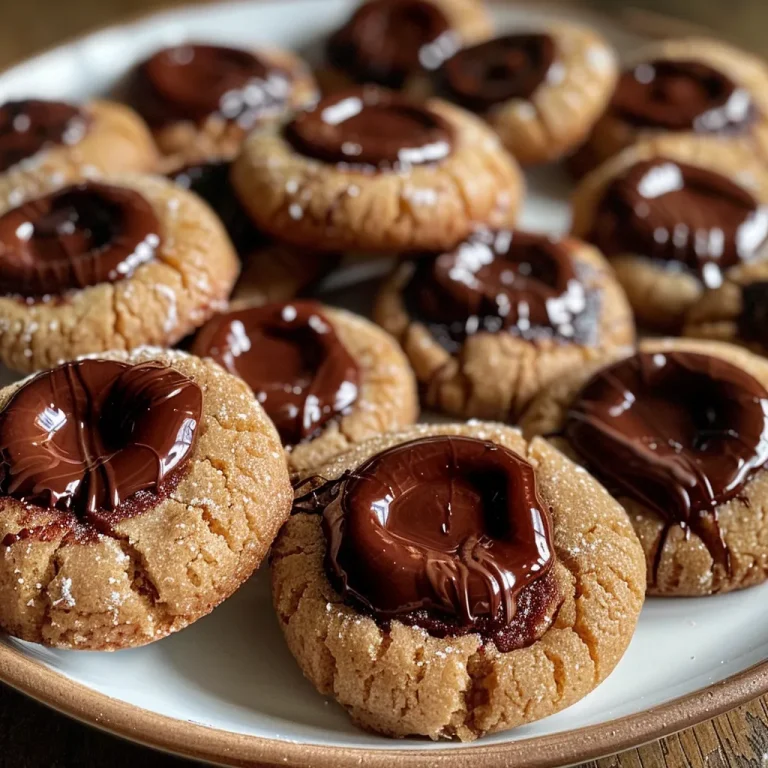
Welcome to Emily’s Must-Try Kitchen, where every recipe is a story waiting to be told! Today, I’m thrilled to share a delightful treat that’s sure to become a favorite in your home: Chocolate Thumbprint Cookies. These little gems are not just cookies; they’re a celebration of flavor, nostalgia, and the joy of sharing sweet moments with loved ones. I still remember the first time I had a thumbprint cookie at a family gathering. The combination of rich chocolate and a gooey center was like a warm hug from my grandma. It’s amazing how food can transport us back to cherished memories, isn’t it?

As we dive into this recipe, I want you to know that these cookies are perfect for any occasion—from holiday gatherings to cozy nights in with a cup of tea. They’re simple enough to whip up on a whim yet impressive enough to steal the show at any dessert table. So, roll up your sleeves, and let’s make some magic happen in the kitchen!

Why You’ll Absolutely Love Chocolate Thumbprint Cookies – In Bloom Bakery

These Chocolate Thumbprint Cookies have a few delicious secrets that make them irresistible. Here’s why you’re going to adore them:

  • Easy to Make: With straightforward steps, even novice bakers will find joy in creating these cookies.
  • Decadent Chocolate Flavor: The combination of cocoa powder and melted chocolate chips creates a rich, chocolatey experience that chocolate lovers will cherish.
  • Customizable Fillings: While I love classic chocolate filling, feel free to get creative! Try peanut butter, caramel, or even fruit preserves for a twist.
  • Perfect for Sharing: These cookies are made for sharing—perfect for holiday parties, bake sales, or simply enjoying with friends over coffee.

Ingredients You’ll Need

Gathering the right ingredients is half the fun! Here’s what you’ll need for these delightful Chocolate Thumbprint Cookies:

  • 1 cup unsalted butter, softened
  • 3/4 cup granulated sugar
  • 1/4 cup brown sugar, packed
  • 2 large eggs
  • 1 teaspoon vanilla extract
  • 2 cups all-purpose flour
  • 1/2 cup unsweetened cocoa powder
  • 1/2 teaspoon baking powder
  • 1/4 teaspoon salt
  • 1 cup chocolate chips (for filling)
  • 1/4 cup powdered sugar (for dusting)

You’ll find the full ingredient list with measurements in the recipe card below!

How to Make Chocolate Thumbprint Cookies – In Bloom Bakery, Step-by-Step

Now, let’s get to the fun part—making these cookies! Follow this step-by-step guide and let your creativity shine:

  1. Preheat your oven to 350°F (175°C) and line a baking sheet with parchment paper. This little step ensures your cookies won’t stick and makes cleanup a breeze!
  2. In a large mixing bowl, cream together the softened butter, granulated sugar, and brown sugar until light and fluffy. This is where the magic begins—your kitchen will smell heavenly!
  3. Add the eggs one at a time, mixing well after each addition. Stir in the vanilla extract for that lovely aromatic touch.
  4. In a separate bowl, sift together the flour, cocoa powder, baking powder, and salt. Sifting is a great way to avoid clumps and ensure a smooth cookie dough.
  5. Gradually add the dry ingredients to the wet mixture, mixing until combined. Don’t overmix; we want tender cookies!
  6. Scoop tablespoon-sized portions of dough and roll them into balls. Place them on the prepared baking sheet, spacing them apart to give them room to spread.
  7. Use your thumb or the back of a spoon to make an indentation in the center of each dough ball. This is where your chocolate filling will go, so make it nice and deep!
  8. Bake in the preheated oven for 10-12 minutes. Remove from the oven and let cool slightly. You want them to be soft and chewy!
  9. While the cookies are cooling, melt the chocolate chips in a microwave-safe bowl or over a double boiler. Stir until smooth and luscious.
  10. Once the cookies are cool, fill each thumbprint indentation with melted chocolate. This is the moment you can really indulge!
  11. Dust with powdered sugar before serving. Enjoy your delicious Chocolate Thumbprint Cookies!
Chocolate Thumbprint Cookies - In Bloom Bakery

Pro Tips for the Best Results

Here are some of my favorite tips to ensure your cookies turn out perfectly:

  • Butter Temperature: Make sure your butter is softened but not melted. This helps create that fluffy texture we all love!
  • Chill the Dough: If you find your dough is too sticky to handle, pop it in the fridge for about 30 minutes. Chilled dough is easier to work with and results in neater cookies.
  • Experiment with Fillings: Don’t be afraid to switch things up! Try using different flavored chocolate chips or even nut butters for a unique twist.

Serving Suggestions

These Chocolate Thumbprint Cookies are perfect on their own, but here are some fun serving suggestions to elevate your dessert experience:

  • Pair them with a scoop of vanilla ice cream for a decadent sundae.
  • Serve alongside a cup of steaming hot cocoa or coffee for a cozy treat.
  • Arrange on a festive platter for holiday gatherings and watch them disappear!

Storage and Make-Ahead Tips

Want to enjoy these cookies later? No problem! Here’s how to store and make them ahead of time:

  • Store baked cookies in an airtight container at room temperature for up to a week. They’ll stay soft and delicious!
  • If you want to make them ahead, prepare the dough and refrigerate it for up to three days before baking.
  • You can also freeze the baked cookies for up to three months. Just place them in a freezer-safe container and separate layers with parchment paper.

Thank you for joining me in making these Chocolate Thumbprint Cookies today! I hope you find as much joy in baking them as I do. Remember, cooking is all about having fun and sharing love through food, so don’t be afraid to get a bit messy. Happy baking, and I can’t wait to hear about your cookie adventures!

Chocolate Thumbprint Cookies - In Bloom Bakery

Prep Time 15 minutes
Cook Time 12 minutes
Total Time 27 minutes
Servings 24 cookies
Calories 150
Delight in these rich, chocolatey cookies with a sweet chocolate filling, perfect for any occasion.

Ingredients

Dough

  • 1 cup unsalted butter, softened
  • 3/4 cup granulated sugar
  • 1/4 cup brown sugar, packed
  • 2 large eggs
  • 1 teaspoon vanilla extract

Dry ingredients

  • 2 cups all-purpose flour
  • 1/2 cup unsweetened cocoa powder
  • 1/2 teaspoon baking powder
  • 1/4 teaspoon salt

Filling and dusting

  • 1 cup chocolate chips (for filling)
  • 1/4 cup powdered sugar (for dusting)

Instructions 

  • Preheat oven to 350°F (175°C). Mix softened butter, sugars until fluffy.
  • Add eggs one at a time, then vanilla. Mix well.
  • Combine dry ingredients; gradually add to wet mixture. Form dough balls and place on baking sheet.
  • Make an indentation in each ball, bake for 10-12 minutes. Cool slightly.
  • Melt chocolate chips, fill indentations, dust with powdered sugar. Serve.

Notes

Ensure not to overbake for soft, chewy cookies.
Calories: 150kcal
Cost: $15
Course: Dessert
Cuisine: American
Keyword: chocolate

Nutrition

Calories: 150kcal | Carbohydrates: 20g | Protein: 2g | Fat: 8g | Sodium: 50mg

Loved this recipe? Save it to your favorite Pinterest board so you can easily find it later! It’s the perfect way to keep all your sweet ideas in one place. ✨
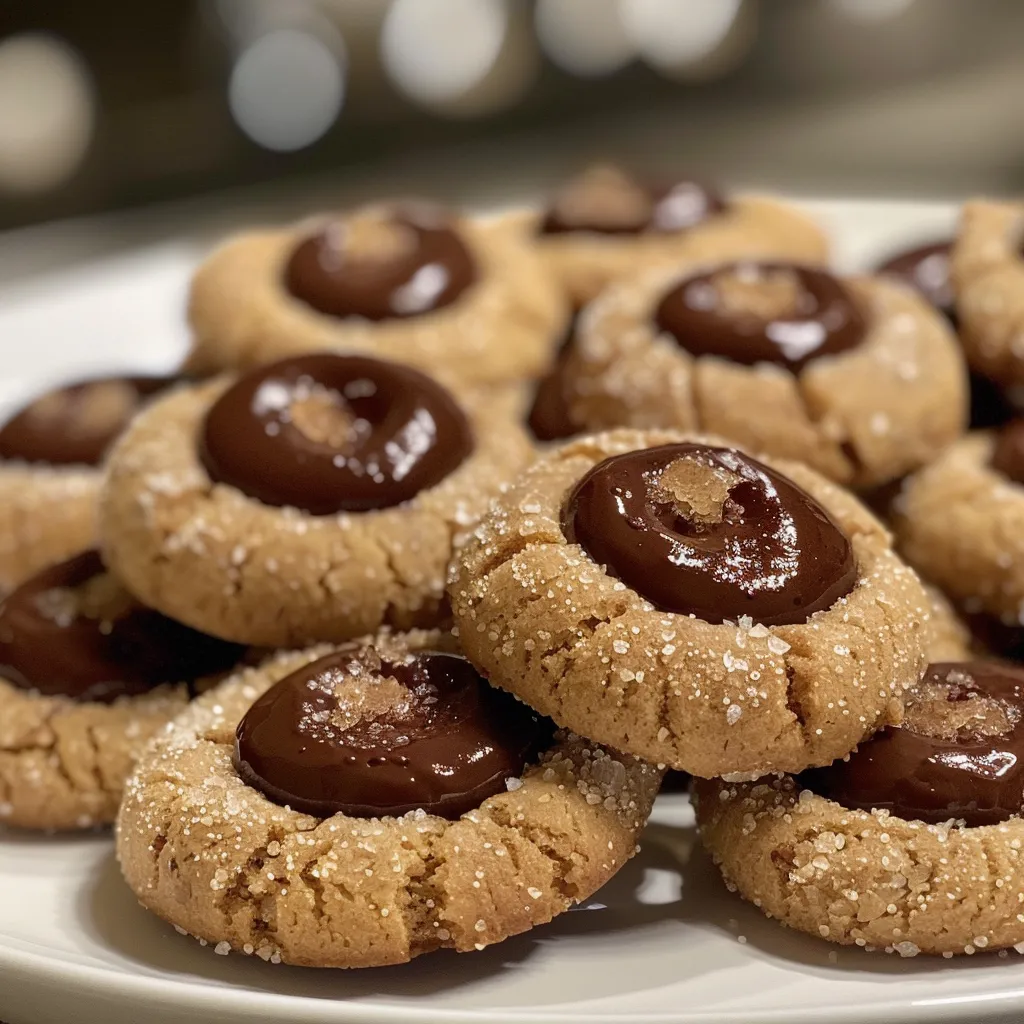
Chocolate Thumbprint Cookies - In Bloom Bakery