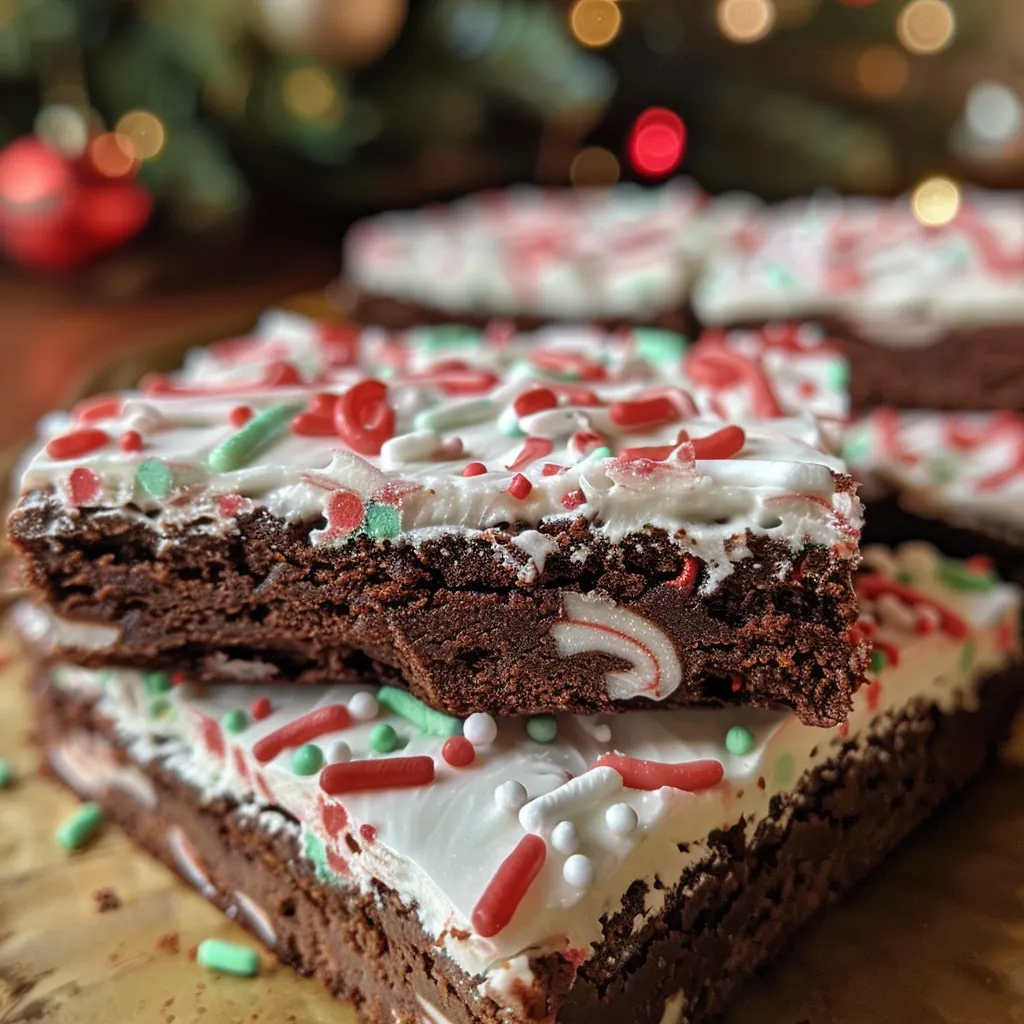
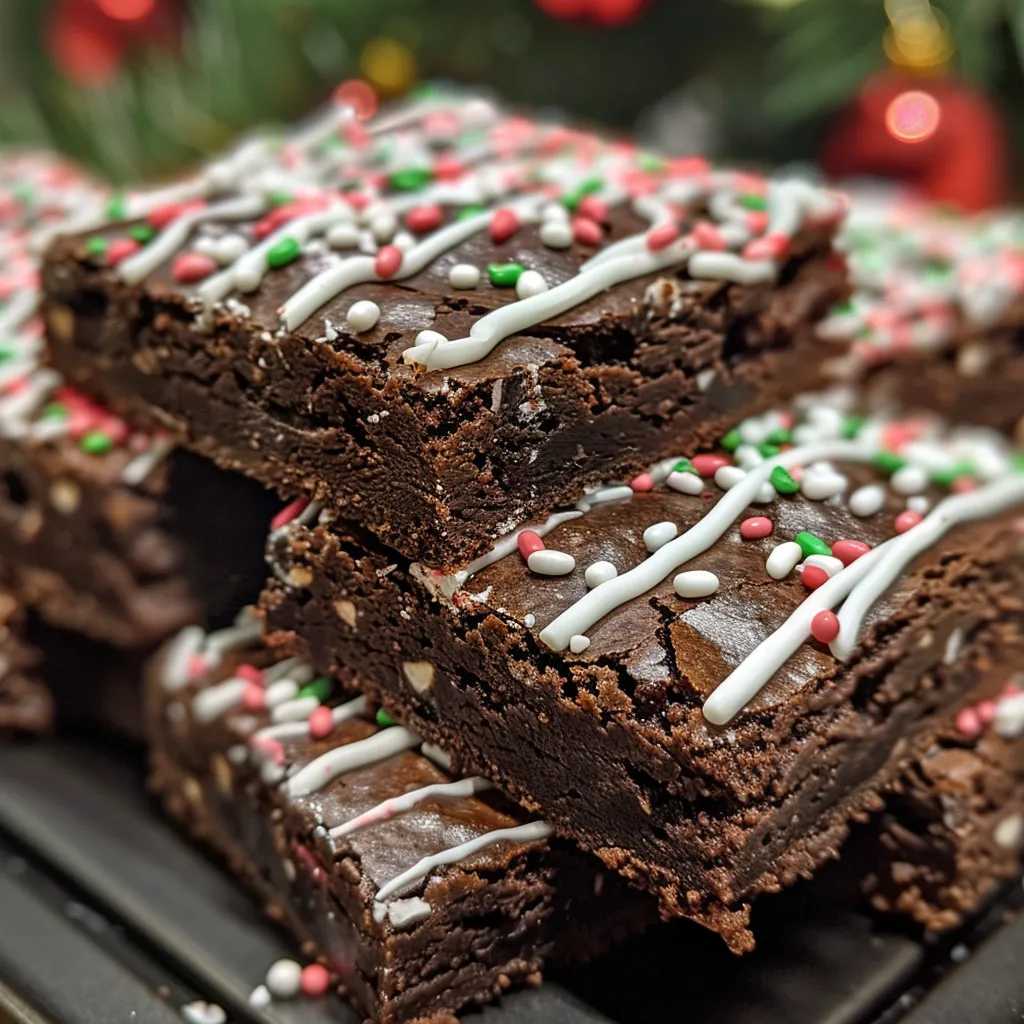
Author

Emily

Browsing

Ah, the holiday season! A time filled with twinkling lights, the scent of pine, and, of course, the magic of baking cookies. Growing up in Charleston, my kitchen was always a buzz of activity around this time of year. I still remember the excitement of gathering around the table with my family, flour dusting our noses as we mixed and rolled out dough. Those moments were filled with laughter, the warmth of connection, and the sweet anticipation of tasting our creations. Today, I want to invite you into my kitchen to whip up a batch of festive homemade Christmas cookies that are sure to spread warmth and joy to everyone you share them with. Let’s dive into this delicious tradition together!

Why You’ll Absolutely Love 🍪🎄 Festive Delights: Spread Holiday Cheer with Homemade Christmas Cookies! 😍✨

These homemade Christmas cookies are more than just a treat; they’re a delightful experience that captures the essence of the holiday spirit. Here’s why you’ll absolutely love whipping up this batch:

  • They’re incredibly easy to make, perfect for both novice bakers and seasoned pros.
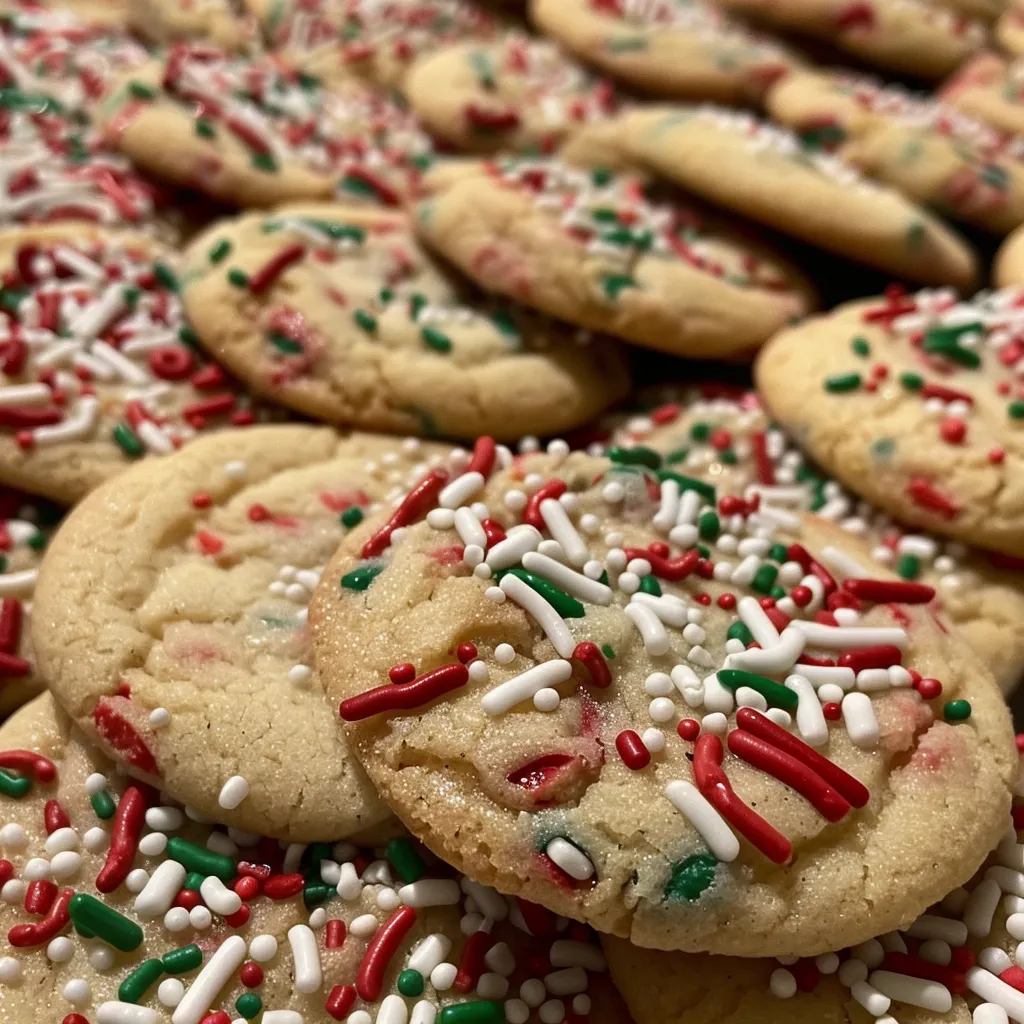
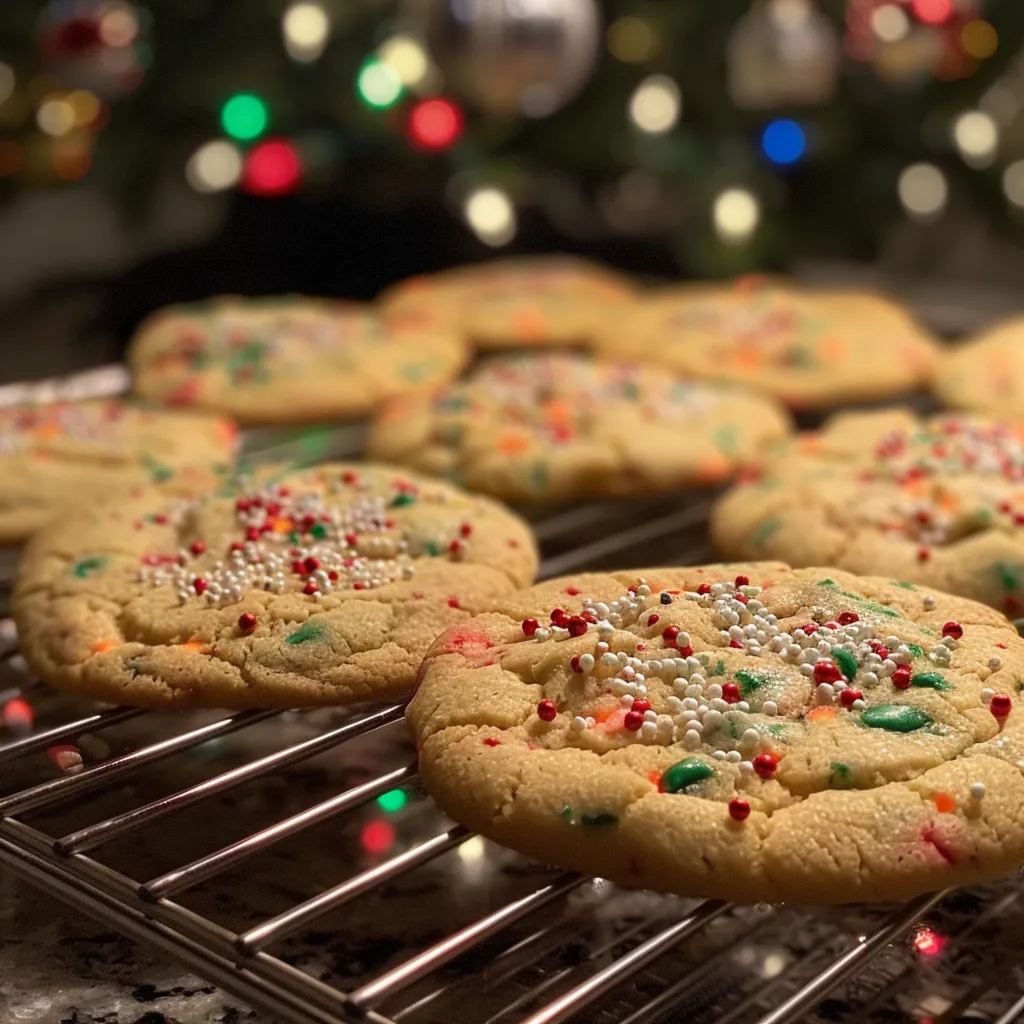
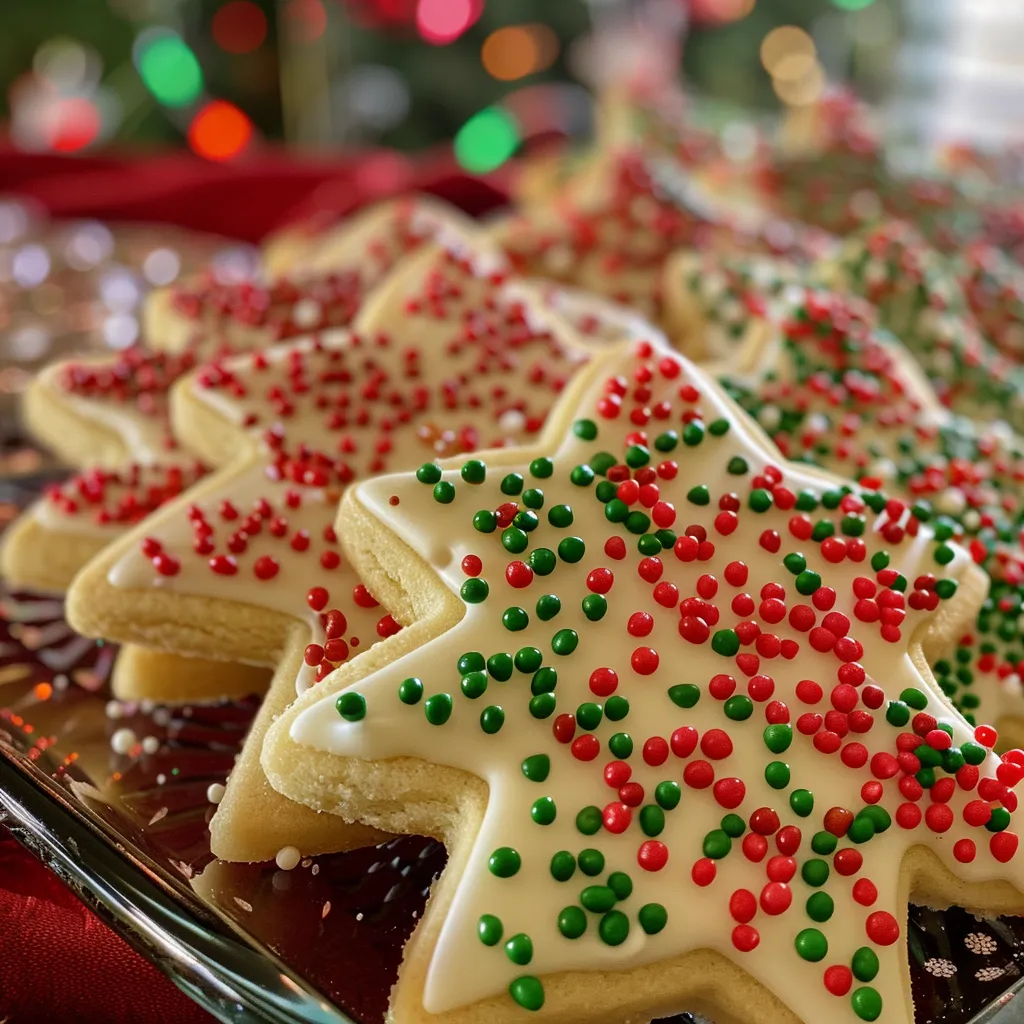
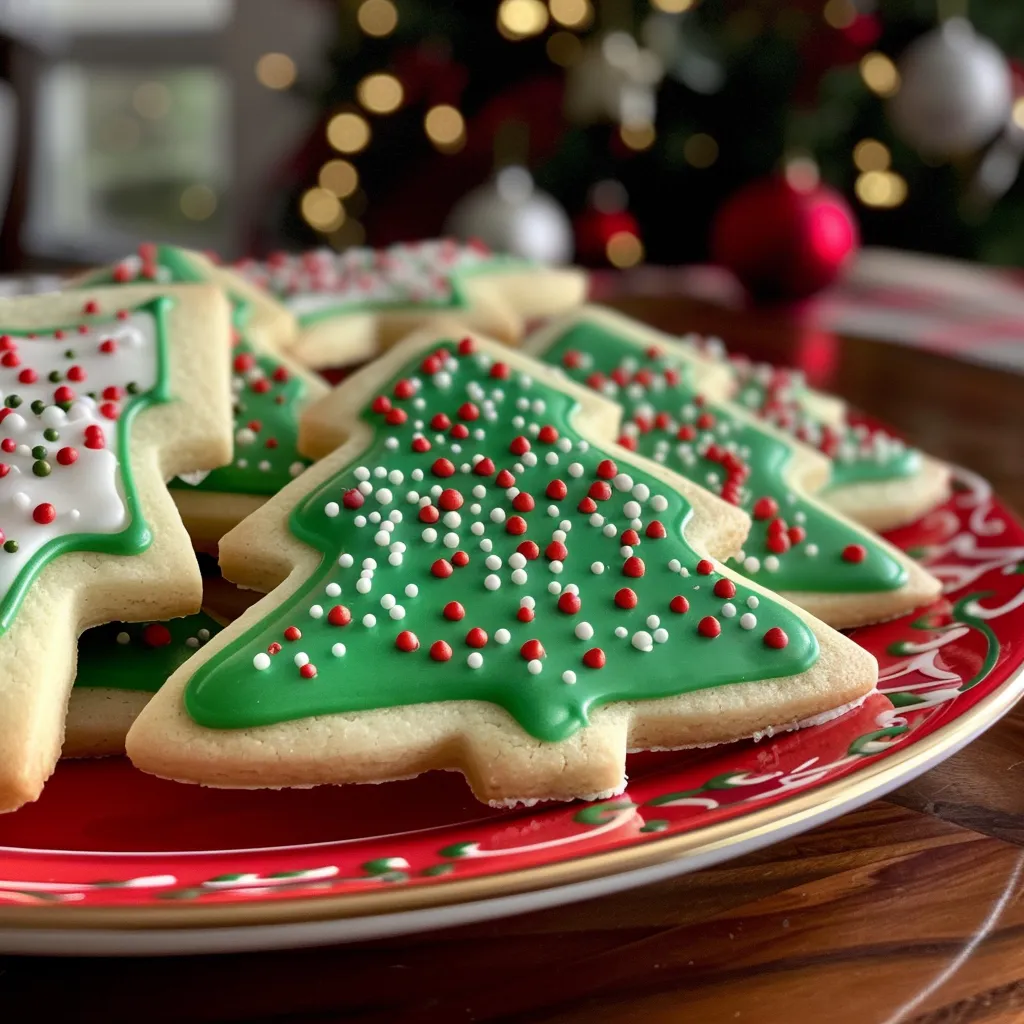
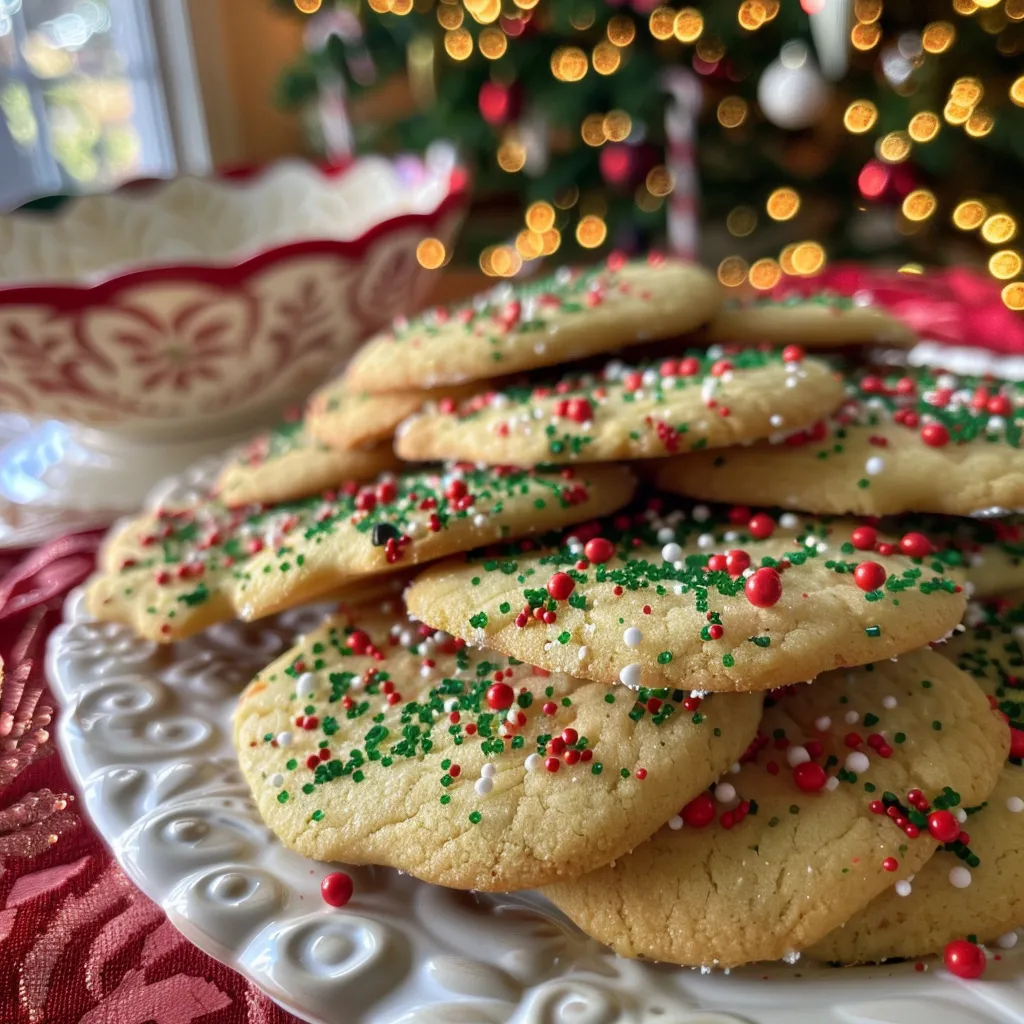
  • Loaded with chocolate chips or festive sprinkles, they’re a visual delight that brings smiles to everyone’s faces.
  • These cookies are perfect for sharing—pack them up in a Christmas cookie box or gift them to neighbors!
  • Making these cookies is a wonderful way to create new holiday memories with family and friends.

Ingredients You’ll Need

When it comes to baking, quality ingredients make all the difference! For our festive delights, I’ve chosen a mix that’s both classic and approachable. Here’s what you’ll need:

  • 2 ¾ cups all-purpose flour: The backbone of our cookie dough, providing that perfect structure.
  • 1 teaspoon baking soda: This little leavening agent helps our cookies rise beautifully.
  • ½ teaspoon baking powder: Ensures our cookies are light and fluffy.
  • 1 cup unsalted butter, softened: A must for rich flavor and a soft texture.
  • 1 ½ cups white sugar: For sweetness that balances out the richness of the butter.
  • 1 cup packed brown sugar: Adds a lovely depth and chewiness to our cookies.
  • 2 large eggs: They bind everything together and add moisture.
  • 2 teaspoons vanilla extract: A classic flavor that enhances the sweetness.
  • 1 teaspoon almond extract: Just a hint of almond elevates the flavor profile.
  • ½ teaspoon salt: Balances the sweetness and enhances the flavors.
  • 2 cups chocolate chips or festive sprinkles: The fun part! Choose your favorite or mix both for extra cheer.

You’ll find the full ingredient list with measurements in the recipe card below!

How to Make 🍪🎄 Festive Delights: Spread Holiday Cheer with Homemade Christmas Cookies! 😍✨, Step-by-Step

Ready to get baking? Let’s roll up our sleeves and get started on these delightful cookies!

  1. Preheat your oven to 350°F (175°C). This is key for getting that perfect bake!
  2. In a small bowl, stir together the flour, baking soda, and baking powder. Set this aside for now.
  3. In a large bowl, cream together the softened butter, white sugar, and brown sugar until smooth. This step is crucial for creating a light texture!
  4. Beat in the eggs one at a time, ensuring everything is well incorporated before adding the next. Then, stir in the vanilla and almond extracts for that holiday aroma.
  5. Gradually blend in the dry ingredients until just combined. You want to avoid overmixing here—keep it light and fluffy!
  6. Now, fold in those chocolate chips or festive sprinkles. This is where the fun begins!
  7. Drop rounded spoonfuls of the dough onto ungreased cookie sheets, leaving some space between them.
  8. Bake for 8 to 10 minutes in the preheated oven, or until the edges are nicely golden. Keep an eye on them, as every oven is a little different!
  9. Let them cool on the baking sheet for a few minutes before transferring to wire racks to cool completely. This is the hardest part—waiting for them to cool!
  10. Finally, enjoy your festive cookies with family and friends! Share the joy and warmth with each delightful bite.
🍪🎄 Festive Delights: Spread Holiday Cheer with Homemade Christmas Cookies! 😍✨

Pro Tips for the Best Results

Here are a few tips to elevate your cookie game:

  • For extra flavor, chill the dough for about 30 minutes before baking. This helps the flavors meld together beautifully!
  • If you want a chewier cookie, try adding a little extra brown sugar or even a splash of molasses.
  • Experiment with mix-ins! Nuts, dried fruits, or even a dash of peppermint extract can add a fun twist to your cookies.

Serving Suggestions

These cookies are delightful on their own, but why stop there? Here are a few creative serving suggestions:

  • Stack them up on a festive platter for a beautiful centerpiece at your holiday gatherings.
  • Pair them with a warm glass of milk or a cozy cup of hot cocoa for the ultimate treat.
  • Consider gifting a cookie box filled with an assortment of these festive delights to friends and family. It’s a heartfelt way to share the holiday spirit!

Storage and Make-Ahead Tips

Want to plan ahead? Here’s how to keep your cookies fresh:

  • Store cooled cookies in an airtight container at room temperature for up to one week.
  • For longer storage, freeze the cookie dough in pre-portioned balls. Just bake them straight from the freezer, adding a couple of extra minutes to the baking time.
  • Frozen baked cookies can last up to three months! Just let them thaw at room temperature before enjoying.

So there you have it! A heartwarming recipe for homemade Christmas cookies that are sure to fill your home with joy and deliciousness. I can’t wait to hear how your baking adventure goes—don’t forget to share your cookie creations with me. Happy baking, and may your holiday season be filled with warmth, laughter, and, of course, plenty of cookies!
🍪🎄 Festive Delights: Spread Holiday Cheer with Homemade Christmas Cookies! 😍✨

Prep Time 15 minutes
Cook Time 10 minutes
Total Time 25 minutes
Servings 24 cookies
Calories 150
Celebrate the holidays with these delicious homemade Christmas cookies, perfect for sharing with family and friends.

Ingredients

Dough

  • 2 ¾ cups all-purpose flour
  • 1 teaspoon baking soda
  • ½ teaspoon baking powder
  • 1 cup unsalted butter, softened
  • 1 ½ cups white sugar
  • 1 cup packed brown sugar
  • 2 large eggs
  • 2 teaspoons vanilla extract
  • 1 teaspoon almond extract
  • ½ teaspoon salt
  • 2 cups chocolate chips or festive sprinkles

Instructions 

  • Preheat oven to 350°F (175°C). Mix dry ingredients.
  • Cream butter and sugars, then add eggs and extracts.
  • Combine dry and wet ingredients, fold in chips or sprinkles.
  • Drop spoonfuls onto baking sheets and bake 8-10 minutes.
  • Cool cookies before serving. Enjoy!

Notes

For softer cookies, slightly underbake and cool on racks.
Calories: 150kcal
Cost: $15
Course: Dessert
Cuisine: holiday
Keyword: Cookies

Nutrition

Calories: 150kcal | Carbohydrates: 22g | Protein: 2g | Fat: 7g | Sodium: 80mg

Loved this recipe? Save it to your favorite Pinterest board so you can easily find it later! It’s the perfect way to keep all your sweet ideas in one place. ✨

🍪🎄 Festive Delights: Spread Holiday Cheer with Homemade Christmas Cookies! 😍✨

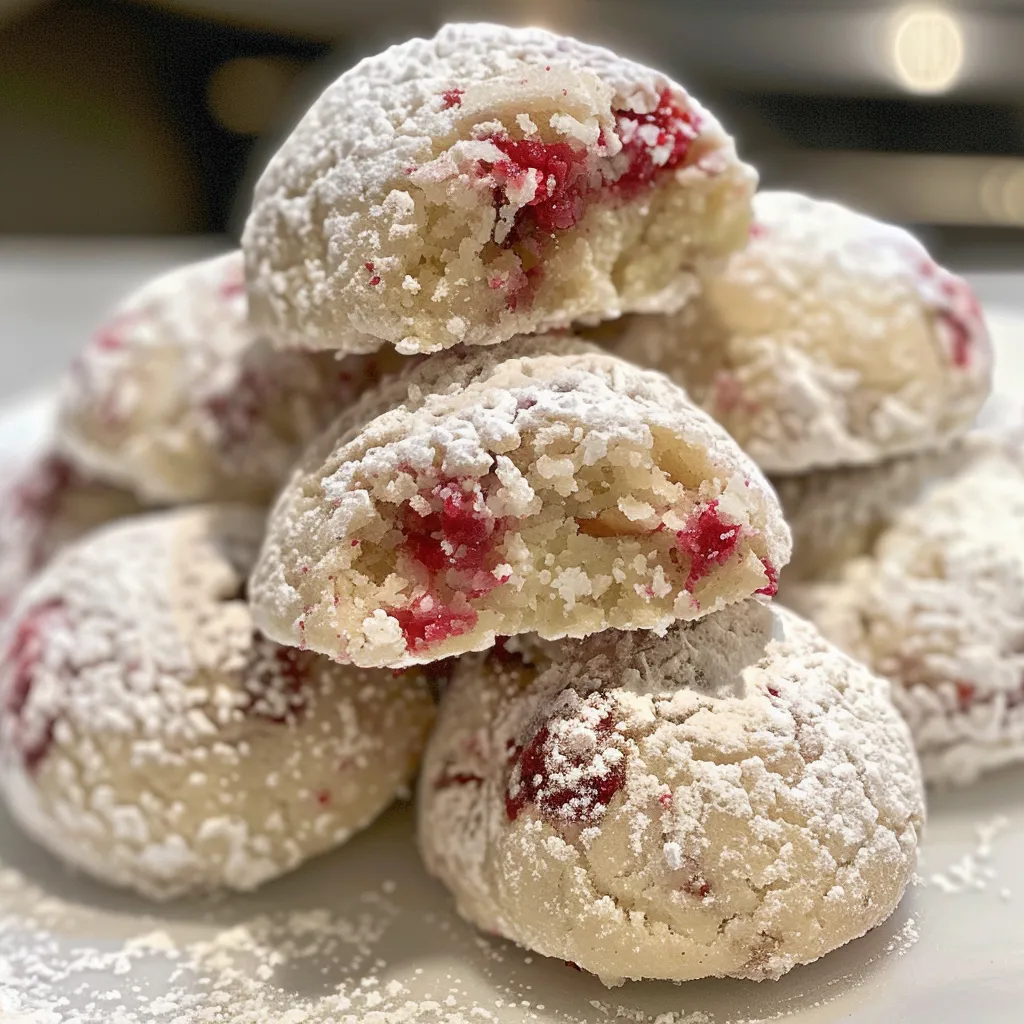
Welcome to the most wonderful time of the year! As the holiday season approaches, my heart fills with warmth and excitement, and I can almost hear the soft jingles of Christmas carols wafting through the air. Growing up in Charleston, South Carolina, the holidays meant gathering in the kitchen with my family, surrounded by the delicious aromas of our favorite treats. One of those cherished recipes was my mom’s snowball cookies, which would always disappear faster than you could say “sugar and spice!” Today, I’m thrilled to share with you my twist on this classic—a delightful recipe for Cranberry Orange Snowball Cookies. These little gems are perfect for holiday gatherings, and I promise they’ll bring smiles to everyone around the table!

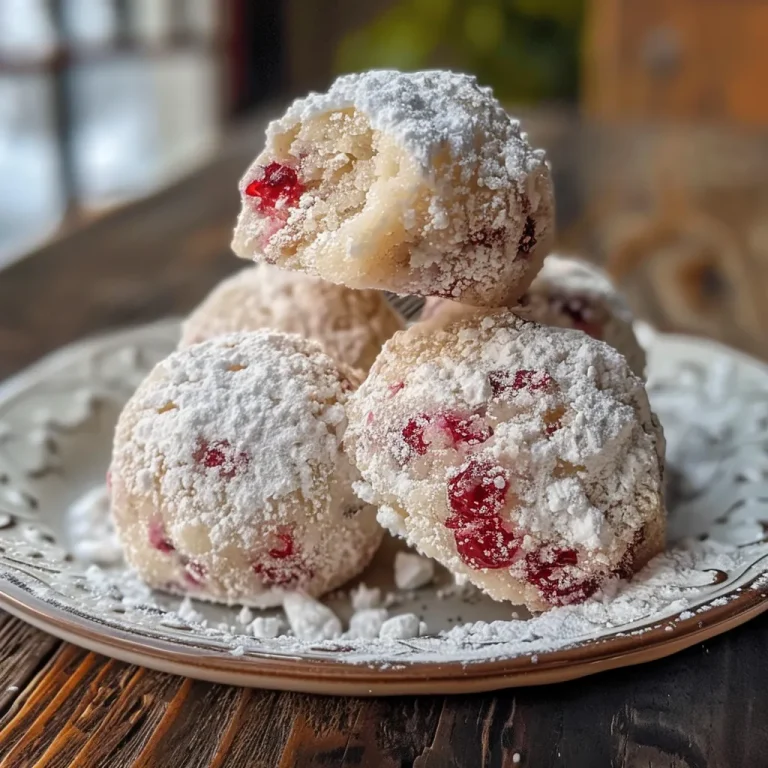
With their buttery texture and a burst of festive flavors, these cookies are not just a treat; they are a celebration in every bite. Imagine the sweet tang of dried cranberries paired with the zesty brightness of orange, all enveloped in a delicate, powdery coating of sugar. Whether you’re baking for a holiday party, a cozy night in, or a thoughtful gift for a loved one, these cookies will surely be a hit. So, let’s roll up our sleeves and get started on this baking adventure!

Why You’ll Absolutely Love The BEST Cranberry Orange Snowball Cookies for the Holidays

There are so many reasons to fall in love with these festive cookies, and here are just a few:

  • They are bursting with holiday flavors that will transport you straight to a winter wonderland.
  • These cookies are incredibly easy to make, perfect for bakers of all skill levels!
  • The delightful orange and cranberry combination adds a refreshing twist to the classic snowball cookie.
  • They make for a stunning presentation, dusted with powdered sugar, making them ideal for sharing at any holiday gathering.

Ingredients You’ll Need

Let’s talk about the star players in this festive cookie recipe! You’ll need just a handful of simple ingredients that you might already have in your pantry. Here’s what you’ll need:

  • 1 cup unsalted butter, softened
  • 1/2 cup powdered sugar
  • 1 teaspoon vanilla extract
  • 2 cups all-purpose flour
  • 1/2 teaspoon salt
  • 1 cup dried cranberries, chopped
  • 1 tablespoon orange zest
  • 1/4 cup chopped walnuts or pecans (optional)
  • Powdered sugar for dusting

You’ll find the full ingredient list with measurements in the recipe card below!

How to Make The BEST Cranberry Orange Snowball Cookies for the Holidays, Step-by-Step

Now that we have our ingredients ready, let’s dive into the baking process! Making these cookies is a joyous affair, and I can’t wait for you to experience the magic.

1. Preheat your oven to 350°F (175°C) and line a baking sheet with parchment paper. This step ensures that your cookies don’t stick and makes cleanup a breeze!

2. In a large mixing bowl, cream together the softened butter and powdered sugar until it’s light and fluffy. This is where the magic begins—get ready for that buttery goodness!

3. Mix in the vanilla extract and orange zest until well combined. The aroma will make your kitchen feel like a holiday paradise.

4. In a separate bowl, whisk together the flour and salt. This will help to evenly distribute the salt and keep your cookies deliciously balanced.

5. Gradually add the dry ingredients to the butter mixture, mixing until just combined. Be careful not to overmix; we want these cookies to be tender!

6. Fold in the chopped cranberries and nuts (if using). This is my favorite part—watching the vibrant colors come together!

7. Scoop tablespoon-sized portions of dough and roll them into balls. I like to use a cookie scoop for even sizes, which makes them look so neat and professional.

8. Place the dough balls onto the prepared baking sheet, spacing them about 2 inches apart. They’ll spread a little, so give them some room!

9. Bake for 12-15 minutes, or until the edges are lightly golden. The smell wafting from your oven will be irresistible, and trust me, you’ll want to keep an eye on them!

10. Remove from the oven and let the cookies cool on the baking sheet for 5 minutes before transferring them to a wire rack. Patience is key here—this is where they firm up a bit!

11. Once cooled, dust the cookies with powdered sugar before serving. This final touch adds that charming snowball effect!

The BEST Cranberry Orange Snowball Cookies for the Holidays

Pro Tips for the Best Results

Before you get started, here are a few of my tried-and-true tips to ensure your cookies turn out perfectly:

  • Make sure your butter is at room temperature—this helps create that fluffy texture.
  • Don’t skip the orange zest! It’s the secret ingredient that takes these cookies from good to absolutely heavenly.
  • If you prefer a nuttier flavor, toast your walnuts or pecans before adding them to the dough.

Serving Suggestions

These Cranberry Orange Snowball Cookies are perfect for any holiday occasion! Here are some fun ways to serve them:

  • Arrange them on a decorative platter and dust with extra powdered sugar for a festive touch.
  • Pair with a warm cup of spiced cider or hot cocoa for a cozy treat.
  • Include them in a holiday cookie box to share with friends and family—they make delightful gifts!

Storage and Make-Ahead Tips

Want to get a head start on your holiday baking? These cookies store beautifully! Here’s how:

  • Store the cookies in an airtight container at room temperature for up to a week. They stay fresh and delicious!
  • You can also freeze the dough! Roll the balls, freeze them on a baking sheet, then transfer to a freezer bag. When you’re ready to bake, just pop them in the oven straight from the freezer, adding a couple of extra minutes to the baking time.

And there you have it! A delightful recipe for Cranberry Orange Snowball Cookies that will surely bring joy and sweetness to your holiday season. I can’t wait for you to try them! Remember, cooking is all about joy and connection, so gather your loved ones, share some stories, and enjoy the magic of baking together. Happy holidays from my kitchen to yours!

The BEST Cranberry Orange Snowball Cookies for the Holidays

Prep Time 15 minutes
Cook Time 15 minutes
Total Time 30 minutes
Servings 24 cookies
Calories 120
Celebrate the holidays with these buttery, tangy cranberry orange snowball cookies, dusted with powdered sugar for a festive touch.

Ingredients

Dough

  • 1 cup unsalted butter, softened
  • 1/2 cup powdered sugar
  • 1 teaspoon vanilla extract
  • 2 cups all-purpose flour
  • 1/2 teaspoon salt
  • 1 cup dried cranberries, chopped
  • 1 tablespoon orange zest
  • 1/4 cup chopped walnuts or pecans (optional) (optional)

Powdered sugar for dusting

Instructions 

  • Preheat oven to 350°F (175°C) and line a baking sheet.
  • Cream butter and powdered sugar until fluffy. Mix in vanilla and orange zest.
  • Whisk flour and salt; gradually add to butter mixture. Fold in cranberries and nuts.
  • Form dough into balls and place on baking sheet, 2 inches apart.
  • Bake for 12-15 minutes, cool, then dust with powdered sugar.

Notes

Chill the dough for easier handling if needed.
Calories: 120kcal
Cost: $15
Course: Dessert
Cuisine: holiday
Keyword: Cookies

Nutrition

Calories: 120kcal | Carbohydrates: 15g | Protein: 1g | Fat: 7g | Sodium: 20mg

Loved this recipe? Save it to your favorite Pinterest board so you can easily find it later! It’s the perfect way to keep all your sweet ideas in one place. ✨
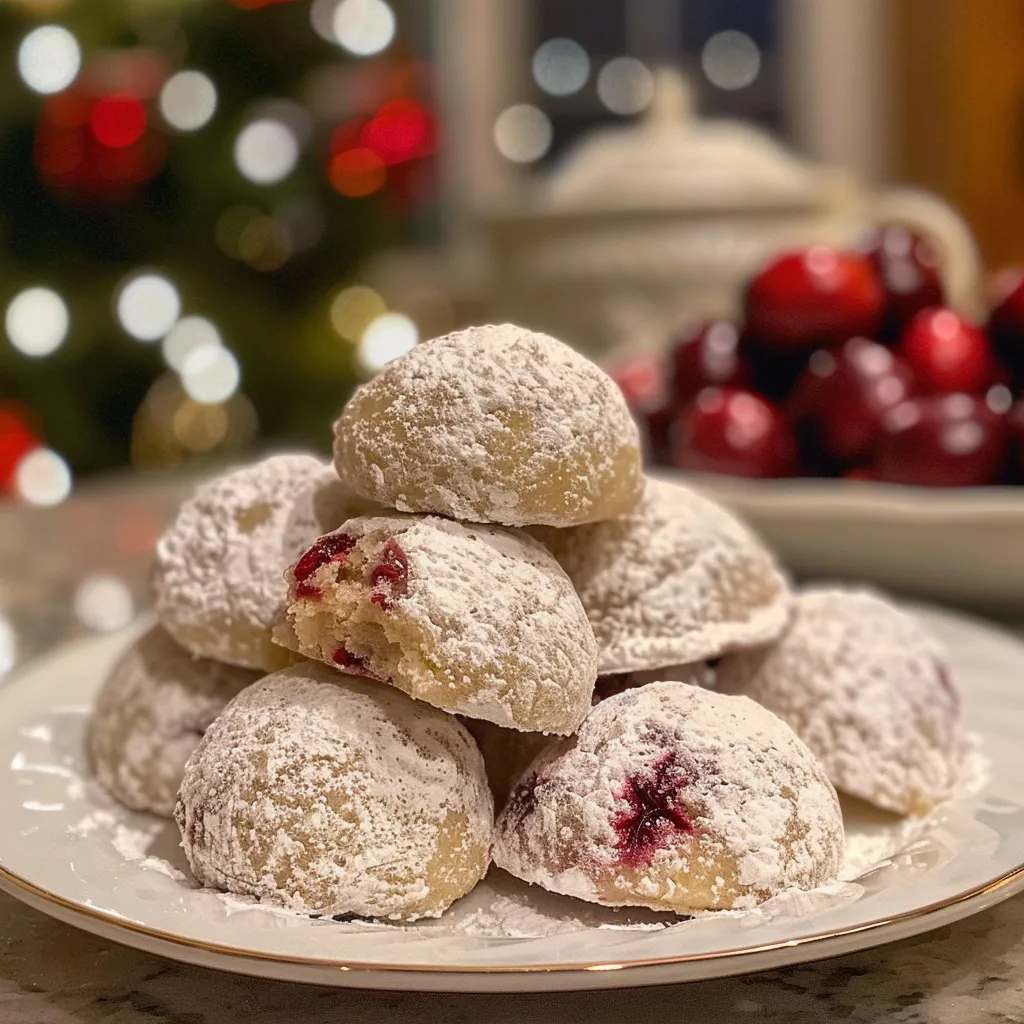
The BEST Cranberry Orange Snowball Cookies for the Holidays

Ah, the holiday season! It’s that magical time of year when the air is filled with the scent of pine, twinkling lights adorn every corner, and kitchens transform into bustling hubs of laughter and love. I remember as a child, standing on tiptoes in my mom’s kitchen, eagerly waiting for my turn to mix the cookie dough. The joy of baking with family, the sweet surprises that came out of the oven, and the warmth of sharing those treats with loved ones—those cherished memories are the heart of every holiday celebration. Today, I’m excited to share a recipe that captures that very spirit: Wonderland Chocolate Chip Christmas Cookies!

These cookies are not just any ordinary chocolate chip cookies; they are a festive twist on a classic favorite! With colorful holiday sprinkles and rich chocolate chips, each bite is a delightful reminder of the joy and warmth this season brings. They are perfect for sharing, gifting, or simply enjoying while cozying up with a cup of hot cocoa. So, roll up your sleeves and join me in creating a batch of cookies that will surely spark joy and create lasting memories!

Why You’ll Absolutely Love Wonderland Chocolate Chip Christmas Cookies

Let me tell you why these cookies are destined to become a holiday staple in your kitchen:

  • **Irresistible Flavor:** The combination of rich chocolate chips and festive sprinkles creates a wonderful flavor that dances on your palate.
  • **Easy to Make:** This recipe is straightforward and perfect for bakers of all levels—no fancy techniques required!
  • **Perfect for Sharing:** Whether you’re hosting a holiday gathering or sending cookies to loved ones, these cookies are sure to bring smiles to everyone’s faces.
  • **Fun and Festive:** The colorful sprinkles add a cheerful touch, making these cookies the perfect treat for any holiday celebration.

Ingredients You’ll Need

Now, let’s gather our ingredients! Each one plays a role in making these cookies absolutely delightful.

  • 1 cup unsalted butter, softened
  • 1 cup brown sugar, packed
  • 1/2 cup granulated sugar
  • 2 large eggs
  • 2 teaspoons vanilla extract
  • 3 cups all-purpose flour
  • 1 teaspoon baking soda
  • 1/2 teaspoon salt
  • 2 cups chocolate chips
  • 1 cup holiday-themed sprinkles

You’ll find the full ingredient list with measurements in the recipe card below!

How to Make Wonderland Chocolate Chip Christmas Cookies, Step-by-Step

Let’s get baking! Follow these simple steps, and you’ll have a batch of magical cookies in no time:

  1. Preheat your oven to 350°F (175°C). The warm air will soon be filled with the sweet aroma of baking!
  2. In a large bowl, cream together the softened butter, brown sugar, and granulated sugar until smooth. This step is crucial for achieving that soft, chewy texture!
  3. Beat in the eggs one at a time, then stir in the vanilla extract. Don’t skip the vanilla—it adds a lovely depth of flavor.
  4. In a separate bowl, whisk together the flour, baking soda, and salt. This helps evenly distribute the leavening agent for perfect cookies!
  5. Gradually add the dry ingredients to the wet mixture, mixing until just combined. Be careful not to overmix; we want those cookies tender!
  6. Fold in the chocolate chips and holiday-themed sprinkles. This is where the magic happens—your dough will look so festive!
  7. Drop rounded tablespoons of dough onto ungreased baking sheets, leaving space between each cookie. They’ll spread out beautifully while baking.
  8. Bake in the preheated oven for 10-12 minutes or until golden brown. Your kitchen will smell like a winter wonderland!
  9. Allow the cookies to cool on the baking sheet for a few minutes before transferring them to wire racks to cool completely.
  10. Enjoy your Wonderland Chocolate Chip Christmas Cookies! Share them with friends or savor them all to yourself (I won’t tell!).
Wonderland Chocolate Chip Christmas Cookies

Pro Tips for the Best Results

Here are a few tips to ensure your cookies turn out perfectly every time:

  • **Chill the Dough:** If you have time, chilling the dough for about 30 minutes before baking helps the cookies maintain their shape and results in a chewier texture.
  • **Use Quality Chocolate Chips:** Opt for high-quality chocolate chips for a richer flavor. You can also mix in some white chocolate or peanut butter chips for a fun twist!
  • **Don’t Overbake:** Keep an eye on your cookies as they bake. They might look a bit underdone when you take them out, but they’ll continue to firm up as they cool.

Serving Suggestions

These cookies are delightful on their own, but here are some fun serving ideas:

  • Pair them with a glass of cold milk or a warm cup of hot cocoa for the ultimate treat.
  • Pack them into festive tins as gifts for friends and family. Everyone loves a homemade treat!
  • Serve them at holiday parties alongside other festive desserts, like my Fudgy Red Velvet Cookies or Chocolate Thumbprint Cookies.

Storage and Make-Ahead Tips

Want to save some for later? Here’s how to store your cookies:

  • Store cooled cookies in an airtight container at room temperature for up to a week. They’ll stay fresh and delicious!
  • For longer storage, you can freeze the cookies. Just place them in a zip-top freezer bag, and they’ll keep for up to three months. Thaw at room temperature when you’re ready to enjoy them again.
  • If you’d like to make the dough ahead of time, you can refrigerate it for up to 3 days or freeze it for up to 3 months. Just let it thaw in the fridge before baking.

Thank you for joining me in the kitchen today! I hope you find as much joy in making these Wonderland Chocolate Chip Christmas Cookies as I do. Remember, it’s not just about the final result—it’s about the memories you create along the way. Happy baking!

Wonderland Chocolate Chip Christmas Cookies

Prep Time 15 minutes
Cook Time 12 minutes
Total Time 27 minutes
Servings 24 cookies
Calories 150
Celebrate the holiday season with these festive and delicious chocolate chip cookies, perfect for sharing and gifting.

Ingredients

Dough

  • 1 cup unsalted butter, softened
  • 1 cup brown sugar, packed
  • 1/2 cup granulated sugar
  • 2 large eggs
  • 2 teaspoons vanilla extract

Dry Ingredients

  • 3 cups all-purpose flour
  • 1 teaspoon baking soda
  • 1/2 teaspoon salt

Add-ins

  • 2 cups chocolate chips
  • 1 cup holiday-themed sprinkles

Instructions 

  • Preheat oven to 350°F (175°C).
  • Cream butter, brown sugar, and granulated sugar until smooth.
  • Beat in eggs and vanilla, then mix in dry ingredients.
  • Fold in chocolate chips and sprinkles.
  • Drop dough onto baking sheets and bake for 10-12 minutes.

Notes

For softer cookies, slightly underbake and cool on racks.
Calories: 150kcal
Cost: $15
Course: Dessert
Cuisine: holiday
Keyword: chocolate, Cookies

Nutrition

Calories: 150kcal | Carbohydrates: 22g | Protein: 2g | Fat: 8g | Sodium: 70mg

Loved this recipe? Save it to your favorite Pinterest board so you can easily find it later! It’s the perfect way to keep all your sweet ideas in one place. ✨
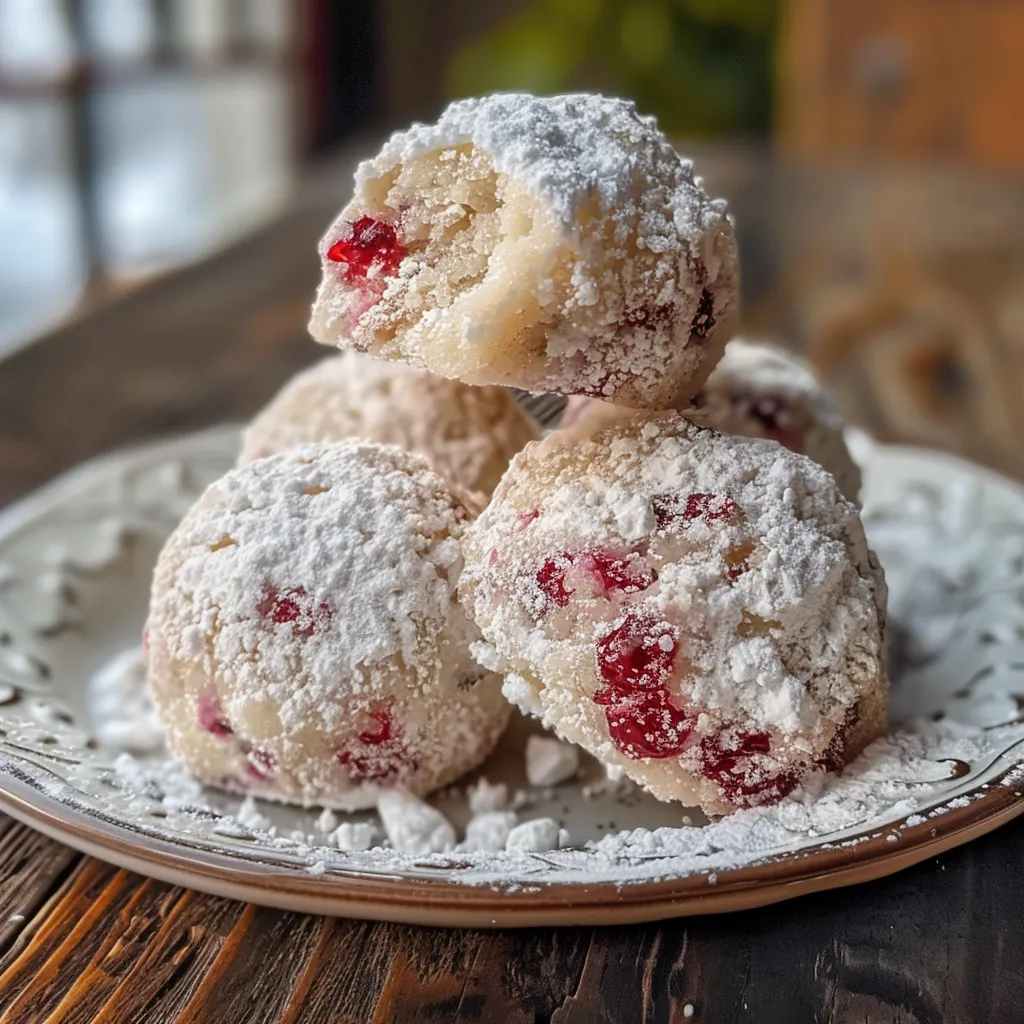
Wonderland Chocolate Chip Christmas Cookies

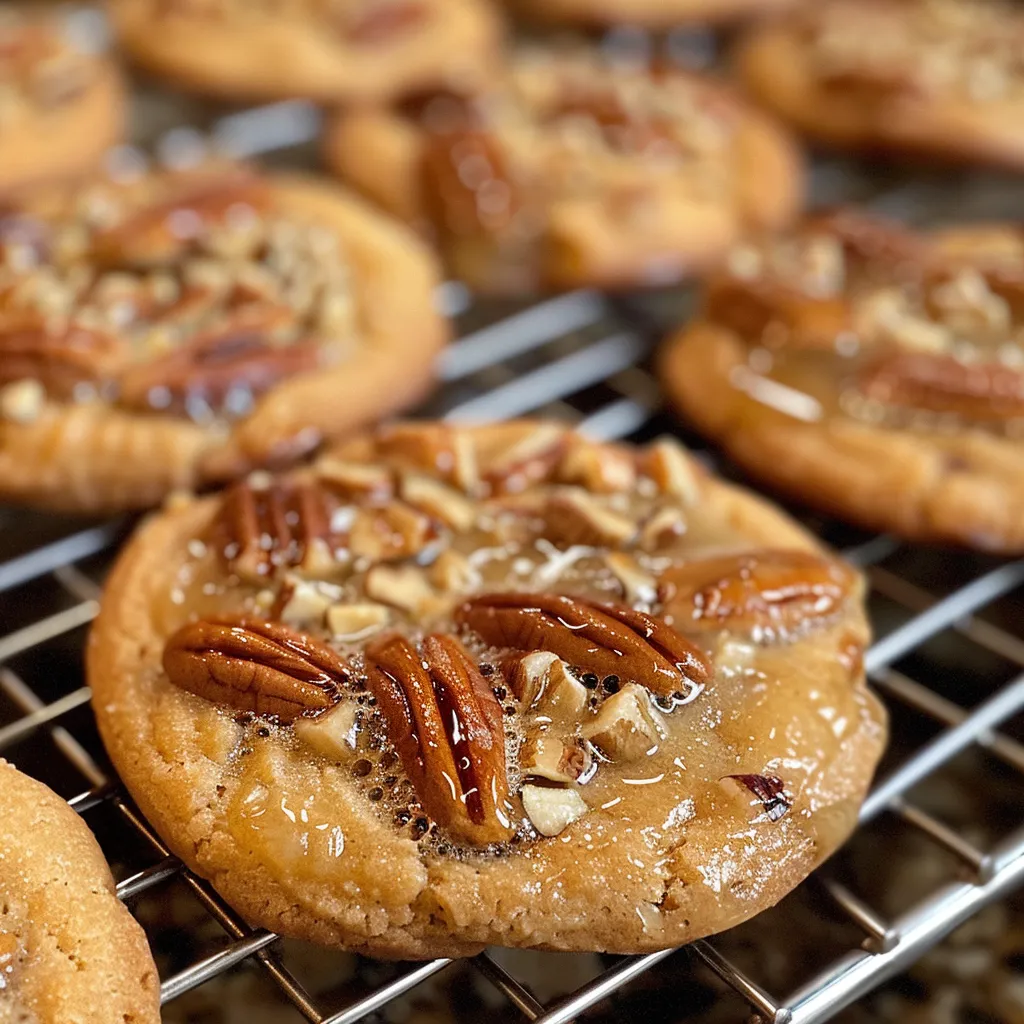
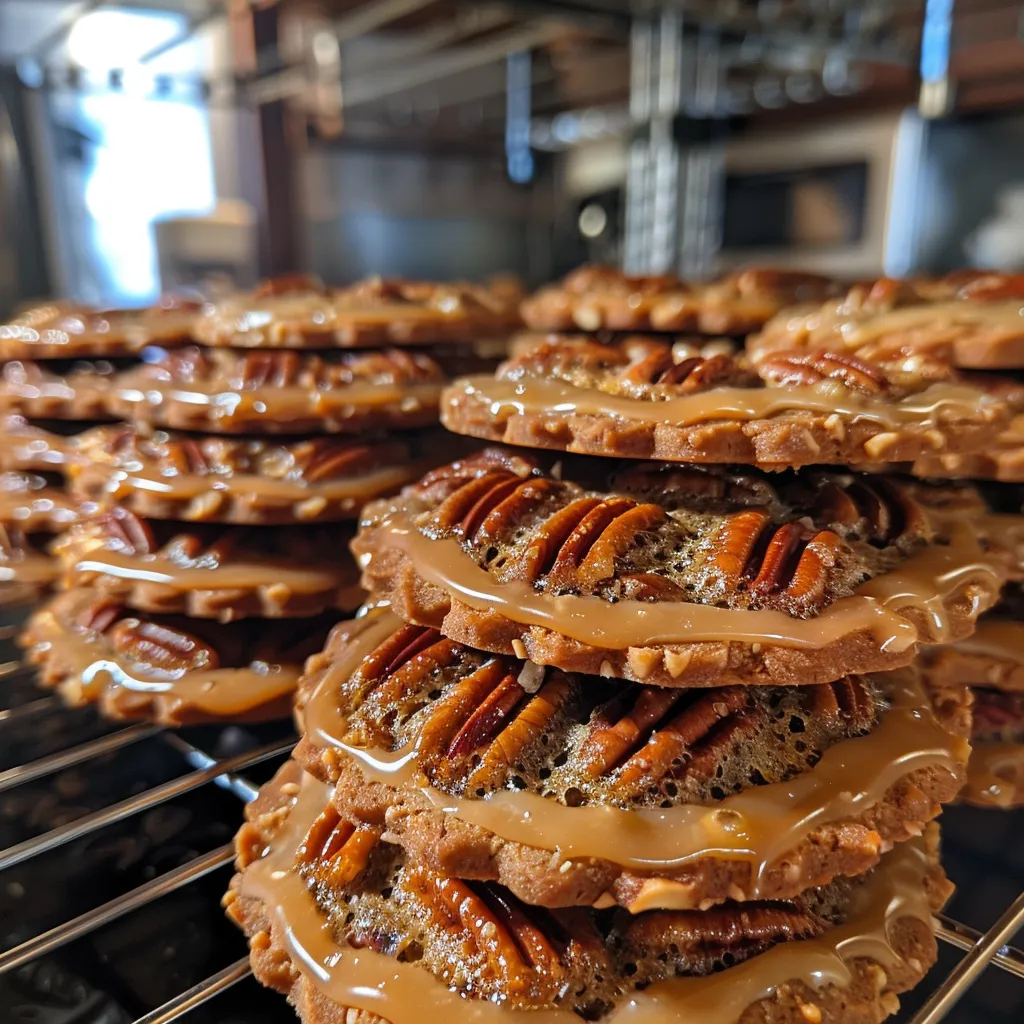
Thanksgiving is a time when kitchens come alive with the delightful aromas of family recipes, laughter, and the sweet anticipation of gatherings with loved ones. Growing up in Charleston, South Carolina, I remember standing on a stool in my mom’s kitchen, sneaking tastes of her famous pecan pie as it cooled on the counter. Those moments instilled in me a love for baking that I carry into my own kitchen today. While the traditional pecan pie is a beloved staple, I’m excited to share a twist that captures all those nostalgic flavors in a fun, bite-sized treat: pecan pie cookies!

These cookies are not only delicious, but they also bring a new dynamic to your Thanksgiving dessert table. Imagine the joy on your family’s faces when they bite into a soft, chewy cookie that encapsulates the essence of pecan pie. If you’ve ever felt intimidated by pie-making, fear not! These cookies are approachable and perfect for any skill level, making them a delightful addition to your holiday baking repertoire.

Why You’ll Absolutely Love The best pecan pie cookies a crumbl copycat cookie perfect for thanksgiving dinner and dessert

Each bite of these cookies is like a warm hug, bringing together the comforting flavors of Thanksgiving in a fun, cookie format. Here’s why you’ll love them:

  • They combine the classic flavors of pecan pie with the ease of cookie baking.
  • They’re perfect for sharing at holiday gatherings or enjoying with a cozy cup of tea.
  • These cookies are soft and chewy, with a caramel-like filling that will have everyone coming back for seconds.
  • They are an excellent way to use up any leftover pecans you might have after the holiday!

Ingredients You’ll Need

To whip up a batch of these delightful pecan pie cookies, you’ll need a handful of simple ingredients. I love how each one contributes to the rich, nutty flavor profile of the cookies. From the buttery goodness of unsalted butter to the warm spices of cinnamon and nutmeg, each element plays a crucial role in creating that beloved pecan pie experience.

You’ll find the full ingredient list with measurements in the recipe card below!

How to Make The best pecan pie cookies a crumbl copycat cookie perfect for thanksgiving dinner and dessert, Step-by-Step

Let’s get started on these scrumptious cookies! Follow along with my step-by-step instructions, and I promise you’ll be amazed at how easy they are to make.

  1. Preheat your oven to 350°F (175°C) and line a baking sheet with parchment paper. This will prevent sticking and make cleanup a breeze!
  2. In a large mixing bowl, cream together 1 cup of softened unsalted butter, 1 cup of packed brown sugar, and 1/2 cup of granulated sugar until the mixture is light and fluffy. This step is crucial for achieving that perfect cookie texture!
  3. Add in 2 large eggs, one at a time, mixing well after each addition. Then, stir in 1 teaspoon of vanilla extract for that delightful aroma.
  4. In a separate bowl, whisk together 2 1/4 cups of all-purpose flour, 1 teaspoon of baking soda, 1/2 teaspoon of salt, 1 teaspoon of ground cinnamon, and 1/2 teaspoon of nutmeg. These spices will elevate your cookie to new heights!
  5. Gradually add the dry ingredients to the wet mixture, mixing until just combined. Be careful not to overmix—this can lead to tough cookies.
  6. Fold in 1 cup of chopped pecans, 1/2 cup of corn syrup, and 1/4 cup of heavy cream. If you’re feeling indulgent, stir in 1/2 cup of semi-sweet chocolate chips for an extra layer of flavor!
  7. Scoop tablespoons of dough onto the prepared baking sheet, spacing them about 2 inches apart. Trust me, they’ll spread as they bake!
  8. Bake for 10-12 minutes, or until the edges are golden brown but the centers remain soft. This is the secret to achieving that chewy texture!
  9. Remove from the oven and let cool on the baking sheet for a few minutes before transferring them to a wire rack to cool completely. Enjoy your pecan pie cookies warm or at room temperature!
The best pecan pie cookies a crumbl copycat cookie perfect for thanksgiving dinner and dessert

Pro Tips for the Best Results

Here are a few tips to ensure your pecan pie cookies turn out perfectly every time:

  • To achieve the best flavor, use fresh pecans and toast them lightly in the oven before adding them to the dough. This enhances their nuttiness!
  • If you prefer a thicker cookie, chill your dough for about 30 minutes before baking. This helps them hold their shape and not spread too much.
  • Don’t skip the resting time after baking! Letting them cool on the baking sheet first helps them set up nicely.

Serving Suggestions

These cookies are delightful on their own, but here are some fun serving suggestions to elevate your experience:

  • Serve them warm with a scoop of vanilla ice cream for a delicious dessert à la mode.
  • Pair them with a hot cup of spiced apple cider or a rich coffee for a cozy afternoon treat.
  • Arrange them on a festive platter alongside other holiday cookies for a stunning dessert table.

Storage and Make-Ahead Tips

These cookies are perfect for making ahead of time! Here’s how to ensure they stay fresh:

  • Store your cookies in an airtight container at room temperature for up to a week. They’ll retain their chewy texture!
  • If you want to make them ahead of time, you can freeze the cookie dough. Just scoop the dough onto a baking sheet and freeze until solid, then transfer to a freezer bag. When you’re ready to bake, just pop them in the oven straight from the freezer—no thawing necessary!

There you have it, my dear friends! A delightful recipe that brings the flavors of Thanksgiving into a fun, cookie format. I can’t wait for you to try these pecan pie cookies and share them with your loved ones. Remember, cooking is all about joy and connection, so roll up your sleeves, have fun, and let the magic of baking fill your home. Happy baking!

The best pecan pie cookies a crumbl copycat cookie perfect for thanksgiving dinner and dessert

Prep Time 15 minutes
Cook Time 12 minutes
Total Time 27 minutes
Servings 24 cookies
Calories 150
These delicious pecan pie cookies are a perfect blend of sweet, nutty, and buttery flavors, making them an ideal treat for Thanksgiving and holiday gatherings.

Ingredients

Dough

  • 1 cup unsalted butter, softened
  • 1 cup brown sugar, packed
  • 1/2 cup granulated sugar
  • 2 large eggs
  • 1 teaspoon vanilla extract
  • 2 1/4 cups all-purpose flour
  • 1 teaspoon baking soda
  • 1/2 teaspoon salt
  • 1 cup chopped pecans
  • 1/2 cup corn syrup
  • 1/4 cup heavy cream
  • 1 teaspoon ground cinnamon
  • 1/2 teaspoon nutmeg
  • 1/2 cup semi-sweet chocolate chips (optional)

Instructions 

  • Preheat oven to 350°F (175°C) and line a baking sheet with parchment paper.
  • Cream butter, brown sugar, and granulated sugar until fluffy. Add eggs and vanilla, mix well.
  • Mix flour, baking soda, salt, cinnamon, and nutmeg. Combine dry and wet ingredients.
  • Fold in pecans, corn syrup, heavy cream, and chocolate chips if using. Scoop onto baking sheet.
  • Bake 10-12 minutes until edges are golden. Cool before serving.

Notes

Chill the dough for easier handling and even baking.
Calories: 150kcal
Cost: $15
Course: Dessert
Cuisine: American
Keyword: pecans

Nutrition

Calories: 150kcal | Carbohydrates: 20g | Protein: 2g | Fat: 8g | Sodium: 50mg

Loved this recipe? Save it to your favorite Pinterest board so you can easily find it later! It’s the perfect way to keep all your sweet ideas in one place. ✨
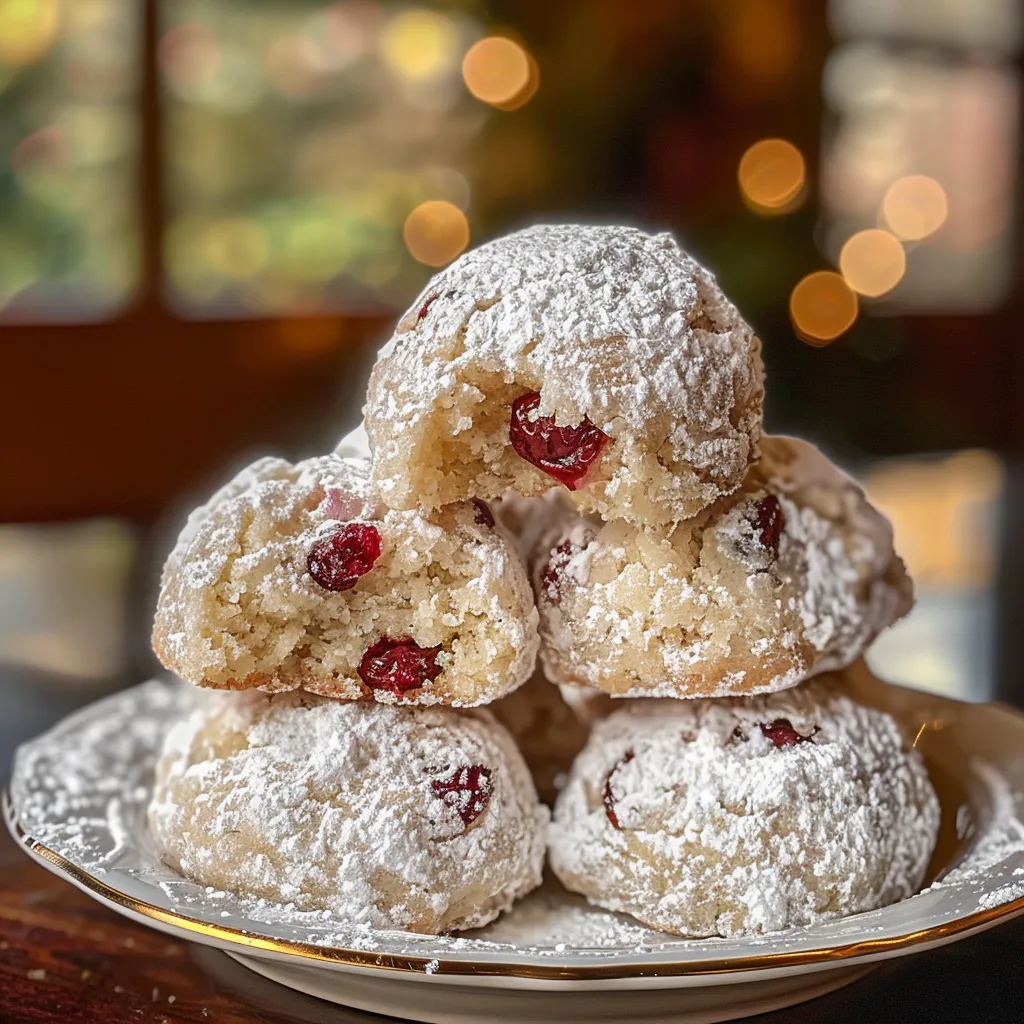
The best pecan pie cookies a crumbl copycat cookie perfect for thanksgiving dinner and dessert

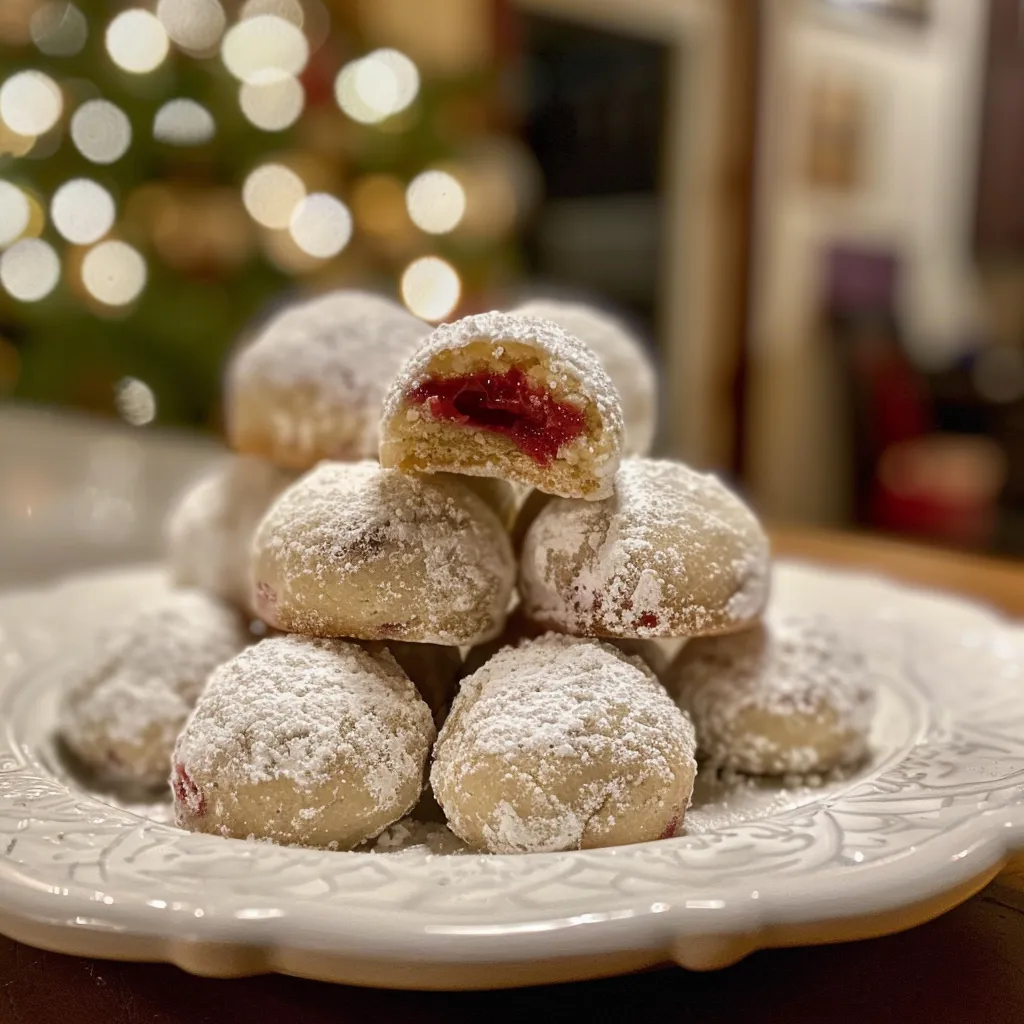
As the holiday season approaches, there’s an unmistakable magic in the air. The scent of pine mingles with the sweetness of baked goods, and every corner of my home feels a little cozier. Growing up in Charleston, South Carolina, I cherished the moments spent in my mom’s kitchen, where every cookie, pie, and cake told a story. Each recipe was a thread in the fabric of our family traditions, and I remember standing on a stool to sneak tastes of cookie dough, giggling as my mom playfully shooed me away. It’s those joyous memories that inspire me to create treats that bring people together. Today, I’m excited to share a delightful recipe that embodies holiday cheer: Raspberry Almond Snowball Cookies!

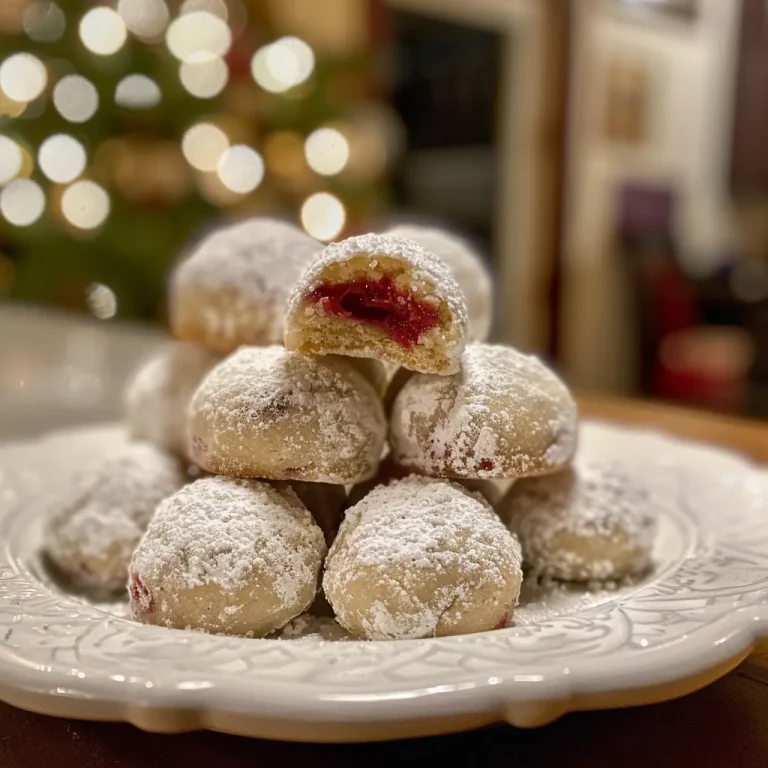
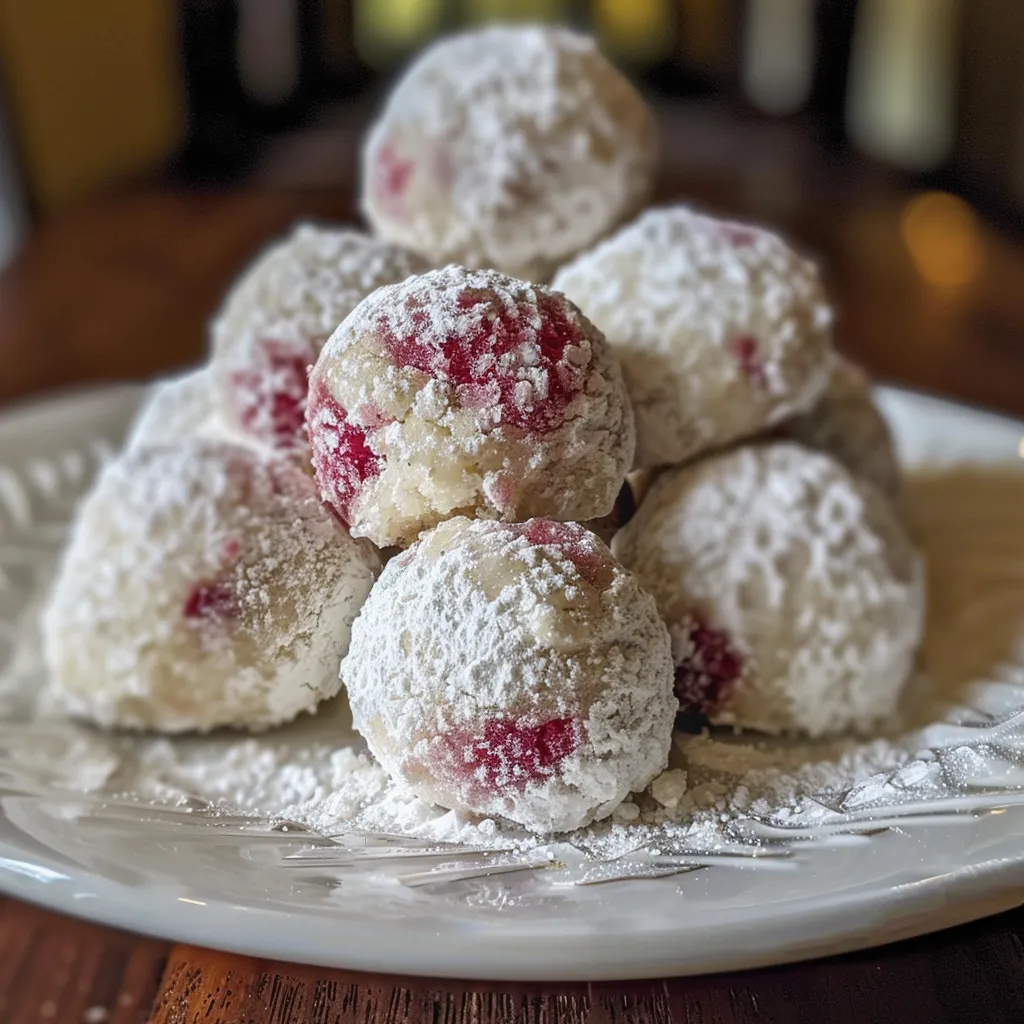
These cookies are the kind of whimsical treats that not only taste heavenly but also add a splash of color to your holiday dessert table. With their tender, buttery texture and a burst of tart raspberry jam, they are a perfect blend of sweet and nutty. Plus, they’re rolled in powdered sugar, making them look like little snowballs—how adorable is that? Let’s roll up our sleeves and dive into this festive favorite that’s bound to become a cherished tradition in your home!

Why You’ll Absolutely Love Delicious Raspberry Almond Snowball Cookies – A Festive Favorite!

These cookies aren’t just a treat; they’re a celebration of flavors and textures that will brighten any holiday gathering. Here’s why I know you’ll adore them:

  • **Bursting with Flavor:** The pairing of almond and raspberry is a match made in dessert heaven, offering a delightful contrast of sweet and tart.
  • **Easy to Make:** With simple ingredients and straightforward steps, even novice bakers can whip these up with confidence.
  • **Perfect for Sharing:** These cookies are ideal for holiday gift-giving or cookie exchanges, bringing joy to friends and family alike.
  • **Visually Stunning:** Their snowy white appearance dusted with powdered sugar makes them a beautiful addition to any festive table.

Ingredients You’ll Need

Let’s gather our ingredients! This recipe calls for a handful of simple, yet flavorful components that come together beautifully. We’ll start with unsalted butter, which gives our cookies that rich, creamy base. Powdered sugar adds sweetness and helps create that melt-in-your-mouth texture. The combination of vanilla and almond extracts fills the cookies with a warm, inviting aroma, while all-purpose flour and finely chopped almonds provide structure and crunch. Finally, a dollop of raspberry jam adds a sweet surprise in the center of each cookie. I chose these ingredients because they reflect the cozy, nostalgic flavors of the holidays.

You’ll find the full ingredient list with measurements in the recipe card below!

How to Make Delicious Raspberry Almond Snowball Cookies – A Festive Favorite!, Step-by-Step

Now that we have everything ready, let’s get baking! Follow these simple steps to create your very own Raspberry Almond Snowball Cookies:

  1. Preheat your oven to 350°F (175°C) and line a baking sheet with parchment paper. This will prevent sticking and make cleanup a breeze!
  2. In a large bowl, cream together the softened butter and powdered sugar until light and fluffy. This should take about 3-5 minutes, and it’s the perfect time to enjoy the sweet aroma wafting from your bowl.
  3. Mix in the vanilla extract and almond extract until well combined. This step adds a beautiful depth of flavor to the cookies.
  4. In another bowl, whisk together the flour, chopped almonds, and salt. This will ensure that your dry ingredients are evenly distributed.
  5. Gradually add the dry ingredients to the butter mixture, mixing until just combined. Be careful not to overmix; a little bit of flour visible is perfectly fine!
  6. Scoop tablespoon-sized portions of dough and roll them into balls. If the dough feels a bit sticky, you can chill it for a bit before rolling.
  7. Make an indentation in the center of each ball and fill it with a small amount of raspberry jam. Don’t be shy with the jam—it’s the delightful surprise inside!
  8. Place the cookies on the prepared baking sheet and bake for 15-18 minutes, or until the edges are lightly golden. Your kitchen will smell heavenly!
  9. Remove from the oven and let cool on the baking sheet for a few minutes before transferring to a wire rack. This helps them firm up a bit before you dust them with powdered sugar.
  10. Once cooled, dust the cookies with additional powdered sugar before serving. This final touch makes them look like little snowballs!
Delicious Raspberry Almond Snowball Cookies – A Festive Favorite!

Pro Tips for the Best Results

Here are a few pro tips to ensure your Raspberry Almond Snowball Cookies turn out perfectly:

  • **Room Temperature Ingredients:** Make sure your butter is softened to room temperature for easier creaming. This helps create a light and fluffy cookie.
  • **Chill the Dough:** If your dough is too soft to roll, pop it in the fridge for about 20-30 minutes. Chilling will make shaping easier and improve the texture.
  • **Jam Filling:** Use a high-quality raspberry jam for the best flavor. You can even experiment with different fruit jams if you want to mix things up!

Serving Suggestions

These cookies are perfect for any holiday gathering! Serve them on a festive platter alongside other treats like my Whimsical Winter Treats: Crafting Crumbl-Inspired Christmas Sugar Cookies or my Whimsical Winter Treats: Delightful Pecan Snowball Cookies for the Holidays. You can also pair them with a cup of hot cocoa or coffee for a cozy afternoon treat. For a little extra flair, place them in cute holiday-themed gift boxes for a thoughtful homemade gift!

Storage and Make-Ahead Tips

If you want to get a head start on your holiday baking, these cookies can be made ahead of time! Store them in an airtight container at room temperature for up to a week. If you want to keep them longer, you can freeze the unbaked dough. Just roll the dough into balls, place them on a baking sheet to freeze, then transfer to a freezer bag. When you’re ready to bake, pop them straight from the freezer into the oven—just add a couple of extra minutes to the baking time.

Thank you for joining me in the kitchen today! I hope these Raspberry Almond Snowball Cookies bring joy and sweetness to your holiday celebrations. Remember, cooking is about connection and creativity, so don’t hesitate to share your baking stories and mishaps with me. Happy baking, friends!

Delicious Raspberry Almond Snowball Cookies – A Festive Favorite!

Prep Time 20 minutes
Cook Time 15 minutes
Total Time 35 minutes
Servings 24 cookies
Calories 120
These melt-in-your-mouth snowball cookies are filled with raspberry jam and toasted almonds, perfect for holiday celebrations or any special occasion.

Ingredients

Dough

  • 1 cup unsalted butter, softened
  • 1/2 cup powdered sugar
  • 1 teaspoon vanilla extract
  • 1 teaspoon almond extract
  • 2 cups all-purpose flour
  • 1/2 cup finely chopped almonds
  • 1/4 teaspoon salt
  • 1/2 cup raspberry jam
  • additional powdered sugar for dusting

Instructions 

  • Preheat oven to 350°F (175°C) and line a baking sheet with parchment.
  • Cream butter and powdered sugar until fluffy, then mix in vanilla and almond extracts.
  • Combine flour, chopped almonds, and salt; gradually add to the butter mixture.
  • Form dough into balls, make an indentation, and fill with raspberry jam.
  • Bake for 15-18 minutes until edges are golden. Cool and dust with powdered sugar.

Notes

Keep cookies stored in an airtight container for freshness.
Calories: 120kcal
Cost: $15
Course: Dessert
Keyword: Cookies

Nutrition

Calories: 120kcal | Carbohydrates: 15g | Protein: 1g | Fat: 7g | Sodium: 20mg

Loved this recipe? Save it to your favorite Pinterest board so you can easily find it later! It’s the perfect way to keep all your sweet ideas in one place. ✨
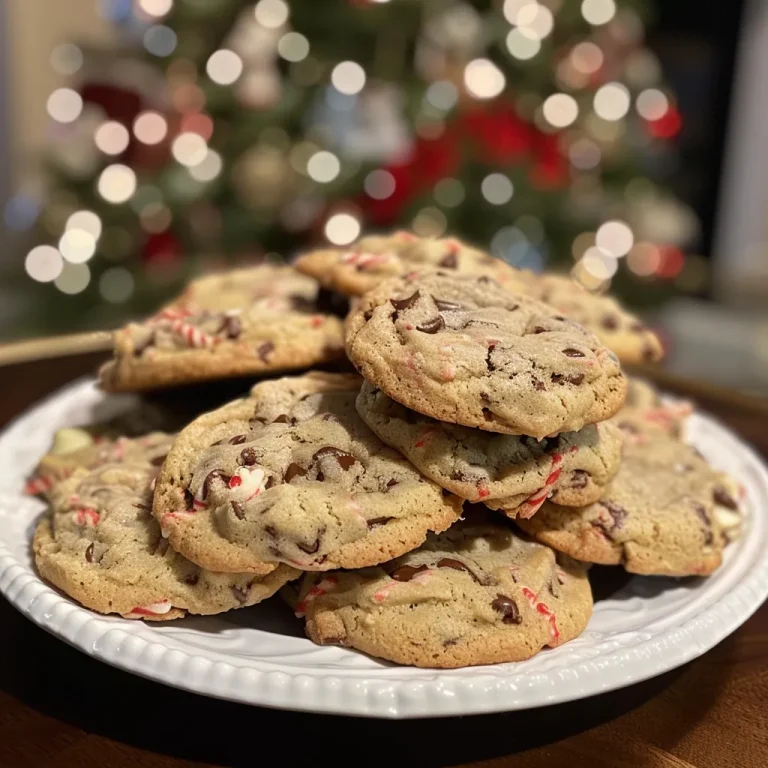
Delicious Raspberry Almond Snowball Cookies – A Festive Favorite!

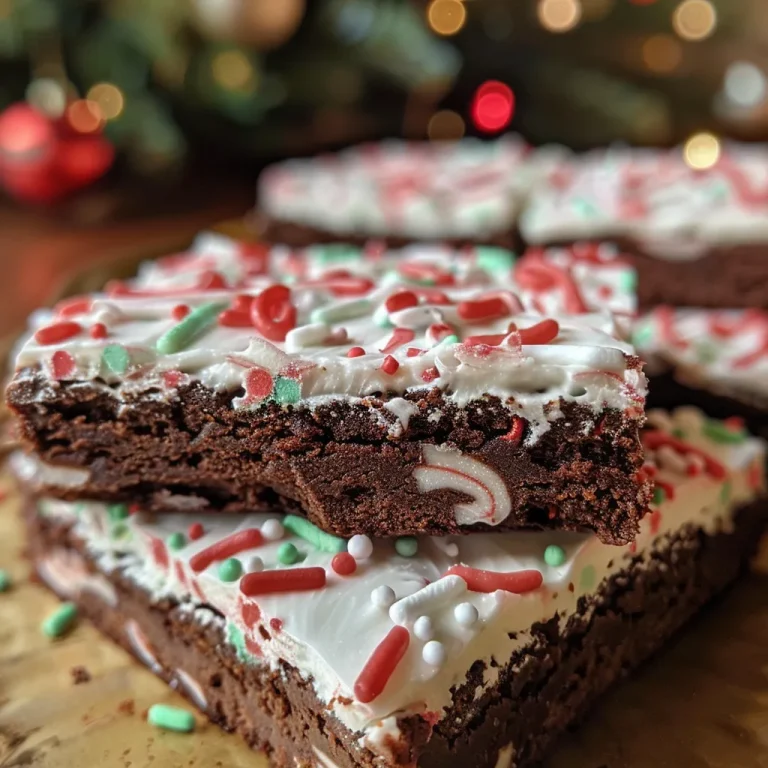
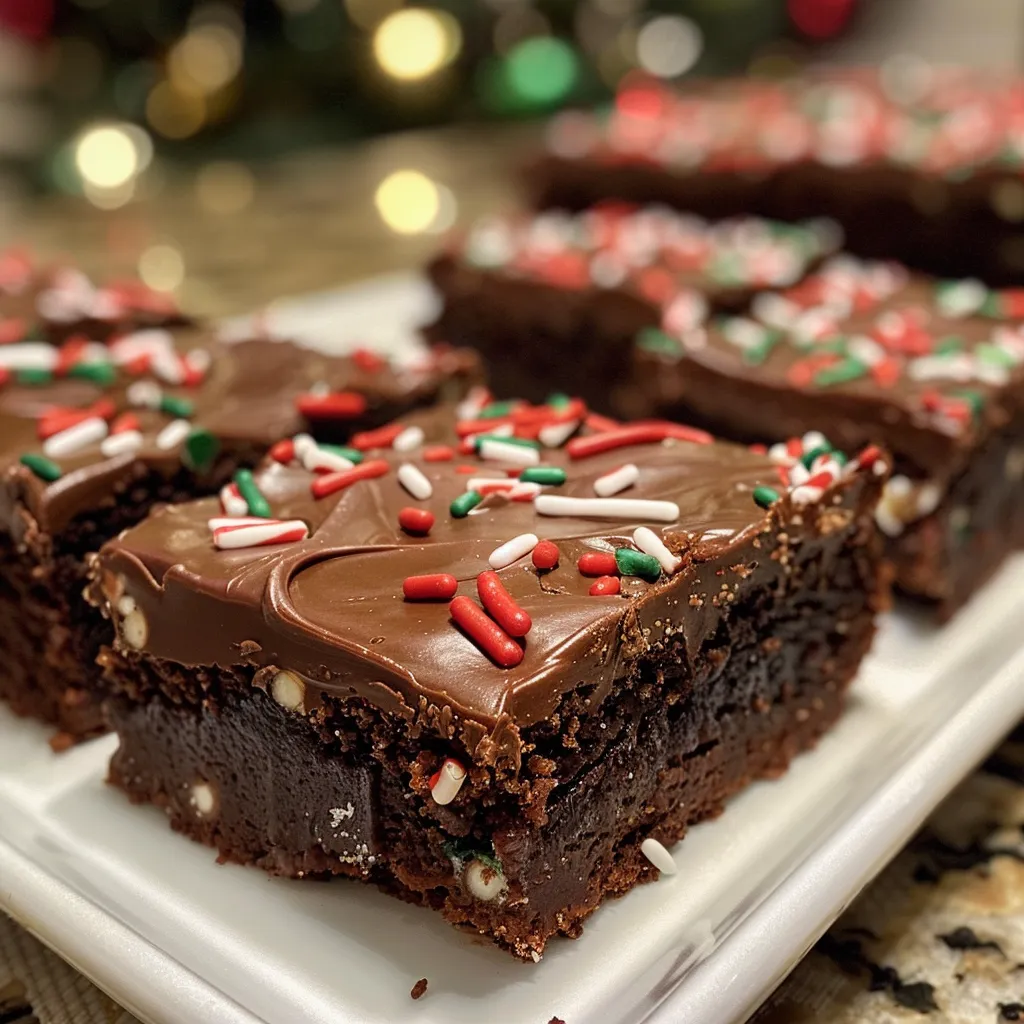
Ah, the holiday season! A time filled with twinkling lights, cozy gatherings, and of course, the aroma of delicious treats wafting through the air. Growing up in Charleston, South Carolina, my kitchen was always buzzing with the warmth of family cooking. There’s something magical about this time of year—it’s not just about the food, but the joy and memories that come with it. I can still picture my mom in her apron, whipping up sweet delights while I stood on a stool, stealing tastes of whatever she was creating. Those moments shaped my love for cooking, and now, I want to share that joy with you through these irresistible Frosted Christmas Brownies.

These brownies are where rich chocolate meets festive cheer, making them the perfect addition to any holiday gathering. They’re not just fudgy and decadent; they’re a celebration on a plate! So, roll up your sleeves and let’s dive into this delightful recipe that will surely bring smiles and holiday magic to your home.

Why You’ll Absolutely Love Frosted Christmas Brownies

These delightful brownies are more than just a treat; they are bound to become a holiday favorite for several reasons:

  • They are incredibly fudgy, providing that perfect melt-in-your-mouth texture that chocolate lovers crave.
  • The festive frosting and sprinkles add a cheerful touch, making them visually appealing for any holiday spread.
  • They are simple to make, allowing even novice bakers to create something delicious and impressive.
  • These brownies are versatile! They can be served at holiday parties, family gatherings, or even as a sweet surprise for neighbors and friends.

Ingredients You’ll Need

To create these luscious Frosted Christmas Brownies, you’ll need a handful of simple yet essential ingredients. I love using unsalted butter for that rich flavor, combined with granulated sugar and eggs to form the perfect base. The unsweetened cocoa powder gives the brownies their deep chocolate flavor, while the all-purpose flour provides the structure. A touch of salt enhances the sweetness, and baking powder helps them rise just the right amount. And of course, we can’t forget the frosting! Made with powdered sugar, milk, and vanilla extract, it adds a creamy, dreamy finish.

You’ll find the full ingredient list with measurements in the recipe card below!

How to Make Frosted Christmas Brownies, Step-by-Step

Let’s get baking! Here’s how to whip up these delightful brownies:

  1. Preheat the oven to 350°F (175°C) and grease a 9×13 inch baking pan. This ensures your brownies come out easily!
  2. In a large saucepan, melt the butter over low heat. Once melted, remove it from heat and stir in the sugar, eggs, and 1 teaspoon of vanilla extract. This mixture should be glossy and smooth.
  3. In a separate bowl, whisk together the flour, cocoa powder, salt, and baking powder. Gradually add the dry ingredients to the wet mixture, stirring until just combined. Be careful not to overmix; we want those fudgy brownies!
  4. Pour the brownie batter into the prepared baking pan and spread it evenly. Bake for 20-25 minutes, or until a toothpick inserted into the center comes out with a few moist crumbs. This is key to achieving that perfect fudgy texture!
  5. Allow the brownies to cool completely in the pan on a wire rack. Patience is a virtue here, my friends!
  6. In a medium bowl, whisk together the powdered sugar, milk, and 1 teaspoon of vanilla extract until smooth to make the frosting. This will be the crowning glory of your brownies.
  7. Spread the frosting evenly over the cooled brownies. Don’t be shy—make it as thick as you like!
  8. Decorate with red and green sprinkles for a festive touch. It’s all about that holiday spirit!
  9. Cut into squares and serve. Enjoy the delighted expressions as you share these treats!
Frosted Christmas Brownies

Pro Tips for the Best Results

Here are a few of my tried-and-true tips to ensure your brownies turn out perfectly:

  • Make sure your butter is melted but not bubbling; this will help prevent the brownies from becoming too oily.
  • Letting the brownies cool completely before frosting them will prevent the frosting from melting into the brownies.
  • If you want to elevate your brownies even further, consider adding chocolate chips or nuts into the batter for added texture and flavor!

Serving Suggestions

These Frosted Christmas Brownies can be served in so many delightful ways! Here are a few ideas:

  • Pair them with a scoop of vanilla ice cream for a decadent dessert.
  • Serve them alongside a warm cup of hot cocoa for a cozy treat.
  • Arrange them on a festive platter with other holiday treats for an eye-catching dessert table.
  • Wrap them in cellophane with a festive ribbon for charming homemade gifts!

Storage and Make-Ahead Tips

Want to make these brownies ahead of time? No problem! Here are some storage tips:

  • Store the cooled brownies in an airtight container at room temperature for up to 4 days. They’ll stay deliciously fudgy!
  • If you’d like to make them further in advance, you can freeze the brownies (without frosting) for up to 3 months. Just wrap them tightly in plastic wrap and aluminum foil.
  • When you’re ready to serve, thaw them in the fridge overnight, then add the frosting and sprinkles just before serving for that fresh taste!

There you have it—Frosted Christmas Brownies that are sure to bring joy to your holiday celebrations. So gather your loved ones, get into the kitchen, and let’s create some sweet memories together. Happy baking!

Frosted Christmas Brownies

Prep Time 15 minutes
Cook Time 25 minutes
Total Time 40 minutes
Servings 12 pieces
Calories 250
Celebrate the holidays with these rich, fudgy brownies topped with festive frosting and sprinkles.

Ingredients

Main ingredients

  • 1 cup unsalted butter
  • 2 cups granulated sugar
  • 4 large eggs
  • 1 teaspoon vanilla extract
  • 1 cup all-purpose flour
  • 1 cup unsweetened cocoa powder
  • 1/2 teaspoon salt
  • 1/2 teaspoon baking powder
  • 1 cup powdered sugar
  • 2 tablespoons milk
  • 1 teaspoon vanilla extract (for frosting)
  • red and green sprinkles for decoration

Instructions 

  • Preheat oven to 350°F (175°C) and grease a 9x13 inch pan.
  • Melt butter, then stir in sugar, eggs, and vanilla.
  • Mix dry ingredients and combine with wet mixture.
  • Pour batter into pan and bake for 20-25 minutes.
  • Cool, then spread frosting and decorate with sprinkles.

Notes

Use high-quality cocoa for best flavor.
Calories: 250kcal
Cost: $15
Course: Dessert
Cuisine: American
Keyword: brownies

Nutrition

Calories: 250kcal | Carbohydrates: 35g | Protein: 3g | Fat: 12g | Sodium: 70mg

Loved this recipe? Save it to your favorite Pinterest board so you can easily find it later! It’s the perfect way to keep all your sweet ideas in one place. ✨
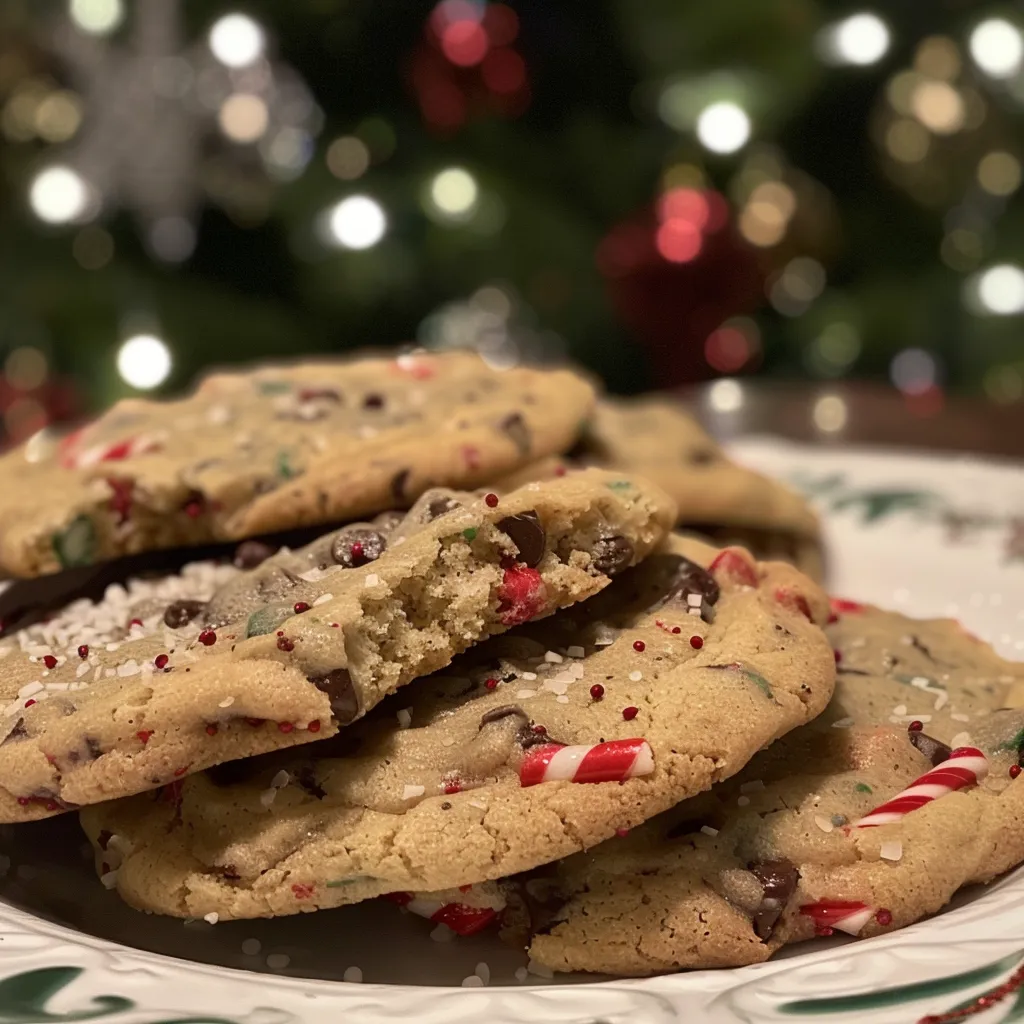
Frosted Christmas Brownies

Ah, the holiday season! A time filled with laughter, love, and of course, the sweetest aromas wafting from the kitchen. Growing up in Charleston, South Carolina, my memories of Christmas are intertwined with the scent of freshly baked cookies, warm spices, and the joyful chatter of family gathering around the table. I can still picture myself standing on a stool in my mom’s kitchen, peeking into the mixing bowl, eagerly anticipating the moment I could sneak a taste of that sweet dough. Those moments taught me that cooking isn’t just about feeding the body; it’s about nourishing the soul and creating connections.

This holiday season, I’m thrilled to share with you my recipe for the Best Soft Christmas Cookies. These cookies are not just a treat—they’re a delightful experience that’ll fill your home with joy and your heart with warmth. Whether you’re baking for a holiday party, a cookie swap, or just to enjoy with loved ones, these cookies are sure to become a staple in your holiday traditions.

Why You’ll Absolutely Love Best Soft Christmas Cookies

Let me tell you why these cookies are going to be your new favorite holiday treat!

  • Soft and Chewy: These cookies have a wonderful texture that melts in your mouth, making each bite a little piece of heaven.
  • Quick and Easy: With simple ingredients and straightforward steps, you’ll be in and out of the kitchen in no time.
  • Customizable: Add your favorite mix-ins—chocolate chips, nuts, or even festive sprinkles—to make them uniquely yours!
  • Perfect for Sharing: These cookies are great for gifting, cookie exchanges, or simply enjoying with friends and family during the holiday season.

Ingredients You’ll Need

Now, let’s talk about the star players in our festive cookie adventure. I’ve carefully selected each ingredient to ensure that every bite is bursting with flavor and holiday cheer.

  • All-Purpose Flour: This is the foundation of our cookies, providing that perfect structure.
  • Baking Soda & Baking Powder: These leavening agents ensure our cookies rise beautifully and have that soft, chewy texture we love.
  • Unsalted Butter: The secret to rich, buttery flavor; make sure it’s softened for easy mixing!
  • White & Brown Sugar: A combination that adds sweetness and depth, giving our cookies that classic taste.
  • Salt: A touch of salt balances the sweetness and enhances the flavors.
  • Vanilla Extract: The essence of holiday baking; it adds warmth and sweetness.
  • Eggs: They help bind everything together and keep our cookies moist.
  • Chocolate Chips: Because what’s a Christmas cookie without chocolate? Feel free to use semi-sweet, milk, or even white chocolate!
  • Nuts (optional): Chopped nuts like walnuts or pecans add a delightful crunch if you desire.
  • Sprinkles or Colored Sugar (optional): For that festive touch, these are perfect for decorating your cookies.

You’ll find the full ingredient list with measurements in the recipe card below!

How to Make Best Soft Christmas Cookies, Step-by-Step

Let’s get started on creating these delicious cookies together! Follow these simple steps, and soon your kitchen will be filled with the sweet scent of the holidays.

  1. Preheat your oven to 350°F (175°C). This ensures your cookies bake evenly and perfectly.
  2. In a small bowl, stir together the flour, baking soda, and baking powder. Set this aside for later.
  3. In a large bowl, cream together the softened butter, white sugar, and brown sugar until smooth and fluffy. This step is crucial for that light texture!
  4. Beat in the salt, vanilla extract, and eggs until well blended. Don’t rush this step—mixing well helps incorporate air, giving your cookies that soft texture.
  5. Gradually blend the dry ingredients into the wet mixture until just combined. Overmixing can lead to tough cookies, so mix until you can’t see any flour.
  6. Fold in the chocolate chips and nuts (if using). I always sneak a few extra chocolate chips in for good measure!
  7. Drop by large spoonfuls onto ungreased pans. If you want to add sprinkles or colored sugar for decoration, now’s the time!
  8. Bake for 8 to 10 minutes in the preheated oven, or until the edges are lightly golden. Remember, the cookies will continue to cook a bit after you take them out, so don’t overbake!
  9. Allow the cookies to cool on the baking sheet for a few minutes before transferring them to wire racks to cool completely. This helps them set and keeps them soft.
Best Soft Christmas Cookies

Pro Tips for the Best Results

Here are a few of my favorite tips to ensure your cookies turn out perfectly:

  • Make sure your butter is at room temperature. This helps it cream well with the sugars, resulting in a better texture.
  • For an extra festive touch, try adding a dash of cinnamon or nutmeg to the dough for that classic holiday flavor!
  • If you want to prep ahead, you can freeze the cookie dough in balls and bake them fresh whenever you want. Just add a minute or two to the baking time if baking from frozen.

Serving Suggestions

These cookies are perfect on their own, but why not elevate the experience? Here are some fun serving ideas:

  • Serve them warm with a glass of cold milk or a cup of hot cocoa for a cozy treat.
  • Arrange them on a festive platter and share with friends and family during holiday gatherings.
  • Package them in decorative boxes as homemade gifts for neighbors or coworkers. Who doesn’t love a thoughtful, delicious gift?

Storage and Make-Ahead Tips

Now that you’ve baked a batch (or two!) of these delightful cookies, let’s talk about how to keep them fresh:

  • Store your cookies in an airtight container at room temperature for up to a week. They won’t last long, trust me!
  • If you want to keep them longer, you can freeze them. Just place them in a single layer on a baking sheet to freeze individually, then transfer to a freezer bag. They’ll keep well for about 3 months.
  • When you’re ready to enjoy the frozen cookies, simply thaw them at room temperature or pop them in the microwave for a few seconds.

And there you have it, my friend! A recipe that’s sure to bring joy to your holiday season. I can’t wait for you to try these Best Soft Christmas Cookies and share them with your loved ones. Remember, every time you bake, you’re creating memories and magic in the kitchen. Happy baking!

Best Soft Christmas Cookies

Prep Time 15 minutes
Cook Time 10 minutes
Total Time 25 minutes
Servings 24 cookies
Calories 150
Enjoy these soft, chewy Christmas cookies packed with chocolate chips and optional nuts, perfect for holiday celebrations.

Ingredients

Dough

  • 2 3/4 cups all-purpose flour
  • 1 teaspoon baking soda
  • 1/2 teaspoon baking powder
  • 1 cup unsalted butter, softened
  • 1 1/2 cups white sugar
  • 1 cup packed brown sugar
  • 1 teaspoon salt
  • 2 teaspoons vanilla extract
  • 2 large eggs
  • 2 cups chocolate chips
  • 1 cup chopped nuts (optional) (optional)
  • sprinkles or colored sugar for decoration (optional) sprinkles or colored sugar for decoration (optional) (optional)

Instructions 

  • Preheat oven to 350°F (175°C). Mix dry ingredients; set aside.
  • Cream butter and sugars; add eggs and vanilla. Combine with dry ingredients.
  • Fold in chocolate chips and nuts if using. Drop spoonfuls onto baking sheets.
  • Bake for 8-10 minutes until edges are golden. Cool on racks.

Notes

For softer cookies, slightly underbake and let cool on the baking sheet.
Calories: 150kcal
Cost: $15
Course: Dessert
Cuisine: American
Keyword: Cookies

Nutrition

Calories: 150kcal | Carbohydrates: 22g | Protein: 2g | Fat: 8g | Sodium: 70mg

Loved this recipe? Save it to your favorite Pinterest board so you can easily find it later! It’s the perfect way to keep all your sweet ideas in one place. ✨
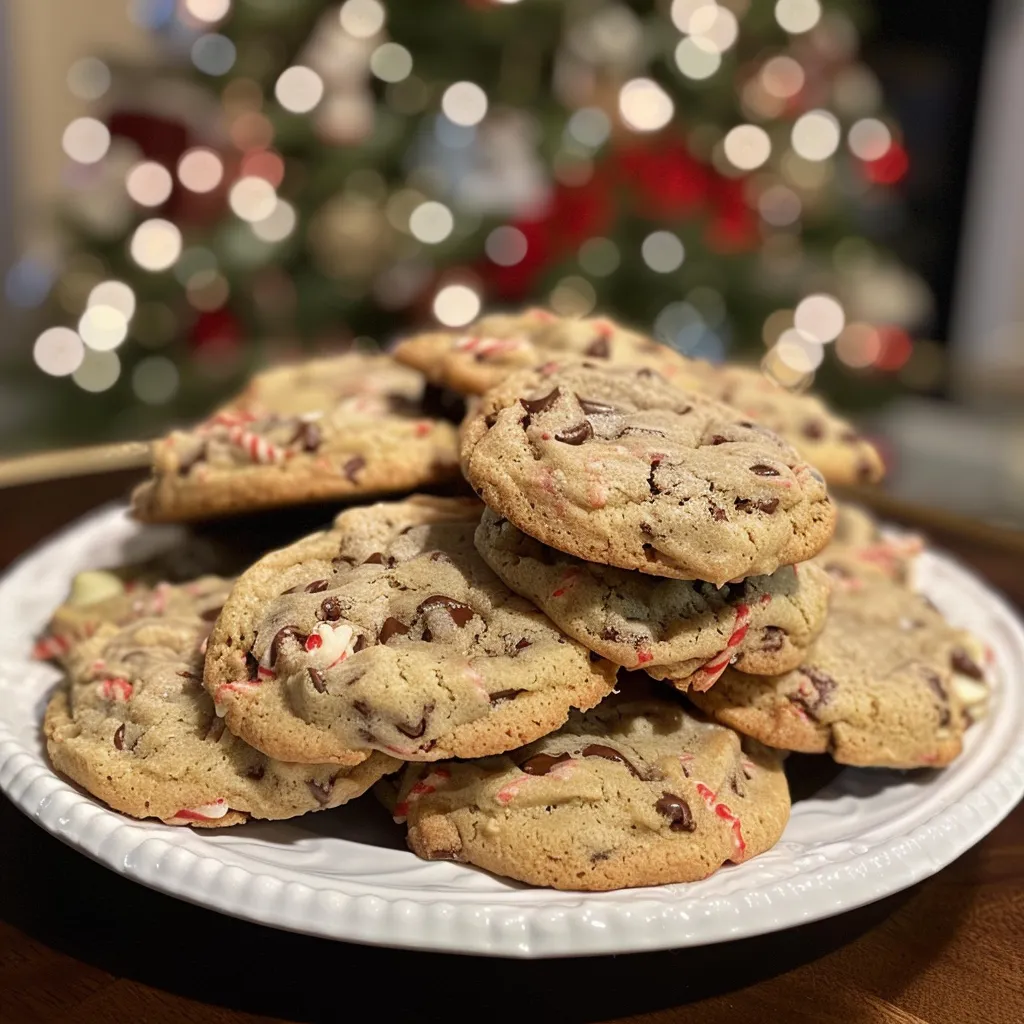
Best Soft Christmas Cookies

Welcome back to Emily’s Must-Try Kitchen, dear friends! Today, I’m thrilled to whisk you away into a world of warmth and whimsy with a delightful recipe that’s perfect for sharing, gifting, or simply indulging in during cozy moments at home. As I sit here in my kitchen, the sweet aroma of brown butter wafting through the air, I can’t help but think about the joy that cookies bring to our lives. Growing up in Charleston, I learned early on that the kitchen is a sanctuary—a place where love and laughter come together, and every bite tells a story. Today, we’re crafting Brown Butter-Maple Shortbread Bear Cookies, a treat that not only tastes heavenly but also brings out the inner child in all of us.

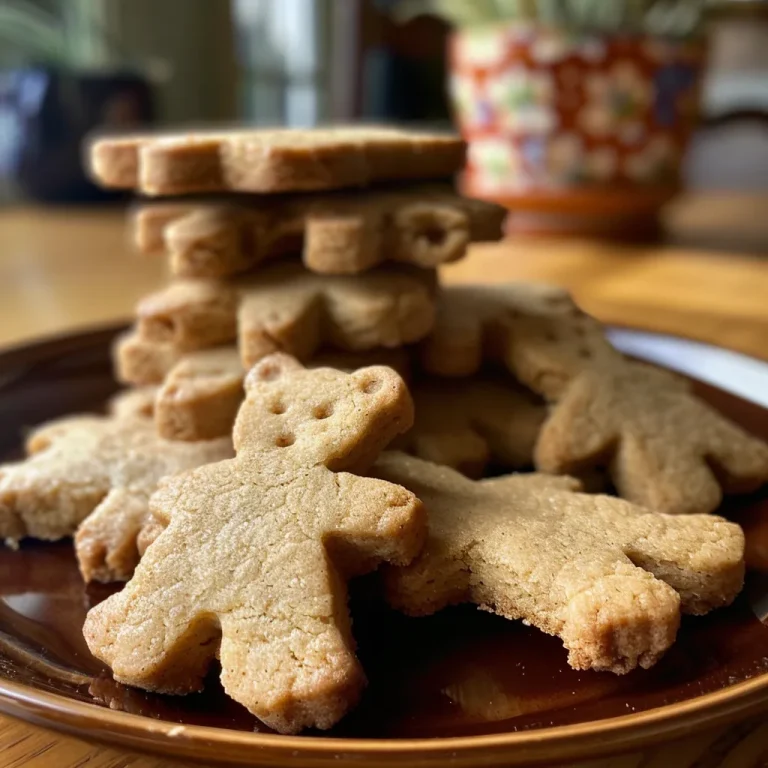
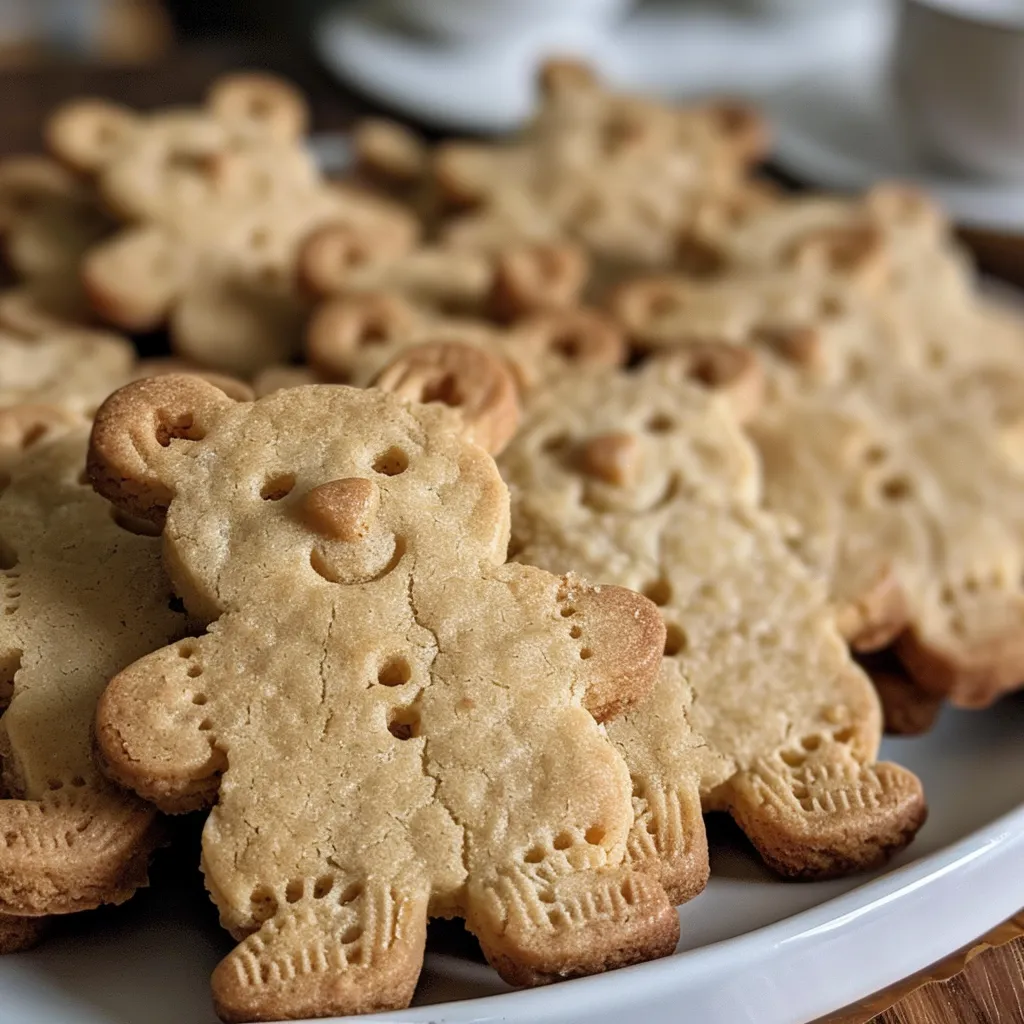
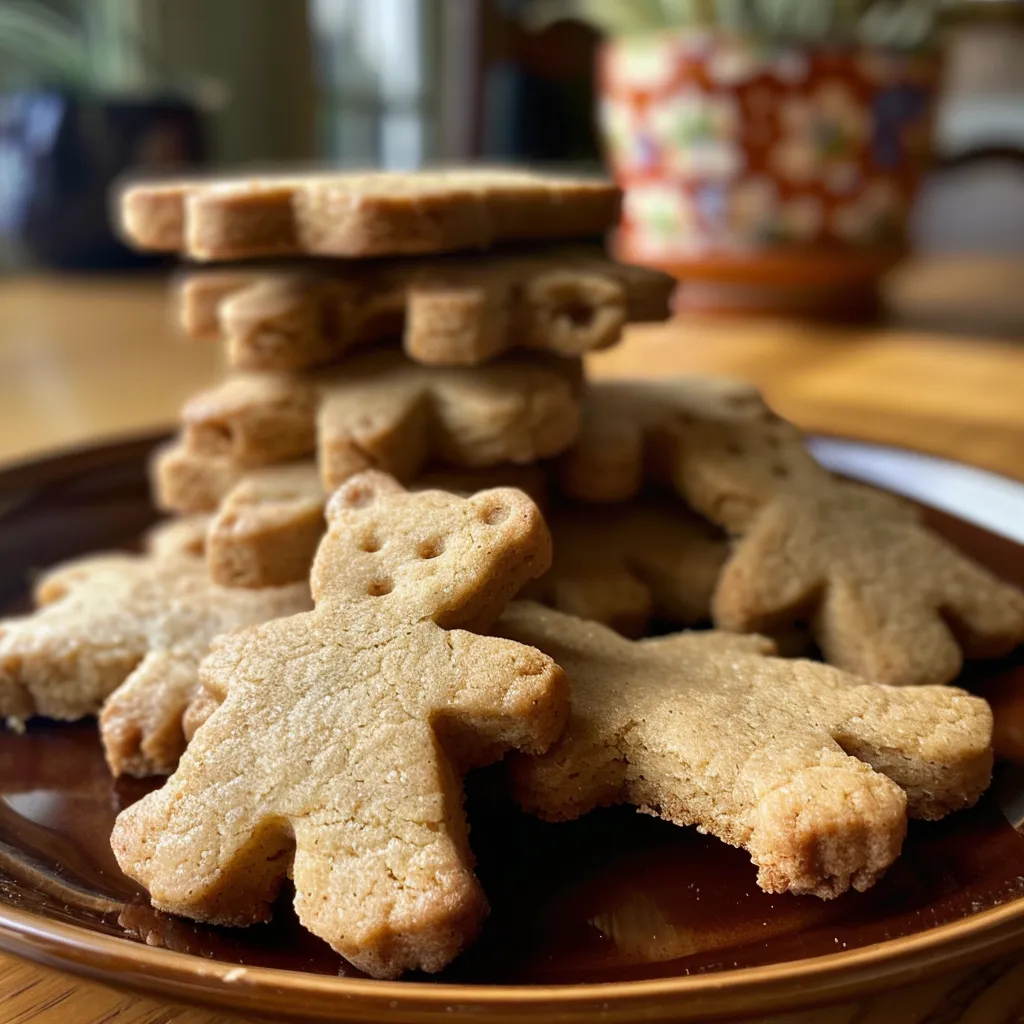
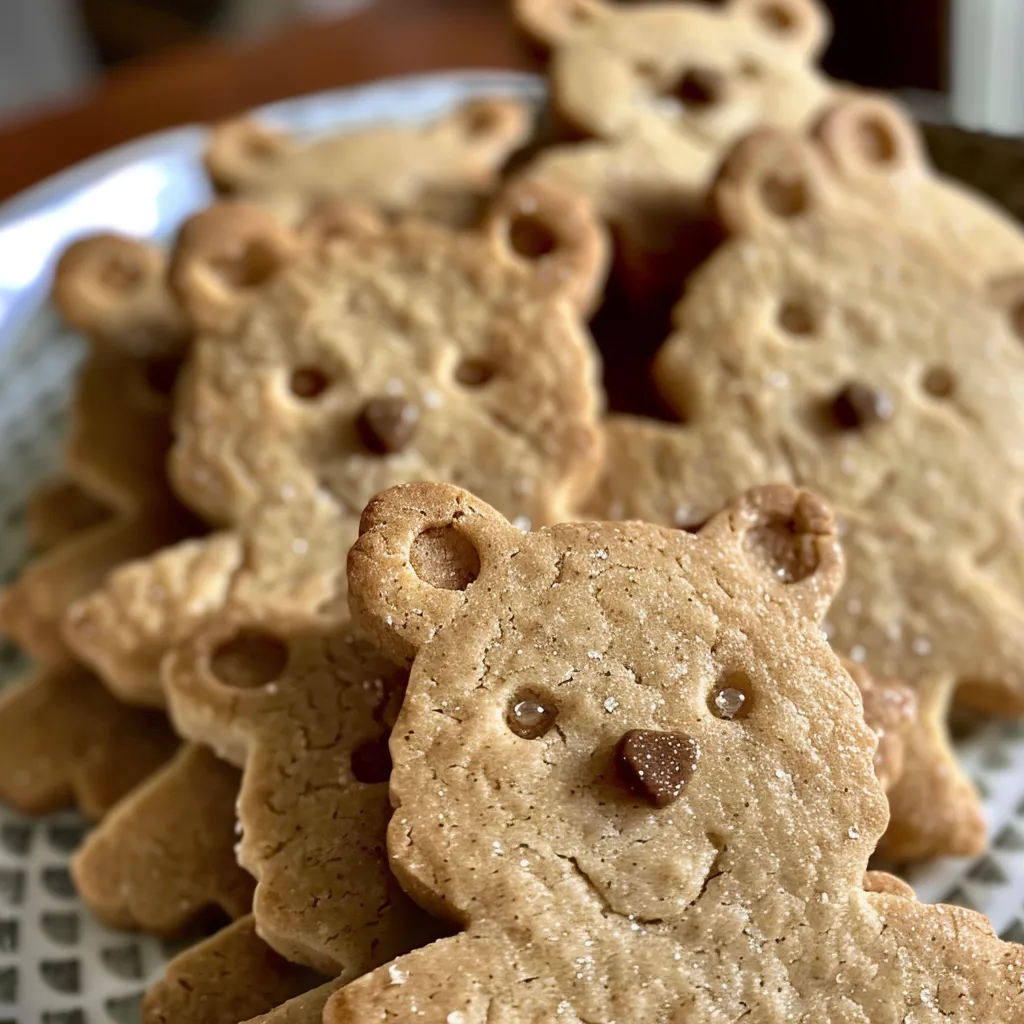
These adorable bear-shaped cookies are not just cute; they’re also incredibly delicious! The rich flavor of brown butter combined with the warm sweetness of maple syrup makes for a cookie that’s simply irresistible. Whether you’re baking for a holiday gathering, a birthday celebration, or just because it’s a Tuesday, these cookies are bound to bring smiles all around. So, let’s roll up our sleeves and get ready to make some magical memories in the kitchen!

Why You’ll Absolutely Love Brown Butter-Maple Shortbread Bear Cookies

Let me tell you, these cookies are more than just a treat—they’re an experience! Here’s why you’re going to fall head over heels for them:

  • **Irresistible Flavor:** The nutty brown butter combined with the earthy sweetness of maple syrup creates a flavor that’s comforting and unique.
  • **Cute and Fun:** Who can resist a bear-shaped cookie? These are perfect for kids and adults alike, making any occasion feel special.
  • **Easy to Make:** With simple ingredients and straightforward steps, these cookies are approachable for bakers of all levels!
  • **Perfect for Sharing:** Whether you’re packaging them up as gifts or serving them at a gathering, these cookies are sure to bring joy to everyone who tries them.

Ingredients You’ll Need

Let’s talk about the star players in this delightful cookie recipe! Each ingredient was chosen with love and care, bringing out the best in our cookies:

  • 1 cup unsalted butter: The foundation of our cookies, this butter will be transformed into brown butter, adding a rich and nutty flavor.
  • 1/2 cup powdered sugar: For that perfect sweetness, powdered sugar gives these cookies a melt-in-your-mouth texture.
  • 1/4 cup maple syrup: A touch of natural sweetness that pairs beautifully with the brown butter.
  • 2 cups all-purpose flour: The base of our cookie dough, helping to create the perfect structure.
  • 1/4 teaspoon salt: A pinch of salt enhances all the flavors, making each bite divine.
  • 1 teaspoon vanilla extract: Because every cookie deserves a hint of vanilla love!

You’ll find the full ingredient list with measurements in the recipe card below!

How to Make Brown Butter-Maple Shortbread Bear Cookies, Step-by-Step

Now, let’s dive into the fun part—making our cookies! Follow these simple steps, and I promise you’ll be rewarded with the most delightful treats:

  1. In a saucepan, melt the butter over medium heat, stirring frequently, until it turns golden brown and has a nutty aroma. This step is crucial—watch closely, as it can go from brown to burnt quickly!
  2. Remove the browned butter from heat and let it cool slightly. This will help prevent the eggs from cooking if you add them later.
  3. In a large bowl, whisk together the browned butter, powdered sugar, and maple syrup until well combined. The mixture should be smooth and creamy.
  4. Add the flour, salt, and vanilla extract to the mixture, and stir until a dough forms. Don’t be afraid to get in there with your hands if necessary—it’s part of the fun!
  5. Wrap the dough in plastic wrap and refrigerate for at least 30 minutes. This helps the flavors meld and makes rolling easier.
  6. Preheat the oven to 350°F (175°C) and line a baking sheet with parchment paper.
  7. Roll out the chilled dough on a lightly floured surface to about 1/4 inch thick. Aim for a consistent thickness for even baking.
  8. Use a bear-shaped cookie cutter to cut out the cookies and place them on the prepared baking sheet. Feel free to get creative with decorations!
  9. Bake for 12-15 minutes or until the edges are lightly golden. Let cool on a wire rack before diving in!
Brown Butter-Maple Shortbread Bear Cookies

Pro Tips for the Best Results

To ensure your cookies turn out perfectly, here are a few pro tips I swear by:

  • **Don’t Rush the Brown Butter:** Take your time with browning the butter; it’s what gives these cookies their signature flavor!
  • **Chill the Dough:** Don’t skip the chilling step—this helps the cookies hold their shape while baking.
  • **Experiment with Shapes:** If you don’t have a bear cookie cutter, use any fun shape you have on hand. The joy is in the creativity!

Serving Suggestions

These cookies are delightful on their own, but there are plenty of ways to elevate them even further:

  • Serve them with a glass of cold milk or a warm cup of tea for a cozy afternoon treat.
  • Package them in a cute box or tin for thoughtful gifts during the holidays.
  • Sandwich two cookies with a layer of maple buttercream for an indulgent dessert!

Storage and Make-Ahead Tips

Wondering how to keep your cookies fresh? Here’s what you need to know:

  • Store cookies in an airtight container at room temperature for up to a week. They’ll stay delicious and soft!
  • If you want to make them ahead of time, you can freeze the dough for up to three months. Just thaw in the fridge before rolling and baking.
  • Once baked, these cookies freeze beautifully, too! Just layer them between parchment paper in an airtight container.

Thank you for joining me today on this delightful baking adventure! I hope these Brown Butter-Maple Shortbread Bear Cookies bring as much joy to your home as they do to mine. Don’t forget to share your cookie creations with me—tag @EmilysMustTryKitchen on social media or leave a comment below! Happy baking, friends!

Brown Butter-Maple Shortbread Bear Cookies

Prep Time 20 minutes
Cook Time 15 minutes
Total Time 35 minutes
Servings 24 cookies
Calories 150
Delight in these buttery, maple-flavored shortbread cookies shaped like bears, perfect for a cozy treat.

Ingredients

Dough

  • 1 cup unsalted butter (unsalted)
  • 1/2 cup powdered sugar
  • 1/4 cup maple syrup
  • 2 cups all-purpose flour
  • 1/4 teaspoon salt
  • 1 teaspoon vanilla extract

Instructions 

  • Melt butter in a saucepan over medium heat until golden and nutty, then cool slightly.
  • Mix browned butter, powdered sugar, and maple syrup until smooth.
  • Add flour, salt, and vanilla; stir until dough forms.
  • Refrigerate dough for 30 minutes, then roll out to 1/4 inch thick.
  • Cut into bear shapes, place on baking sheet, and bake at 350°F (175°C) for 12-15 minutes.

Notes

Chill the dough well for easier cutting and shaping.
Calories: 150kcal
Cost: $15
Course: Dessert
Cuisine: American
Keyword: bears, Maple, shortbread

Nutrition

Calories: 150kcal | Carbohydrates: 20g | Protein: 2g | Fat: 8g | Sodium: 50mg

Loved this recipe? Save it to your favorite Pinterest board so you can easily find it later! It’s the perfect way to keep all your sweet ideas in one place. ✨
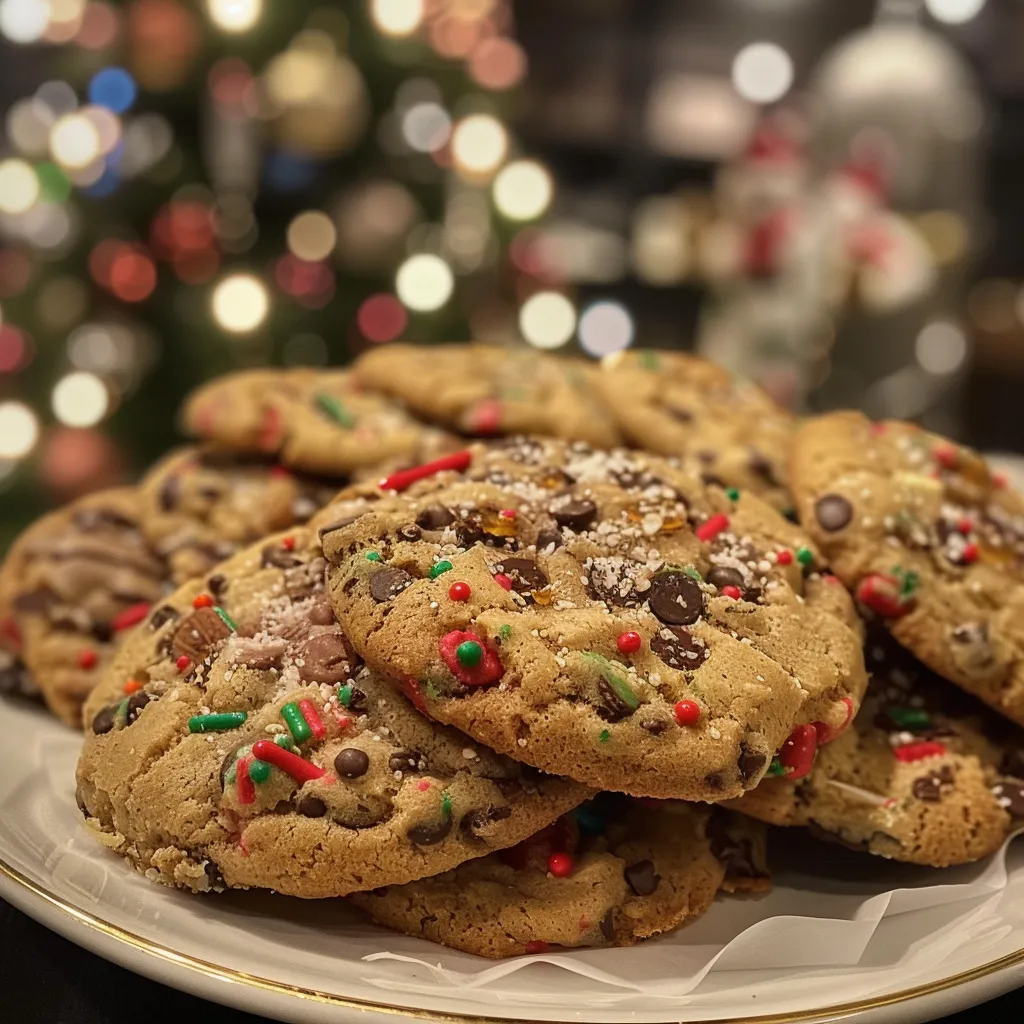
Brown Butter-Maple Shortbread Bear Cookies

As the holiday season approaches, my kitchen transforms into a wonderland of baking delights, filled with the sweet aroma of freshly baked cookies and the laughter of family gathered around. Growing up in Charleston, South Carolina, I can still remember the thrill of helping my mom roll out dough and cut out festive shapes—each cookie a little work of art, each bite a taste of love. It’s during these moments that I learned that cookies aren’t just treats; they’re little parcels of joy meant to be shared with those we hold dear.

This year, I’m excited to share a recipe that embodies that holiday spirit—my Christmas Cookie Box filled with soft, sweet sugar cookies. Perfect for gifting or sharing at festive gatherings, these cookies are easy to make and even easier to love. So, let’s roll up our sleeves, gather our ingredients, and create a cookie box that will bring smiles to everyone’s faces!

Why You’ll Absolutely Love Christmas Cookie Box • Basic Sugar Cookies •

These sugar cookies are not just any cookies; they are a canvas for creativity and a reason to gather. Here’s why you’ll adore making this special batch:

  • They are incredibly soft and chewy, making each bite a little piece of heaven.
  • These cookies are super easy to make, perfect for bakers of all skill levels!
  • They can be decorated in countless ways, allowing your personality to shine through.
  • They make for perfect gifts—who wouldn’t love a beautifully packaged box of homemade cookies?

Ingredients You’ll Need

Let’s talk about the magic ingredients that come together to create these delightful cookies. You’ll need:

  • 2 3/4 cups all-purpose flour: The foundation of your cookies, giving them structure.
  • 1 teaspoon baking soda and 1/2 teaspoon baking powder: These will help your cookies rise beautifully.
  • 1 cup unsalted butter, softened: The secret to that rich, buttery flavor we all crave.
  • 1 1/2 cups white sugar: Sweetness that balances perfectly with the buttery goodness.
  • 1 egg: This binds everything together.
  • 1 teaspoon vanilla extract: A classic flavor that adds warmth.
  • 1/2 teaspoon almond extract: A little twist that elevates the flavor profile.
  • 3/4 teaspoon salt: To enhance all the delicious flavors.
  • 1/4 cup colored sugar or sprinkles: For that festive touch!

You’ll find the full ingredient list with measurements in the recipe card below!

How to Make Christmas Cookie Box • Basic Sugar Cookies •, Step-by-Step

Ready to bake? Let’s dive into the steps of creating these delightful cookies:

  1. Preheat your oven to 375°F (190°C). This ensures that your cookies bake evenly and perfectly.
  2. In a small bowl, stir together the flour, baking soda, and baking powder. Set this aside for now.
  3. In a large bowl, cream together the softened butter and sugar until smooth and fluffy. This is where the magic begins!
  4. Beat in the egg, vanilla extract, and almond extract until well combined. Your kitchen will start to smell heavenly!
  5. Gradually blend in the dry ingredients you set aside earlier. Don’t rush this step; you want a nice, smooth dough.
  6. Roll rounded teaspoonfuls of dough into balls and place them onto ungreased cookie sheets. Give them some space to spread out!
  7. Flatten each ball slightly with the bottom of a glass dipped in sugar or sprinkles for that extra festive flair.
  8. Bake in the preheated oven for 8 to 10 minutes or until they are golden. Keep an eye on them; every oven is a little different!
  9. Let cool on wire racks before decorating or storing in a cookie box. Patience is key here, but I know it’s hard to resist that first warm cookie!
Christmas Cookie Box • Basic Sugar Cookies •

Pro Tips for the Best Results

To ensure your cookies turn out perfectly, here are a few pro tips:

  • Make sure your butter is softened, not melted. This will give your cookies the perfect texture.
  • Don’t skip the chilling step if you have time! Chilling the dough for at least 30 minutes will help your cookies hold their shape.
  • Experiment with different extracts or add-ins like citrus zest or chocolate chips for a fun twist on the classic recipe.

Serving Suggestions

Now that you have these delicious cookies, how do you present them? Here are a few creative ideas:

  • Arrange the cookies in a beautiful box lined with festive tissue paper for a delightful gift.
  • Serve them on a decorative platter at your holiday gatherings alongside a steaming cup of cocoa or eggnog.
  • Pair them with a selection of other cookies, like my Fudgy Red Velvet Cookies or Chocolate Thumbprint Cookies, for a cookie platter that will impress your guests!

Storage and Make-Ahead Tips

Wondering how to store your cookies? Here’s what you need to know:

  • Store your cookies in an airtight container at room temperature for up to a week—if they last that long!
  • If you want to make them ahead of time, you can freeze the dough for up to three months. Just thaw it in the fridge before baking.
  • Decorated cookies can also be stored in an airtight container, but I find they’re best enjoyed fresh!

There you have it, friends! A delightful journey into the world of Christmas cookie making. I hope you find joy in every step of this recipe, and may your cookie box bring happiness to all who receive it. Happy baking!

Christmas Cookie Box • Basic Sugar Cookies •

Prep Time 15 minutes
Cook Time 10 minutes
Total Time 25 minutes
Servings 24 cookies
Calories 150
Enjoy these classic sugar cookies perfect for holiday celebrations, decorated with colorful sprinkles.

Ingredients

Dough

  • 2 3/4 cups all-purpose flour
  • 1 teaspoon baking soda
  • 1/2 teaspoon baking powder
  • 1 cup unsalted butter, softened
  • 1 1/2 cups white sugar
  • 1 egg egg
  • 1 teaspoon vanilla extract
  • 1/2 teaspoon almond extract
  • 3/4 teaspoon salt
  • 1/4 cup colored sugar or sprinkles (for decoration)

Instructions 

  • Preheat oven to 375°F (190°C).
  • Mix dry ingredients; set aside.
  • Cream butter and sugar, then add egg and extracts.
  • Gradually add dry mixture, form dough, and shape into balls.
  • Flatten balls, decorate with sprinkles, and bake 8-10 minutes.

Notes

Store cookies in an airtight container for freshness.
Calories: 150kcal
Cost: $15
Course: Dessert
Cuisine: American
Keyword: sugar cookies

Nutrition

Calories: 150kcal | Carbohydrates: 20g | Protein: 2g | Fat: 8g | Sodium: 100mg

Loved this recipe? Save it to your favorite Pinterest board so you can easily find it later! It’s the perfect way to keep all your sweet ideas in one place. ✨
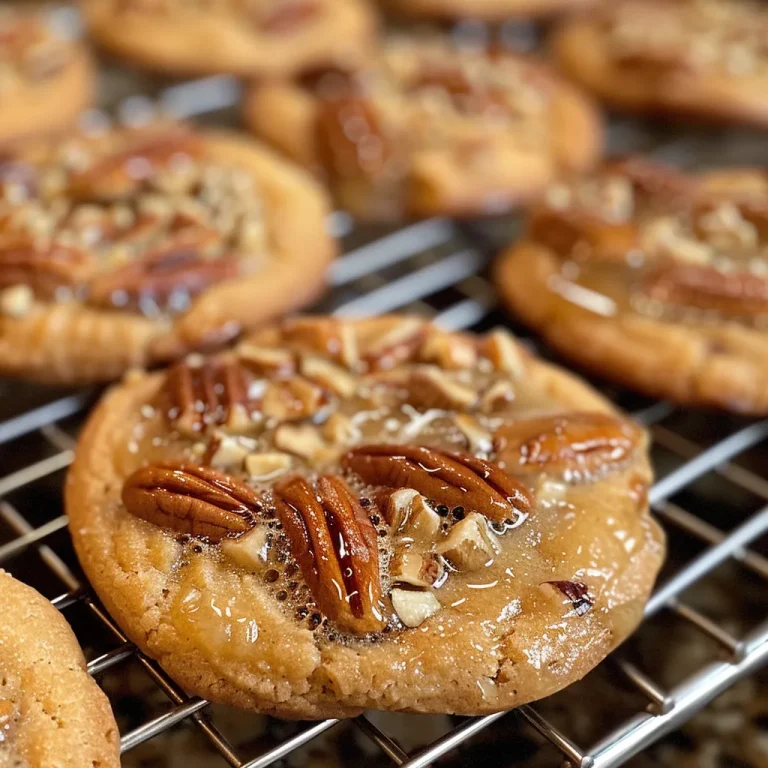
Christmas Cookie Box • Basic Sugar Cookies •

As the holiday season approaches, I can’t help but reminisce about my childhood in Charleston, where the air was filled with the comforting scents of freshly baked cookies and the laughter of family gathered around the kitchen. There’s something truly magical about baking during this time of year, especially when it involves a sprinkle of whimsy and a dash of nostalgia. That’s why I’m thrilled to share my latest adventure in the kitchen: Disney Themed Christmas Cookies! These delightful treats not only taste amazing but also bring a sense of enchantment that’s perfect for any festive gathering.

Picture this: a cozy kitchen, the sound of Christmas music softly playing in the background, and the joy of creating something special with loved ones. These cookies are not just a dessert; they’re a canvas for your creativity, a way to share joy, and a delicious reminder of the magic that the holiday season brings. So, let’s roll up our sleeves, gather our ingredients, and embark on this delightful baking journey together!

Why You’ll Absolutely Love Disney Themed Christmas Cookies!

If you’re wondering what makes these cookies so special, let me share a few reasons that will surely entice you to whip up a batch:

  • They are a festive feast for the eyes, perfect for holiday parties and gatherings.
  • Each cookie can be personalized with your favorite Disney characters, making them fun for kids and adults alike!
  • Easy to make and decorate, these cookies are a fantastic way to involve the whole family in holiday baking.
  • They taste as good as they look! The combination of buttery goodness and sweet frosting will leave everyone craving more.

Ingredients You’ll Need

Let’s talk about the star players in our cookie-making adventure! I’ve chosen ingredients that are not only classic but also elevate the flavors to make your cookies extraordinary. Here’s what you’ll need:

  • 2 3/4 cups all-purpose flour
  • 1 teaspoon baking soda
  • 1/2 teaspoon baking powder
  • 1 cup unsalted butter, softened
  • 1 1/2 cups white sugar
  • 1 egg
  • 1 teaspoon vanilla extract
  • 1/2 teaspoon almond extract
  • 3 cups powdered sugar
  • 2 tablespoons milk
  • Food coloring (red, green, yellow, etc.)
  • Sprinkles and edible glitter for decoration

You’ll find the full ingredient list with measurements in the recipe card below!

How to Make Disney Themed Christmas Cookies!, Step-by-Step

Are you ready to create some cookie magic? Here’s how to make these whimsical treats:

  1. Preheat your oven to 375°F (190°C). This is the perfect temperature for creating a lovely golden cookie.
  2. In a small bowl, stir together the flour, baking soda, and baking powder; set aside. This step ensures your cookies will rise beautifully!
  3. In a large bowl, cream together the softened butter and sugar until smooth. This is where the magic begins! Beat in the egg, vanilla extract, and almond extract until well combined.
  4. Gradually blend in the dry ingredients until just combined. Don’t overmix; we want our cookies to be tender and delicious!
  5. Roll the dough into balls and place them on ungreased cookie sheets. Flatten them slightly with the bottom of a glass for that perfect cookie shape.
  6. Bake for 8 to 10 minutes in the preheated oven, until golden. Let the cookies cool on the sheets for a few minutes before transferring them to wire racks to cool completely.
  7. In a separate bowl, mix the powdered sugar and milk to create a frosting. Divide this into smaller bowls and add food coloring to each for a rainbow of colors!
  8. Once the cookies have cooled, unleash your creativity! Decorate them with the colored frosting and add sprinkles and edible glitter to give them that festive Disney touch.
  9. Let the decorations set before serving or packaging. Trust me, the wait will be worth it!
Disney Themed Christmas Cookies!

Pro Tips for the Best Results

Here are a few of my tried-and-true tips to ensure your cookies turn out perfect:

  • For perfectly uniform cookies, use a cookie scoop to measure out the dough. This will give you consistent sizes and shapes.
  • Don’t skip the chilling step! If your dough is too soft, pop it in the fridge for about 30 minutes before rolling it out. This helps prevent spreading during baking.
  • Feel free to experiment with different flavors in your frosting! A hint of lemon or orange zest can add a delightful twist to your decorations.

Serving Suggestions

These Disney Themed Christmas Cookies are not only a treat for the taste buds but also a feast for the eyes! Here are some fun serving ideas:

  • Arrange them on a festive platter with some holiday greenery for a stunning centerpiece at your gatherings.
  • Package them in clear bags tied with colorful ribbons as thoughtful homemade gifts for friends and family.
  • Create a cookie decorating station at your holiday party, allowing guests to personalize their cookies with different colors and toppings!

Storage and Make-Ahead Tips

Want to bake these delicious cookies ahead of time? Here’s how to store them:

  • Store undecorated cookies in an airtight container at room temperature for up to a week. They’ll stay fresh and delightful!
  • If you want to freeze them, wrap each cookie in plastic wrap and place them in a freezer-safe bag. They can last up to three months!
  • When you’re ready to enjoy them, simply thaw at room temperature and decorate as desired. Easy peasy!

There you have it! A recipe that not only fills your home with the cozy scents of Christmas but also brings a little bit of Disney magic to your holiday celebrations. I hope you feel inspired to create these whimsical cookies with your loved ones. Remember, it’s all about enjoying the process and making memories together. Happy baking, dear friends!

Disney Themed Christmas Cookies!

Prep Time 20 minutes
Cook Time 10 minutes
Total Time 30 minutes
Servings 24 cookies
Calories 150
Celebrate the holidays with festive Disney-themed cookies, decorated with colorful frosting, sprinkles, and glitter for a magical touch.

Ingredients

Dough

  • 2 3/4 cups all-purpose flour
  • 1 teaspoon baking soda
  • 1/2 teaspoon baking powder
  • 1 cup unsalted butter, softened
  • 1 1/2 cups white sugar
  • 1 egg egg
  • 1 teaspoon vanilla extract
  • 1/2 teaspoon almond extract

Frosting & Decoration

  • 3 cups powdered sugar
  • 2 tablespoons milk
  • food coloring (red, green, yellow, etc.) food coloring (for frosting)
  • sprinkles and edible glitter for decoration sprinkles and glitter (for decorating cookies)

Instructions 

  • Preheat oven to 375°F (190°C). Mix dry ingredients; set aside.
  • Cream butter and sugar, then add egg, vanilla, and almond extracts.
  • Gradually add dry ingredients; roll dough into balls and flatten on baking sheets.
  • Bake for 8-10 minutes, cool, then decorate with colored frosting, sprinkles, and glitter.

Notes

Use different food colors for a festive look and let the decorations set before serving.
Calories: 150kcal
Cost: $15
Course: Dessert
Cuisine: American
Keyword: Cookies

Nutrition

Calories: 150kcal | Carbohydrates: 25g | Protein: 2g | Fat: 7g | Sodium: 50mg

Loved this recipe? Save it to your favorite Pinterest board so you can easily find it later! It’s the perfect way to keep all your sweet ideas in one place. ✨
Disney Themed Christmas Cookies!