This post contains affiliate links. As an Amazon Associate, I earn from qualifying purchases. This comes at no extra cost to you.
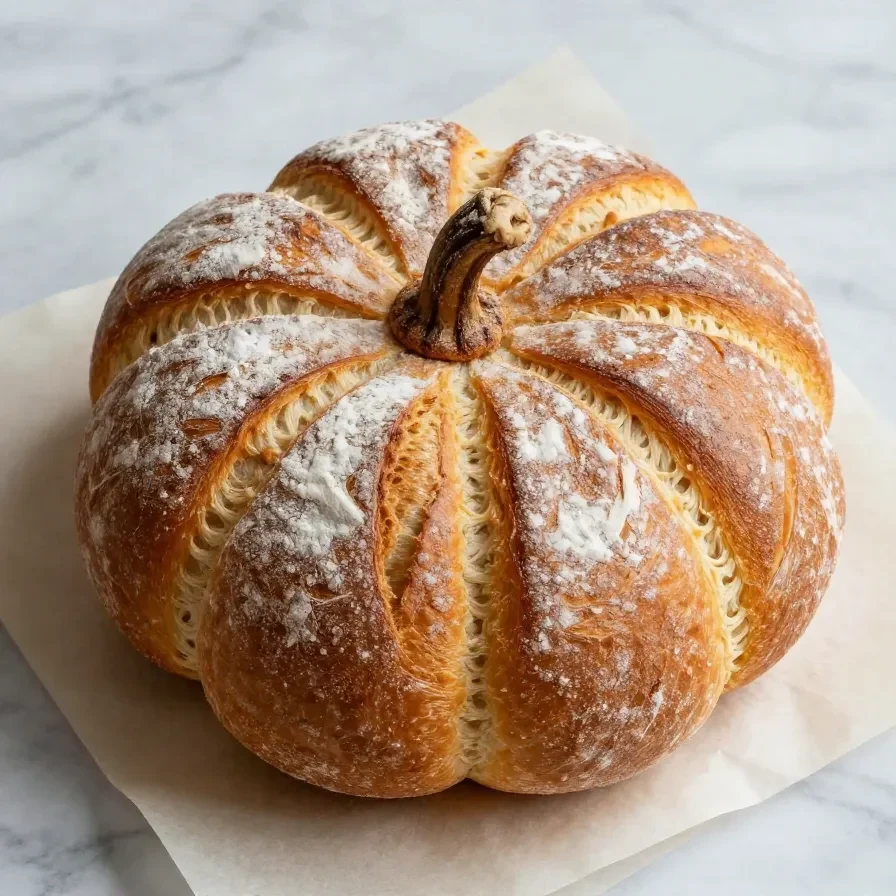
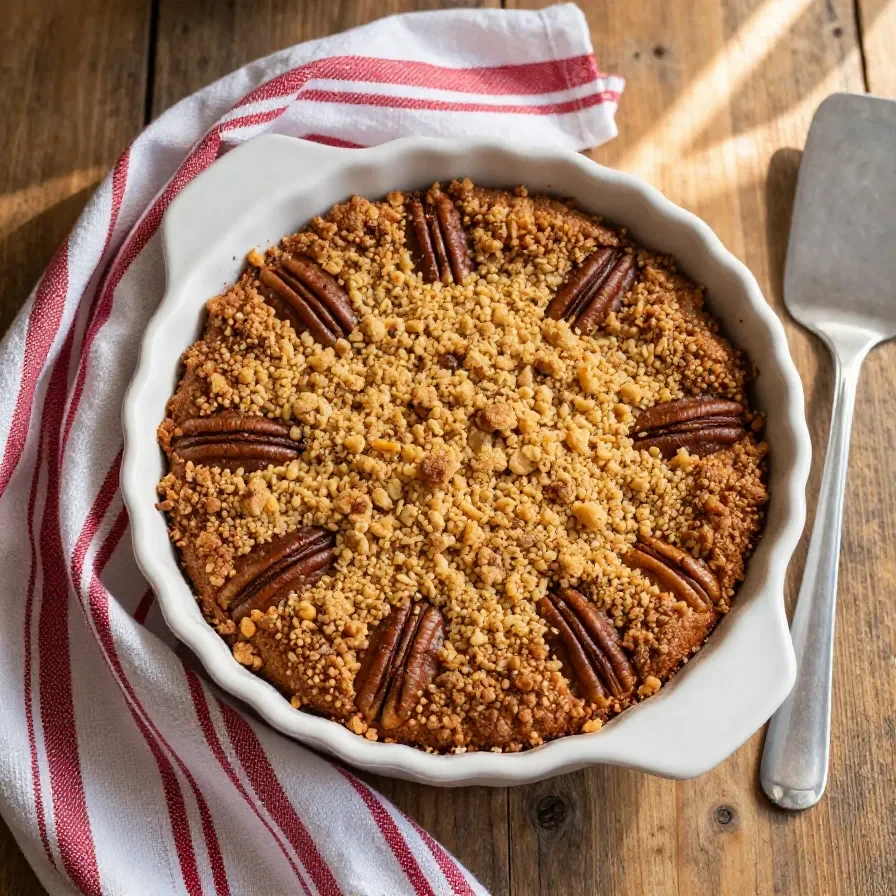
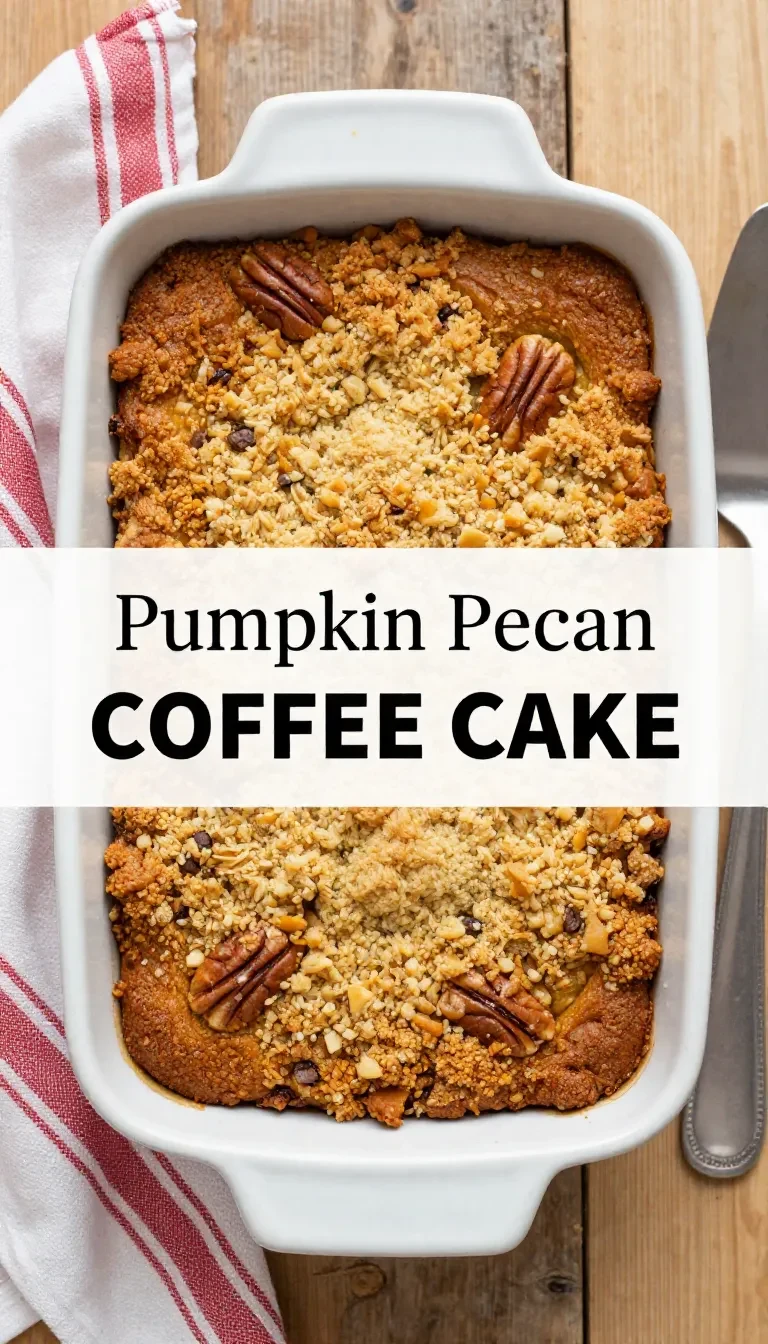
Sourdough Pumpkin Bread Recipe
Pumpkin cinnamon sourdough bread recipe combines the tangy flavor of sourdough with the warmth of pumpkin and spices like cinnamon and nutmeg, creating a moist, aromatic bread perfect for the fall season. Ready in just over an hour, this quick bread yields 8-10 slices packed with cozy flavors and subtle sweetness. Optional add-ins like nuts or chocolate chips bring additional texture and delight to every bite.
Back when I first started experimenting with sourdough, this recipe became my gateway to fall baking bliss. There’s just something magical about how the distinct tanginess of sourdough plays so beautifully with the richness of pumpkin spice.
Table of Contents
- Why is Sourdough Pumpkin Bread Recipe so special?
- What ingredients do you need for Sourdough Pumpkin Bread Recipe?
- How do you make Sourdough Pumpkin Bread Recipe step by step?
- Frequently Asked Questions About Sourdough Pumpkin Bread Recipe
- Expert Tips for Perfect Sourdough Pumpkin Bread
- How to Store and Reheat Sourdough Pumpkin Bread
- Common Mistakes to Avoid
- What to Serve with Sourdough Pumpkin Bread
Why is Sourdough Pumpkin Bread Recipe so special?
The Sourdough Pumpkin Bread Recipe is special because it blends the comforting flavors of pumpkin spice with the distinctive tang of sourdough in a moist, fluffy loaf. It’s quick to make and versatile enough to enjoy for breakfast or as a snack.
- Perfect Fall Flavors: The classic spices like cinnamon, nutmeg, and ginger pair beautifully with the earthy sweetness of pumpkin puree.
- Unique Tang: The sourdough starter adds a subtle tangy flavor that sets it apart from traditional quick breads.
- Customizable: Add nuts, chocolate chips, or raisins for a personalized touch to every loaf.
- Easy to Prepare: With only 15 minutes of prep time, this recipe is both beginner-friendly and quick enough for busy days.
What ingredients do you need for Sourdough Pumpkin Bread Recipe?
This recipe combines pantry staples like flour, sugar, and spices with a few special ingredients like sourdough starter and pumpkin puree. Make sure your sourdough starter is active for the best result.
- 1 cup active sourdough starter
- 1 cup canned pumpkin puree
- 1/2 cup granulated sugar
- 1/4 cup brown sugar, packed
- 1/2 cup vegetable oil
- 2 large eggs
- 1 teaspoon vanilla extract
- 1 teaspoon ground cinnamon
- 1/2 teaspoon ground nutmeg
- 1/2 teaspoon ground ginger
- 1/4 teaspoon ground cloves
- 1/2 teaspoon baking soda
- 1 teaspoon baking powder
- 1/2 teaspoon salt
- 2 cups all-purpose flour
- 1/2 cup walnuts or pecans, chopped (optional)
- 1/2 cup raisins or chocolate chips (optional)
The sourdough starter adds a slight tang and contributes to the bread’s moist texture, while the pumpkin purée infuses natural flavor and richness.
How do you make Sourdough Pumpkin Bread Recipe step by step?
To make this delightful bread, you’ll combine wet and dry ingredients separately, mix them gently, and bake until a toothpick comes out clean. Follow these simple steps for a perfect loaf every time:
Step 1 — Prep Your Pan
Preheat your oven to 350°F (175°C). Grease and flour a 9×5-inch loaf pan to prevent sticking.
Step 2 — Mix the Wet Ingredients
In a large mixing bowl, combine the active sourdough starter, pumpkin puree, granulated sugar, brown sugar, vegetable oil, eggs, and vanilla extract. Stir well until the mixture is smooth.
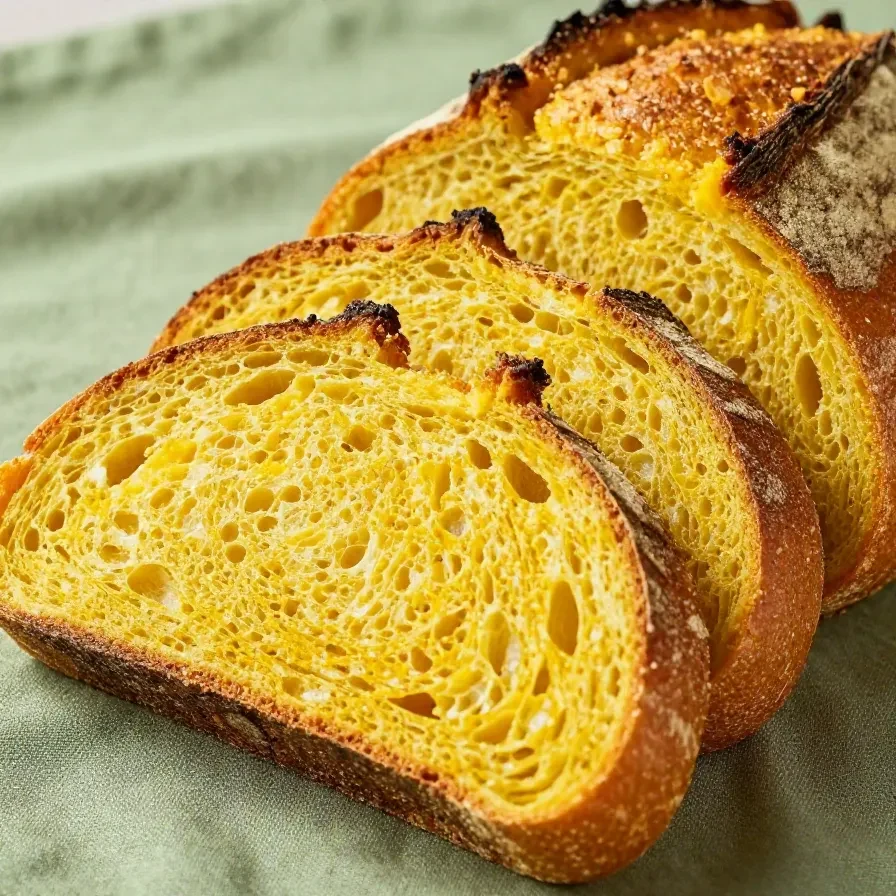
You might also enjoy our sourdough pumpkin bread.
Step 3 — Combine the Dry Ingredients
In a separate bowl, whisk together the cinnamon, nutmeg, ginger, cloves, baking soda, baking powder, and salt. Mix thoroughly to distribute the spices evenly.
Step 4 — Combine Wet and Dry Mixtures
Gradually add the dry ingredients into the wet mixture, stirring until just combined. Avoid overmixing to keep the bread tender.

Step 5 — Add Flour and Optional Mix-ins
Gently fold in the all-purpose flour until fully incorporated. Stir in the walnuts or pecans and raisins or chocolate chips if using.
Step 6 — Transfer to Pan
Pour the batter into the prepared loaf pan, smoothing the top with a spatula for an even surface.
Step 7 — Bake
Bake for 50-60 minutes or until a toothpick inserted into the center comes out clean. Let the bread cool in the pan for 10 minutes, then transfer it to a wire rack to cool completely before slicing.
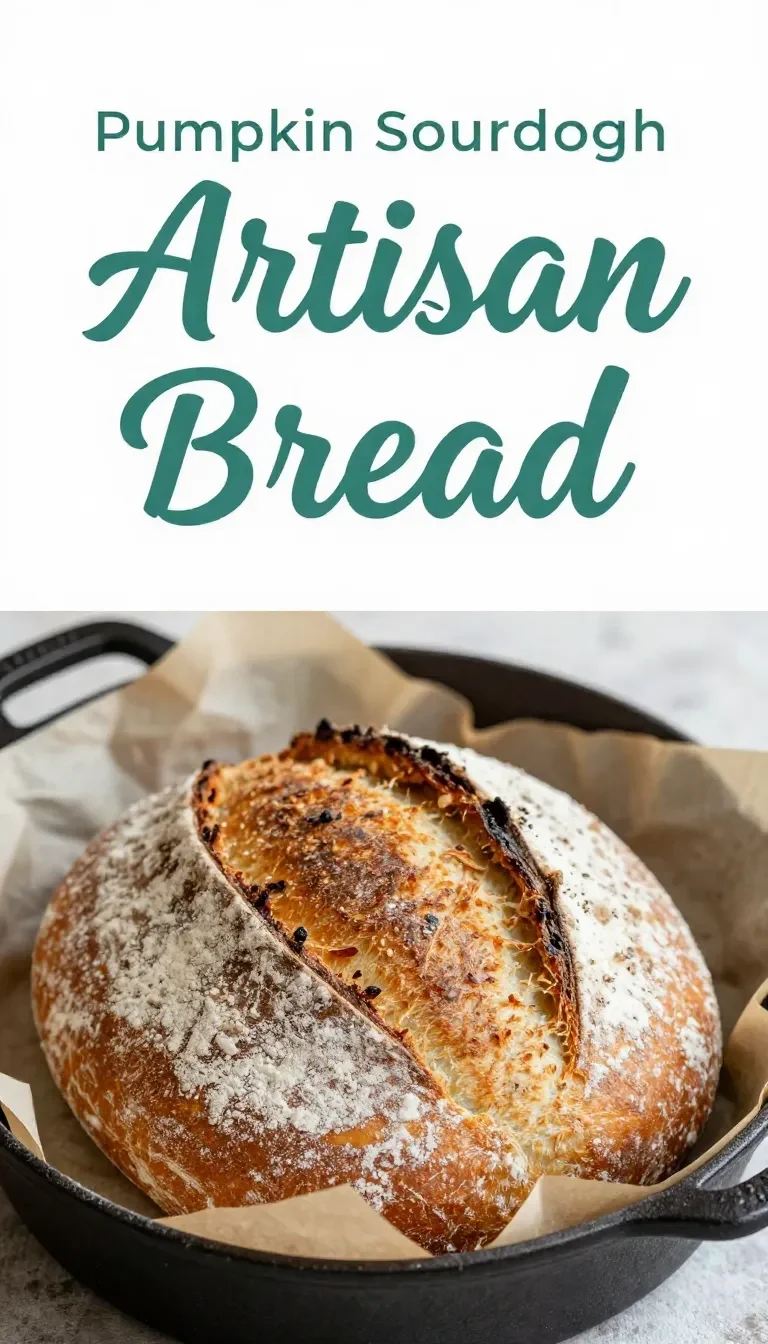
For more ideas, check out our pumpkin sourdough artisan bread.
Frequently Asked Questions About Sourdough Pumpkin Bread Recipe
Can I use sourdough discard for this recipe?
Yes, this recipe works wonderfully with sourdough discard, as long as it is still active. Just ensure that the discard hasn’t gone off or developed a foul smell.
Can I make this recipe gluten-free?
Yes, substitute the all-purpose flour with a gluten-free baking blend. Make sure the mix contains a binding agent like xanthan gum for structure.
How do I know if my bread is fully baked?
Insert a toothpick into the center of the loaf. If it comes out clean or with a few dry crumbs, your bread is ready.
Can I freeze sourdough pumpkin bread?
Yes, wrap the loaf tightly in plastic wrap and aluminum foil, then freeze for up to three months. Thaw overnight in the refrigerator.
What’s the best way to store this bread?
Store it in an airtight container at room temperature for up to three days or in the fridge for up to a week.
Looking for something similar? Try our easy homemade pumpkin sourdough bread recipe.
Expert Tips for Perfect Sourdough Pumpkin Bread
- Don’t overmix: Overmixing the batter can result in a dense loaf. Combine just until no dry spots remain.
- Use room-temperature ingredients: Eggs and sourdough starter mix better at room temperature, resulting in a smoother batter.
- Sift the dry ingredients: This ensures even distribution of spices and prevents clumps in your batter.
- Customize add-ins: Mix in your favorite nuts, raisins, or chocolate chips for additional texture and flavor.
How to Store and Reheat Sourdough Pumpkin Bread
To keep your bread fresh, store it in an airtight container at room temperature for up to three days. For longer storage, refrigerate the bread for up to a week or freeze it for up to three months.
To reheat, wrap the bread in aluminum foil and warm it in a 300°F oven for 10 minutes. Alternatively, toast individual slices for a quicker option.
Common Mistakes to Avoid
Overmixing the batter: This leads to a dense loaf. Stir just enough to combine ingredients.
Skimping on spices: Be sure to measure your spices accurately to achieve the perfect balance of flavors.
Underbaking: Always check the bread with a toothpick to ensure it’s fully baked before removing it from the oven.
What to Serve with Sourdough Pumpkin Bread
This bread pairs beautifully with a dollop of cream cheese or butter for a rich and creamy addition. Serve it alongside a warm cup of coffee or spiced tea for a perfect morning treat.
For dessert vibes, drizzle with maple syrup or enjoy it with a scoop of vanilla ice cream. It’s also great with a sprinkling of powdered sugar for a light, sweet finish.

Sourdough Pumpkin Bread Recipe
Equipment
- mixing bowl
- whisk
- loaf pan
- spatula
- oven
Ingredients
- 1 cup active sourdough starter
- 1 cup canned pumpkin puree
- 1/2 cup granulated sugar
- 1/4 cup brown sugar (packed)
- 1/2 cup vegetable oil
- 2 large eggs
- 1 tsp vanilla extract
- 1 tsp ground cinnamon
- 1/2 tsp ground nutmeg
- 1/2 tsp ground ginger
- 1/4 tsp ground cloves
- 1/2 tsp baking soda
- 1 tsp baking powder
- 1/2 tsp salt
- 2 cup all-purpose flour
- 1/2 cup walnuts or pecans (chopped (optional))
- 1/2 cup raisins or chocolate chips ((optional))
Instructions
- Preheat your oven to 350°F (175°C). Grease and flour a 9x5 inch loaf pan.
- In a large mixing bowl, combine the active sourdough starter, pumpkin puree, granulated sugar, brown sugar, vegetable oil, eggs, and vanilla extract. Mix until well combined.
- In a separate bowl, whisk together the cinnamon, nutmeg, ginger, cloves, baking soda, baking powder, and salt.
- Gradually add the dry ingredients to the wet ingredients, mixing until just combined. Be careful not to overmix.
- Fold in the all-purpose flour until fully incorporated. If desired, gently mix in walnuts or pecans and raisins or chocolate chips.
- Pour the batter into the prepared loaf pan, smoothing the top with a spatula.
- Bake in the preheated oven for 50-60 minutes, or until a toothpick inserted into the center comes out clean.
- Allow the bread to cool in the pan for 10 minutes, then transfer it to a wire rack to cool completely before slicing.
Notes
Nutrition

Loved this recipe? Save it to your favorite Pinterest board so you can easily find it later! ✨