This post contains affiliate links. As an Amazon Associate, I earn from qualifying purchases. This comes at no extra cost to you.
Mary Berry Apple And Sultana Cake Recipe
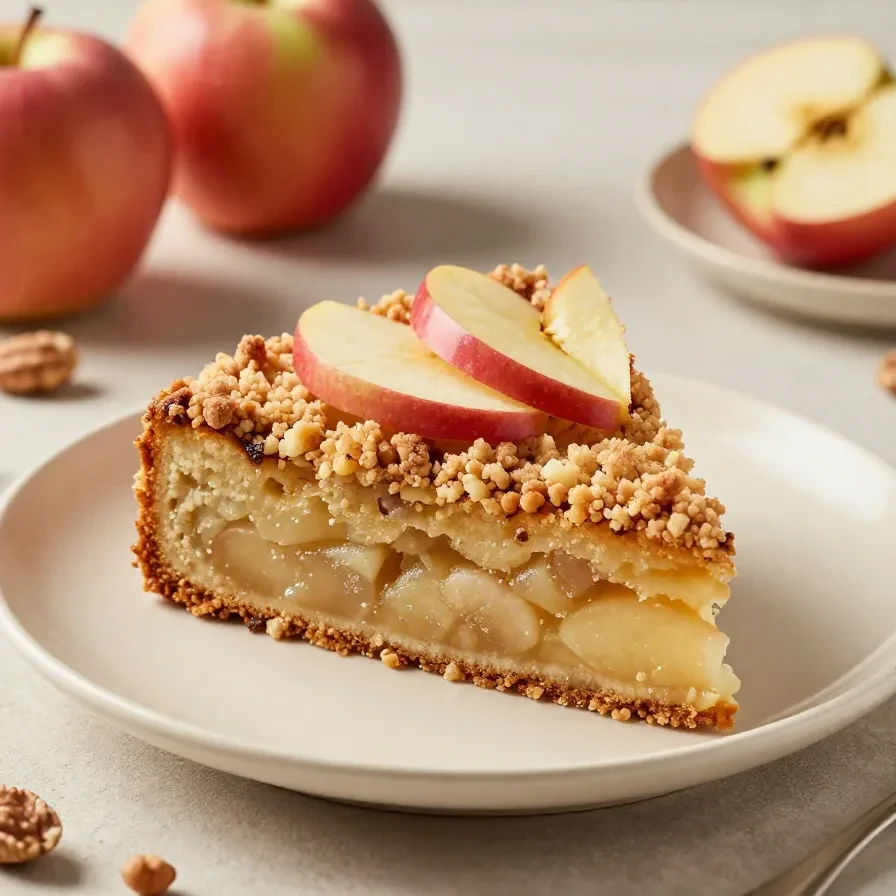
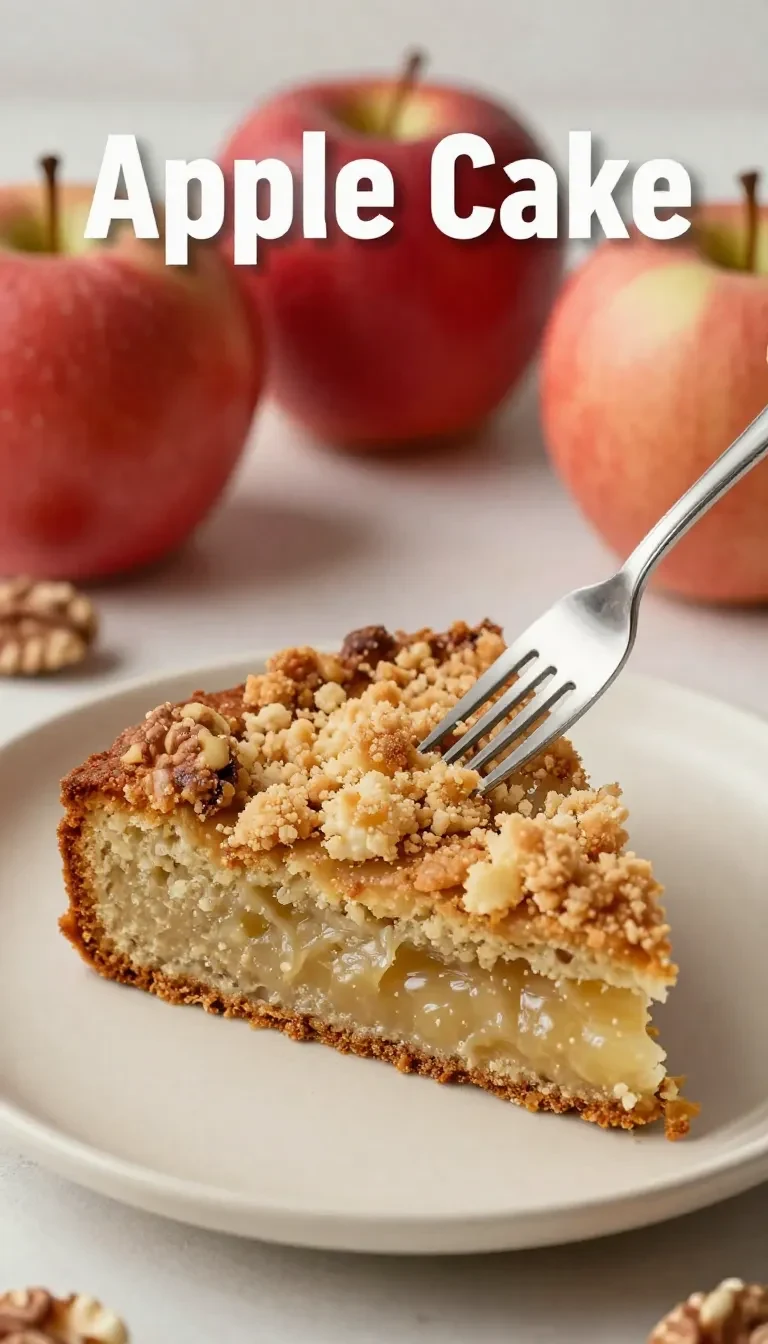
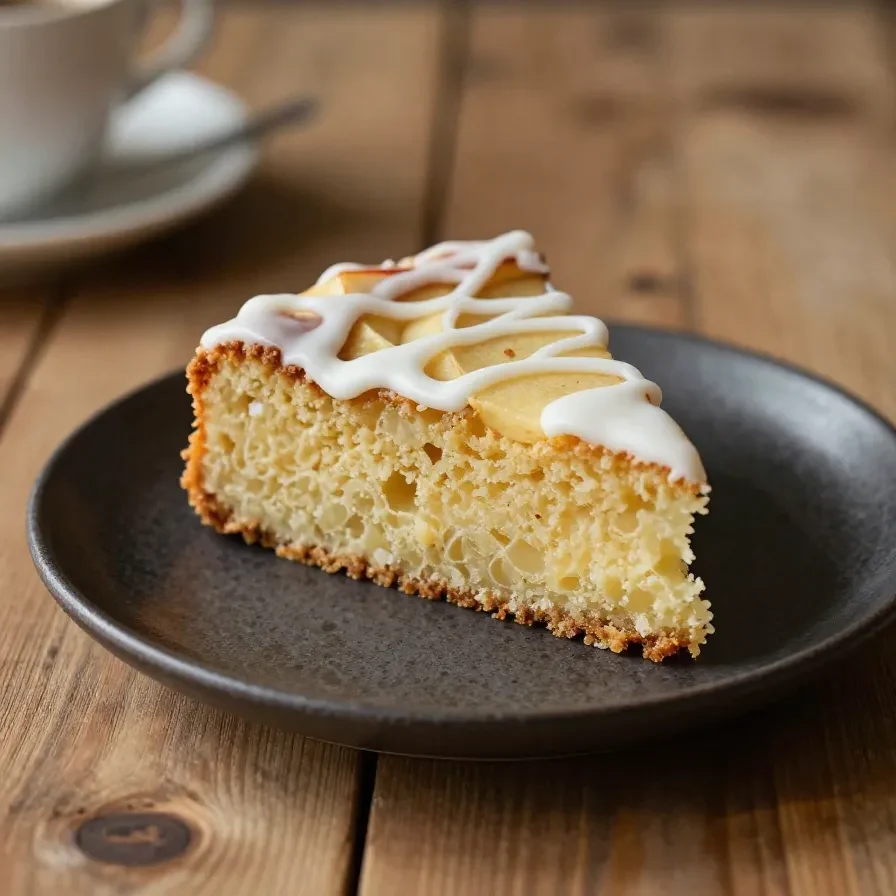
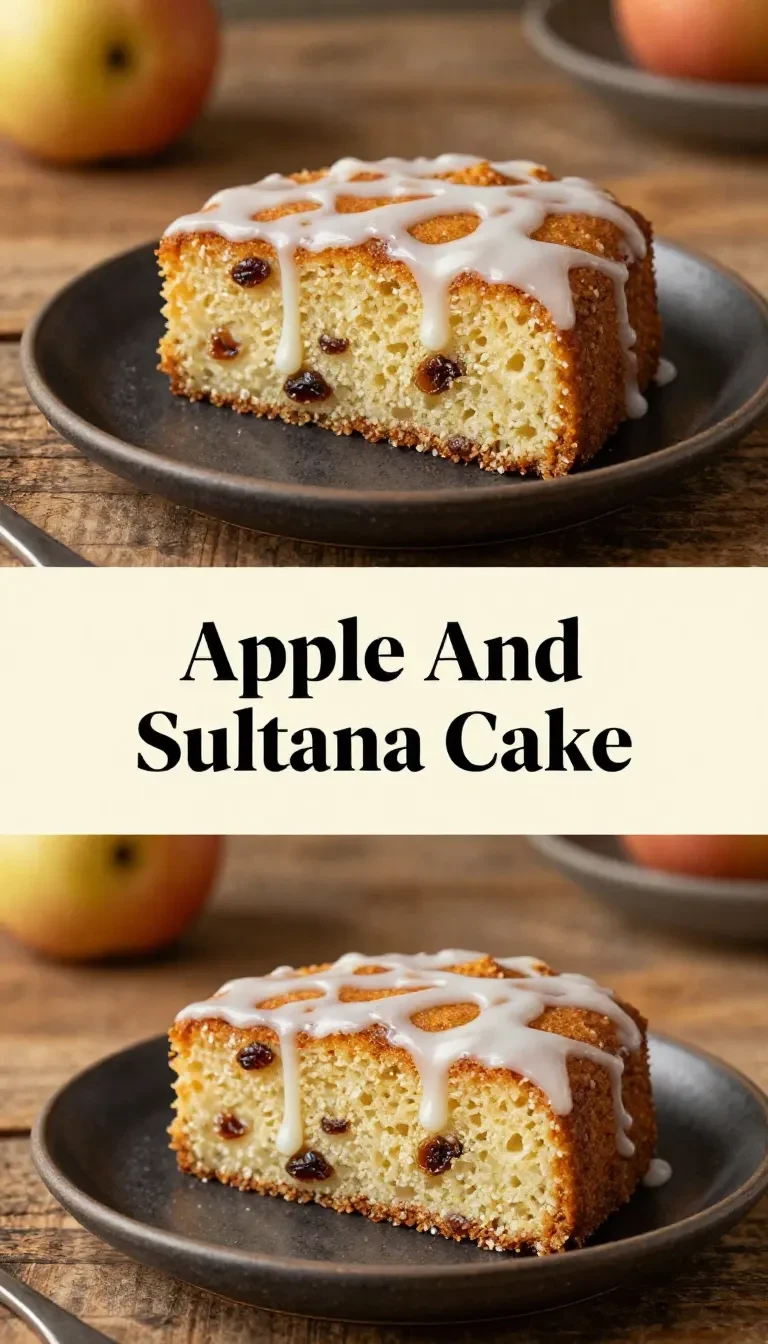
Mary Berry Coffee Cake is a classic apple and sultana cake made with softened butter, caster sugar, eggs, and self-raising flour, complemented by cinnamon and baking powder. This easy recipe is ready in just over an hour and yields 8-10 servings of moist, flavorful cake. With a dusting of icing sugar, it’s perfect for family gatherings or afternoon tea.
The texture is tender, thanks to the combination of cooking apples and sultanas, with optional walnuts adding a pleasant crunch. Back in Charleston, my love for baking grew as I mixed ingredients while perched on a stool in my mom’s kitchen—this cake reminds me of those joyful moments.
Table of Contents
- Why is Mary Berry Apple And Sultana Cake Recipe so popular?
- What ingredients do you need for Mary Berry Apple And Sultana Cake Recipe?
- How do you make Mary Berry Apple And Sultana Cake Recipe step by step?
- Frequently Asked Questions About Mary Berry Apple And Sultana Cake Recipe
- How do you store and reheat Mary Berry Apple And Sultana Cake?
- What should you serve with Mary Berry Apple And Sultana Cake?
Why is Mary Berry Apple And Sultana Cake Recipe so popular?
Mary Berry Apple And Sultana Cake Recipe is popular because of its delightful flavor, moist texture, and versatile ingredients. This cake brings together the natural sweetness of apples with the chewiness of sultanas for a well-rounded treat.
Apples and sultanas keep the cake moist and bursting with natural sweetness. - Easy to Bake: Straightforward steps make it approachable for beginner and seasoned bakers alike.
- Perfect for Any Occasion: Whether it’s tea time or a celebration, this cake fits the bill.
- Customizable: Optional walnuts let you tailor the cake to suit your taste.
What ingredients do you need for Mary Berry Apple And Sultana Cake Recipe?
You’ll need staple pantry items and fresh produce to make Mary Berry Apple And Sultana Cake Recipe. These ingredients create its signature flavor and soft texture.
- 225g unsalted butter, softened
- 225g caster sugar
- 4 large eggs
- 225g self-raising flour
- 1 tsp baking powder
- 1 tsp ground cinnamon
- 300g cooking apples, peeled, cored, and chopped
- 100g sultanas
- 50g walnuts, chopped (optional)
- 2 tbsp milk
- Icing sugar for dusting
The cooking apples provide moisture and a subtle tartness, balancing the sweetness of the sultanas perfectly.
How do you make Mary Berry Apple And Sultana Cake Recipe step by step?
This recipe is straightforward and ensures consistent results every time. Follow these steps to create the perfect apple and sultana cake.
Step 1 — Preheat Your Oven
Preheat the oven to 180°C (350°F) and grease a 9-inch round cake tin.
Step 2 — Cream Butter and Sugar
In a large mixing bowl, cream together the softened butter and caster sugar until light and fluffy.
You might also enjoy our triple berry icebox cake.
Step 3 — Incorporate Eggs
Add the eggs one at a time, beating well after each addition to ensure the mixture is smooth.
Step 4 — Fold in Dry Ingredients
Sift the self-raising flour, baking powder, and ground cinnamon, then fold them gently into the mixture.
Step 5 — Add Apples, Sultanas, and Walnuts
Stir in the chopped apples, sultanas, and optional walnuts for texture and flavor.

Step 6 — Adjust Consistency
Add the milk to loosen the mixture slightly, ensuring everything is evenly combined.
Step 7 — Bake
Pour the batter into the prepared cake tin. Smooth out the top with a spatula and bake for 45-50 minutes, or until a skewer inserted in the center comes out clean.
For more ideas, check out our summer berry poke cake.
Step 8 — Cool and Serve
Allow the cake to cool in the tin for 10 minutes before transferring it to a wire rack to cool completely. Once chilled, dust with icing sugar before serving.
Frequently Asked Questions About Mary Berry Apple And Sultana Cake Recipe
Can I substitute the sultanas with other dried fruits?
Yes, you can use raisins or chopped dried apricots as a substitute for sultanas. The texture will remain consistent.
Can I make this recipe gluten-free?
Yes, use gluten-free self-raising flour and double-check other ingredients for hidden gluten sources.
How long does this cake stay fresh?
The cake stays fresh for up to 3 days when stored in an airtight container at room temperature.
Can I make this cake without walnuts?
Absolutely! Leaving out the walnuts will not affect the overall texture or flavor of the cake.
Looking for something similar? Try our mary berry’s no-bake vanilla cheesecake recipe.
Can I freeze this cake?
Yes, freeze the fully cooled cake. Wrap it tightly in plastic wrap and store it for up to 3 months.
How do you store and reheat Mary Berry Apple And Sultana Cake?
Storing and reheating this cake is simple. Follow these easy steps to preserve freshness.
Store the cake in an airtight container at room temperature for up to 3 days. For longer storage, wrap it tightly with plastic wrap and refrigerate for up to a week or freeze for up to 3 months.
To reheat, let the cake thaw to room temperature if frozen. Warm slices in the microwave for 10-15 seconds or in a preheated oven at 150°C (300°F) for 5-7 minutes.
What should you serve with Mary Berry Apple And Sultana Cake?
This versatile cake pairs beautifully with various accompaniments. Here are a few suggestions:
- Vanilla Ice Cream: The cold creaminess complements the warm, spiced cake.
- Custard: Thick custard adds a creamy texture that balances the cake’s sweetness.
- Fresh Apple Slices: Serve alongside for a light and refreshing touch.
- Hot Tea or Coffee: A mug of your favorite beverage enhances the cozy cake experience.
Mary Berry Apple And Sultana Cake Recipe
Equipment
- mixing bowl
- spatula
- cake tin
- oven
- skewer
Ingredients
- 225 g unsalted butter, softened
- 225 g caster sugar
- 4 large eggs
- 225 g self-raising flour
- 1 tsp baking powder
- 1 tsp ground cinnamon
- 300 g cooking apples, peeled, cored, and chopped
- 100 g sultanas
- 50 g walnuts, chopped (optional)
- 2 tbsp milk
- Icing sugar for dusting
Instructions
- Preheat the oven to 180°C (350°F) and grease a 9-inch round cake tin.
- In a large mixing bowl, cream together the softened butter and caster sugar until light and fluffy.
- Add the eggs one at a time, beating well after each addition.
- Sift together the self-raising flour, baking powder, and ground cinnamon, then fold into the mixture gently.
- Stir in the chopped apples, sultanas, and walnuts (if using).
- Add the milk to loosen the mixture slightly, then mix until combined.
- Pour the batter into the prepared cake tin and smooth the top with a spatula.
- Bake in the preheated oven for 45-50 minutes, or until a skewer inserted into the center comes out clean.
- Allow the cake to cool in the tin for 10 minutes before transferring it to a wire rack to cool completely.
- Once cooled, dust with icing sugar before serving.
Notes
Nutrition
Loved this recipe? Save it to your favorite Pinterest board so you can easily find it later! ✨